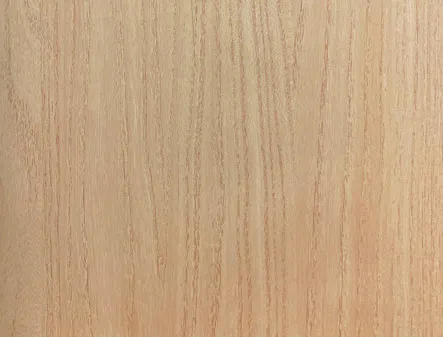
The Beauty of Wood Grain Profiles
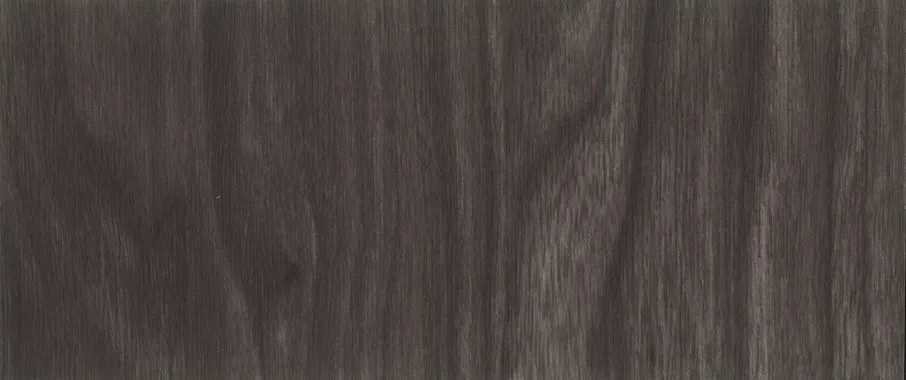
There's something magical about the warmth and character of real wood - the intricate grain patterns that tell the story of years gone by, the unique imperfections that give each piece its soul. Modern wood grain profiles capture that soulful beauty while offering incredible durability and ease of installation. Whether you're creating a feature wall, upgrading cabinet facings, or adding trim to architectural elements, these profiles bring organic elegance to any space.
What truly sets wood grain series apart is how they transform environments. Unlike cold, sterile surfaces, they breathe life into rooms. That gentle oak grain pattern catching afternoon light? It makes shadows dance across walls. That rich mahogany tone? It wraps a room in warmth like your favorite sweater. And the best part? With modern installation techniques, achieving professional results has never been more accessible.
Essential Preparations for Perfect Results
Material Selection Wisdom
Quality materials make all the difference in the world. When selecting your wood grain profiles:
-
Texture matching:
Run your fingertips across samples - authentic grain should have tangible depth
-
Color consistency:
Natural variations are beautiful, but ensure batch matching for uniform appearance
-
Moisture testing:
Press a damp cloth against samples - quality finishes won't cloud or blister
Consider premium wood plastic decorative material for high-moisture areas - its dimensional stability prevents warping in humid environments while maintaining that gorgeous wood aesthetic.
Tool Harmony
The right tools transform installation from chore to artistry:
-
Cutting tools:
A fine-tooth miter saw (80+ teeth) creates glass-smooth edges
-
Adhesive selection:
High-tack construction adhesive formulated specifically for engineered wood products
-
Finishing kit:
Micro-gap filling putty in matching tones, angled applicators
A craftsman I met in Kyoto once shared: "The tool becomes your hand's extension - respect them." Clean blades and sharp edges honor both your materials and craftsmanship.
Mastering the Art of Quick Splicing
The Seamless Illusion Technique
Creating invisible joins elevates work from amateur to artistry:
-
Precision Cutting:
Set your miter saw exactly 5° past 90° - this creates a slight overlapping edge
-
Adhesive Application:
Apply in a serpentine pattern along length, keeping 1/4" from edges
-
Pressure Sequencing:
Join pieces starting from center outward using steady palm pressure
-
Micro-Gap Magic:
Fill seams using specialized tinted putty applied with precision syringe
The goal isn't perfection - it's creating character. Natural wood has variations, and your joins should celebrate that.
Corner Perfection Method
Corners make or break installations. Here's professional methodology:
-
Dry fit pieces with 1/32" gap to account for seasonal expansion
-
Apply adhesive to both mating surfaces using a notched trowel
-
Join at 90° using a corner clamp with protective jaw pads
-
Wipe away squeeze-out immediately with denatured alcohol
-
Place temporary bracing tape across the corner at 45° angle
The temporary tape holds alignment while allowing natural shifting as adhesive cures.
Professional Insight:
"For challenging angles, create a paper template first. Trace contour, fold precisely, then transfer angle to your work. This simple step saves hours of frustration."
Advanced Techniques for Discerning Craftsmanship
Grain Matching Alchemy
Elevating your work from functional to breathtaking:
-
Unbox all material and arrange pieces by pattern rather than length
-
Identify dominant grain features - cathedral arches, knot clusters
-
Cut pieces longer than needed (add 10%) to allow for grain alignment
-
Work in natural light parallel to installation surface to see grain flow
-
Bookmatch sequences for mirrored artistic effect
Remember: wood grain tells a story. Align your pieces so the narrative flows naturally across surfaces.
Troubleshooting Common Challenges
Solutions for real-world frustrations:
-
End gaps:
Pre-treat end cuts with dedicated sealing primer before installation
-
Adhesive ooze:
Use painter's tape along edges before application - peel when set
-
Seasonal shifting:
Create micro-expansion gaps (paper width) every 8 feet
-
Color mismatch:
Blend with custom-tinted wood putty with grain-simulating strokes
These wood plastic decorative materials respond beautifully to climate changes when properly installed.
Caring for Your Wood Grain Masterpiece
Protecting your investment through seasons:
-
Seasonal cleaning with pH-balanced wood cleaner - avoid vinegar solutions that degrade finishes
-
Every 6 months: Apply rejuvenating oil with microfiber cloth using circular motions
-
Sun protection: Install UV-filtering window film to prevent uneven fading
-
Humidity control: Maintain 35-55% indoor humidity to prevent shrinkage/expansion
The magical moment comes months after installation - when that perfect morning light hits the grain and you catch yourself smiling at your handiwork. That invisible join you labored over disappears completely, leaving only the story of the wood.