
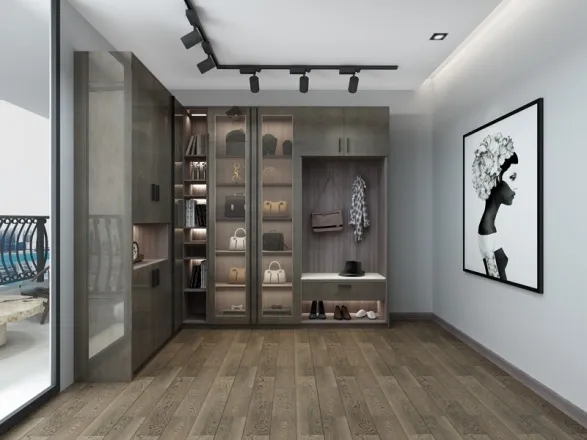
Hey there, fellow shoe-lover! If your entryway looks like a footwear battlefield and you're dreaming of a stylish storage solution, you've landed in the right spot. Creating your own shoe cabinet isn't just a practical project – it's a chance to build something uniquely yours that fits your space and style like... well, like your favorite pair of comfortable sneakers.
In this deep dive, we'll walk through the entire manufacturing journey, from those initial "what if?" thoughts to the moment you slide your first pair of shoes into their custom-made home. And don't worry – whether you're a DIY newbie or have sawdust in your veins, I'll keep things straightforward and jargon-free.
Picture this: shelves spaced exactly for your tallest boots, compartments sized for flip-flops, maybe even a hidden drawer for shoe care essentials. When you're the designer, every millimeter works for your collection.
Quality pre-made cabinets? They'll cost you. But with some smart material choices (like versatile MDF that handles beautifully), you can save serious cash without compromising on quality. That extra money? More shoes, obviously!
There's this unbeatable feeling when someone admires your cabinet and you say, "Thanks! I built it myself." Your shoe cabinet becomes a conversation piece with soul.
Space Whispering: Grab that tape measure – we're getting intimate with your entryway. Account for door swings, hallway paths, even heat vents. Sketch it rough or use free apps like SketchUp for 3D planning.
Shoe Audit: Play fashion detective: What's your shoe ratio? Lots of heels? Army of sneakers? Document heights and depths to create custom zones.
Design Philosophy: Minimalist open shelves? Chic enclosed cabinetry? Moody dark stain or cheery pastels? This is where personality shines through.
Double-check measurements (measure twice, cut once is gospel). Label pieces clearly – "left side," "top shelf," etc. Cut all parts before assembly for smoother workflow.
Start by building the carcass – sides, top, bottom. Wood glue plus screws creates bomb-proof joints. Use pilot holes to avoid splits. Clamp pieces for alignment while glue sets. Square is your co-pilot.
Adjustable holes with shelf pins? Fixed shelves? Factor in spacing - tall boots need breathing room. Angled shelves create visibility. Pegboard backs hold hooks for accessories.
Moisture note: In humid climates, consider sealing interiors with polypropylene-based protectants.
⏱️ Workshop Wisdom: Tackle assembly over multiple sessions. Rushing equals mistakes. Play some tunes and enjoy the process!
Sand through grits (120 → 220). Wipe with tack cloth. Apply stain in a test spot first. Finish with protective topcoat – thin, even layers win over thick globs. Good ventilation is crucial.
Hinge alignment matters – use manufacturer jigs or templates. Handles should feel balanced when gripped. Drawer slides need perfect level installation.
Here's where personality shines:
Secret Weapon: Cedar liners naturally repel moths and smell amazing!
Dust weekly with a microfiber cloth. Spills? Wipe immediately with damp cloth. Re-tighten hardware annually. For wood, refresh with furniture wax every few years. Avoid harsh cleaners that strip finishes.
Building your shoe cabinet isn't just about conquering clutter – it's about creating a functional piece of art that starts your day right. By understanding the manufacturing journey from raw materials to finished wonder, you appreciate not just where your shoes live, but the craft that holds them.
Got your favorite material in mind? Dreaming up your design? Remember: every master cabinetmaker started with a single cut. Your perfect shoe sanctuary is waiting in that first sketch and saw stroke!
Recommend Products












