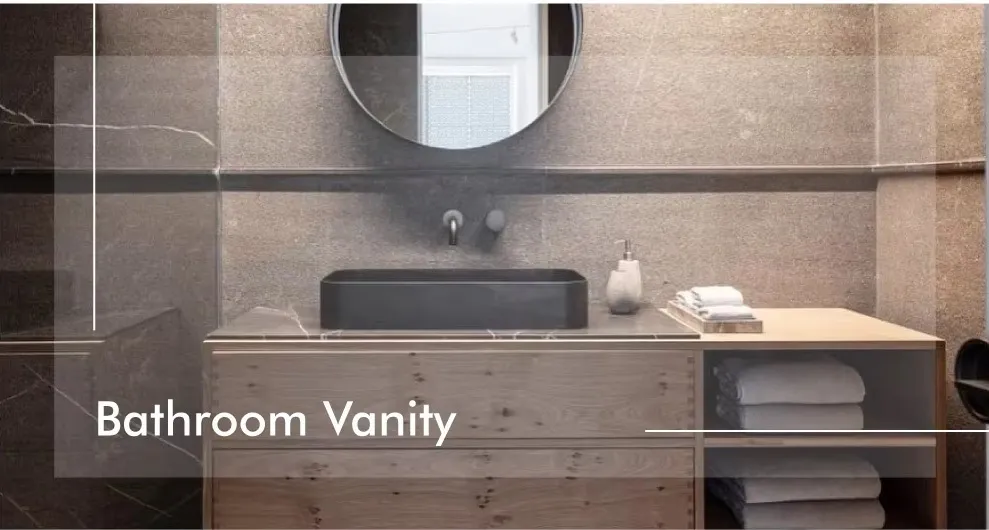
Picture this: You've just installed your dream bathroom vanity, but something feels off. The doors don't close evenly, water pools in one corner of the sink, and that slight wobble drives you crazy every morning. You're not alone – an unlevel vanity is one of the most common bathroom installation headaches. But don't worry! With a few simple techniques and the right approach, you can transform that frustrating wobble into rock-solid stability. Let's dive into why leveling matters and how to get it right.
Why Leveling is Make-or-Break for Vanities
An unlevel vanity isn't just an aesthetic issue – it's a structural disaster waiting to happen. That slight tilt puts uneven pressure on joints, causing doors to sag over time. Plumbing connections develop leaks as seals get stressed, and that beautiful countertop can develop cracks from uneven weight distribution. Most critically, water damage creeps in faster when moisture pools on surfaces. Getting this right is about protecting your investment and avoiding costly repairs.
Whether you're installing a floating vanity or a traditional cabinet, the leveling principles remain the same. Modern vanities with frameless cabinets like waterproof vinyl flooring options are especially sensitive to proper installation since gaps become more noticeable.
Pro Insight:
Check vanity level
before
attaching plumbing! Testing with a simple carpenter's level during dry fitting saves hours of rework later. It's always easier to make adjustments before pipes limit your access.
Must-Have Tools for Perfect Leveling
Step-by-Step Leveling Process
-
Clear and Prep the Space
Remove everything inside the vanity cabinet and clear surrounding area. Sweep the floor thoroughly – debris under corners prevents true leveling. Identify wall studs and plumbing locations using a stud finder.
-
Dry Fit Before Final Placement
Position the vanity without attaching anything. Place your level diagonally across corners, then front-to-back. Mark any gaps exceeding 1/8" with painter's tape.
-
Shim Strategically
Slide shims under low corners until gaps disappear. Stack thinner shims for precision adjustment. The goal is contact at all four corners without forcing the vanity upward.
-
Secure and Trim
Once level, screw through the cabinet back into wall studs. Score shim excess with a utility knife and snap off cleanly. Leave about 1/2" visible – don't cut completely flush.
-
Secondary Void Filling
Apply expanding foam or silicone caulk into gaps between the vanity and wall. For floor voids exceeding 1/2", use self-leveling compound before vanity installation.
-
Final Verification
Place a glass of water on counter corners and watch for movement. Test doors and drawers for smooth operation – binding indicates remaining issues.
Shim Secret:
Tape shims together before inserting for easier positioning! Stacking composite shims with double-sided tape creates adjustable units that stay together during installation.
Fixing Void Nightmares (Special Techniques)
Significant voids behind or beneath vanities require special approaches:
For floor voids under 1/2":
Use flexible backer rod pushed into gaps followed by paintable silicone caulk. The rod creates a solid base while the caulk seals.
For wall gaps behind vanity:
Install composite filler strips cut to match the gap profile. Caulk both sides after placement. Avoid regular putty – it cracks over time.
For large irregular spaces:
Custom-cut PVC trim boards create the most professional solution. Use construction adhesive and finish nails to secure them before caulking.
Crucial Mistakes to Avoid
•
Over-shimming corners:
Creates cabinet twisting rather than leveling. Add shims gradually in pairs.
•
Ignoring floor leveling:
No vanity sits level on an uneven floor. Address floor issues first.
•
Relying on silicone alone:
Caulk fills but doesn't support. Always use structural shims.
•
Forgetting post-installation checks:
Recheck level after attaching plumbing – connections can shift weight.
Pro Q&A: Solving Real-World Problems
My vanity was level yesterday but wobbles today. What happened?
Foundation shifts or loose mounting screws are likely culprits. Check wall attachments first – wall anchors pull loose if not in studs. For slab foundations, seasonal expansion causes minor shifts that may require shim adjustments.
How do I level a vanity with fixed legs?
Use tapered shims under the base instead of adjusting legs. Cut slots in shims to fit around legs. For severe cases, add leveling feet to the legs using threaded inserts.
Can I level an existing vanity without removing it?
Absolutely! Detach the plumbing first, then loosen mounting screws. Use a car jack with wood blocks to lift corners just enough to insert shims. Work slowly and check progress with your level.
Final Reality Check:
No vanity is perfect! Even professional installations can have 1/16" variance due to material flexibility. Focus on eliminating rocking and ensuring proper drainage rather than absolute perfection.
Transform Your Bathroom Experience
Perfectly level vanities create bathrooms that function beautifully and stand the test of time. With these techniques, you've gained the knowledge to troubleshoot installations and correct existing issues. Remember - great bathroom design feels solid, not shaky. Now go reclaim your peaceful morning routine with a vanity that stands as perfectly level as your favorite barista's espresso pour!