
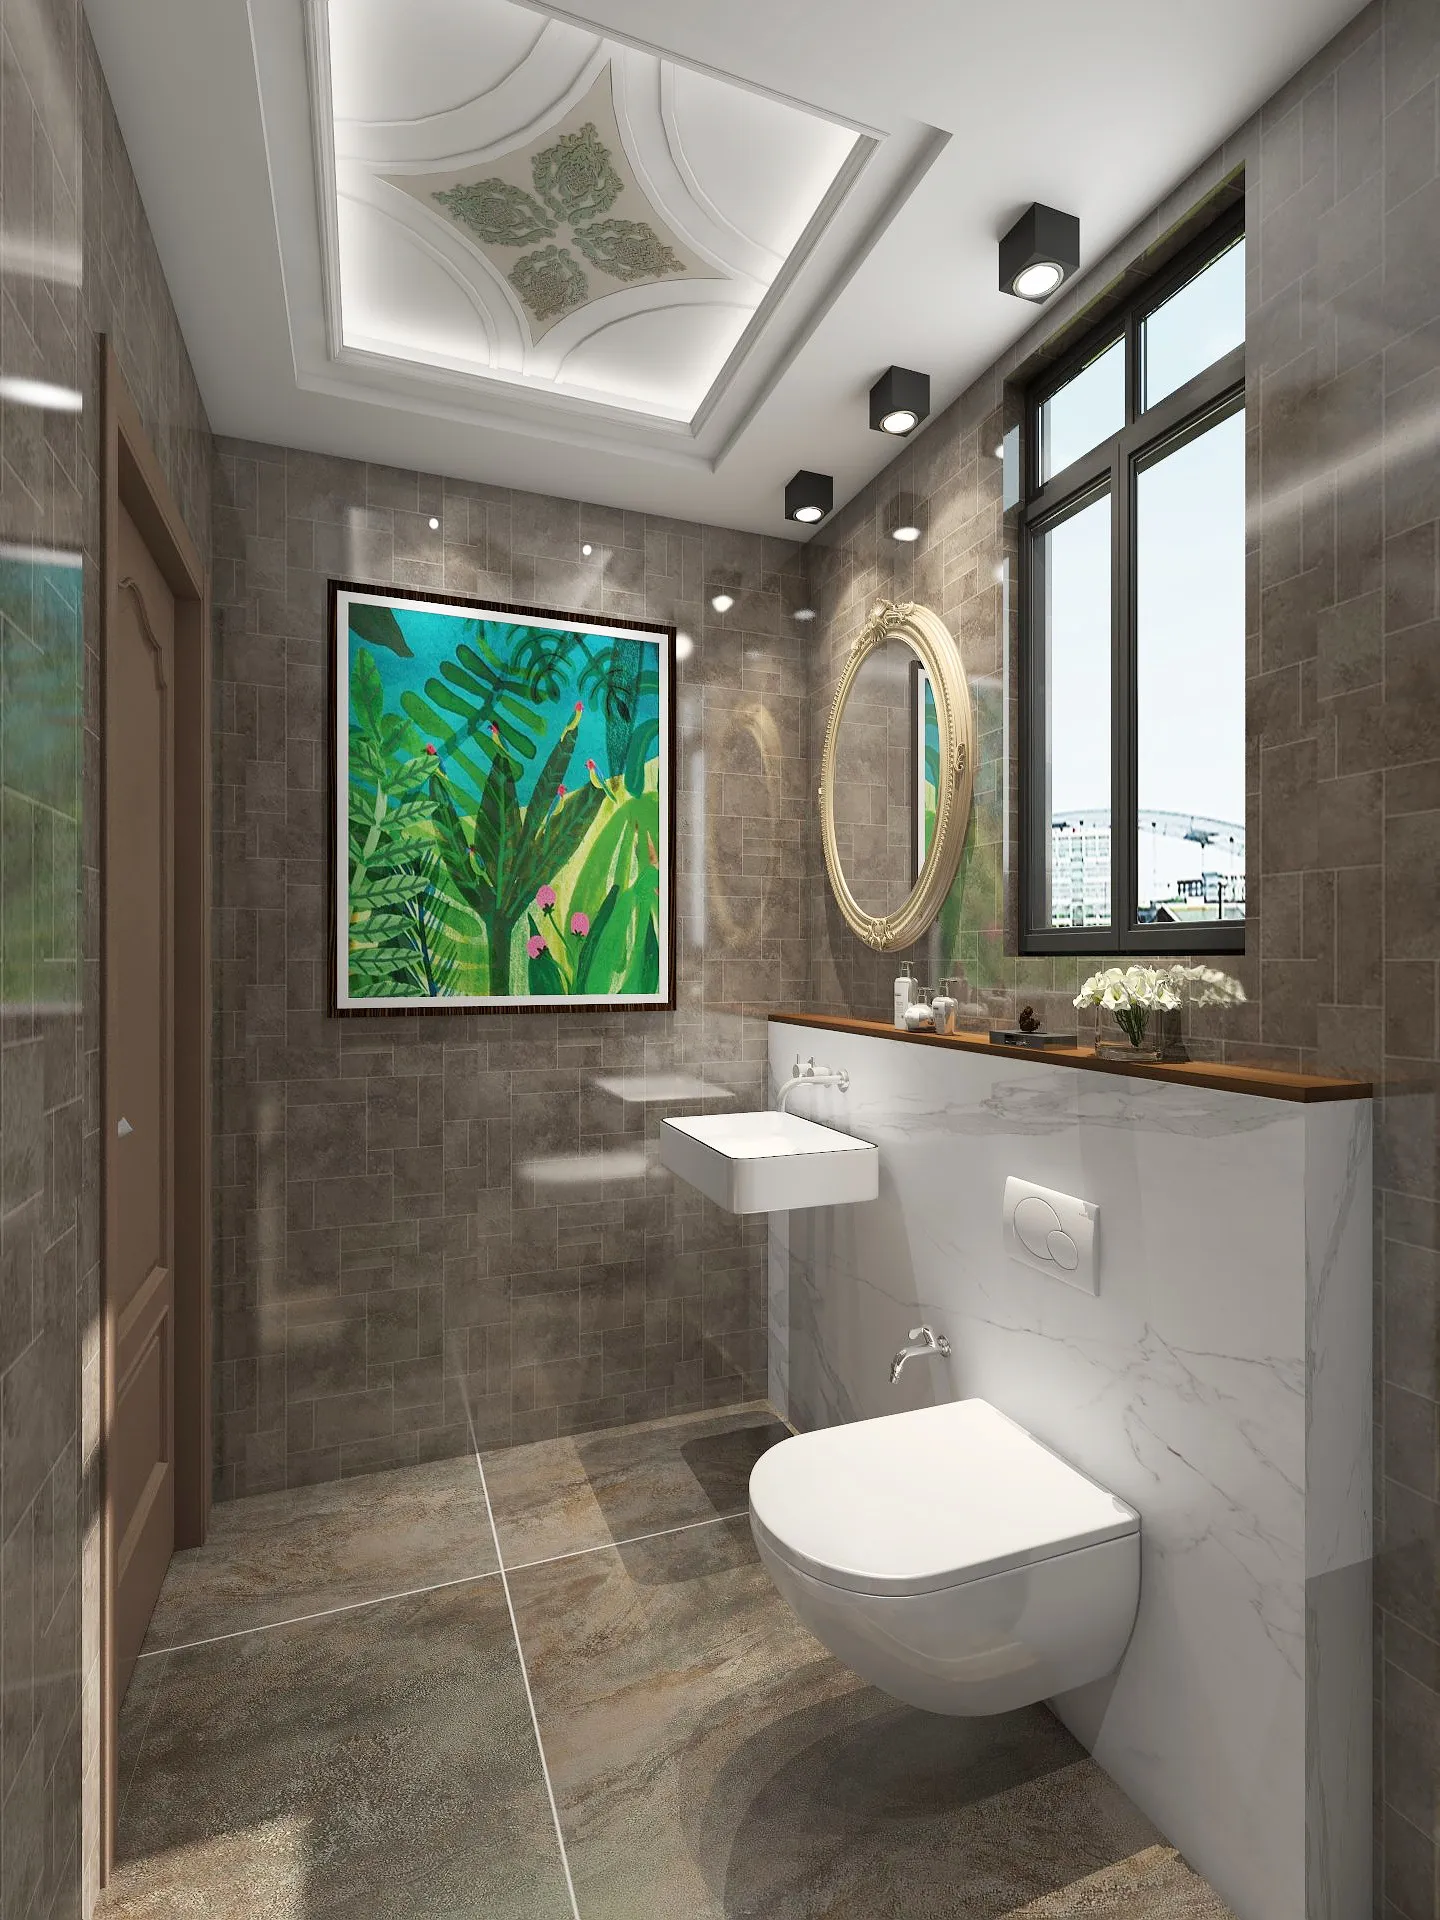
So you're renovating your bathroom, and you've fallen in love with that sleek, modern look of wall-mounted washbasins. You know the ones – they look like they're floating, with clean lines and nothing but your fancy sink and beautiful faucet showing. What you don't see is the hidden backbone making it all possible: the concealed frame system.
Choosing and installing these support structures isn't just about picking what looks good in the showroom. There are critical factors like weight capacity, material durability, and how your wall construction can handle it all. Get it right, and you'll enjoy that gorgeous floating vanity for decades. Get it wrong? Well... let's just say you don't want a sink crashing down during your morning routine!
I always tell my clients: the frame is like the foundation of a house. You might not see it once everything's finished, but it determines whether your entire bathroom project succeeds or fails. The beauty of wall-mounted fixtures comes down to what's hidden behind those tiles.
Compared to traditional vanity units, concealed frame systems aren't just about looks – though the minimalist aesthetic is definitely a huge win. They're about creating functional solutions that maximize space and minimize cleaning nightmares. Without bulky pedestals or cabinets swallowing up your floor space, you gain:
But here's the real secret: that pristine floating look depends entirely on getting the hidden mechanics right. Your frame becomes invisible infrastructure that determines whether your washbasin becomes a showcase or a safety hazard.
Quality frames typically feature several non-negotiable components. First, heavy-duty vertical rails that anchor directly into wall studs or supporting masonry. Then horizontal crossbars to distribute weight evenly across the wall surface. Adjustable mounting brackets allow you to perfectly position your basin no matter your wall's quirks.
The best models include clever engineering touches like vibration-dampening materials to prevent shaking when you lean on the basin, and pre-drilled channels that simplify plumbing installation. Look for corrosion-resistant materials – bathroom moisture destroys cheap metals faster than you'd think.
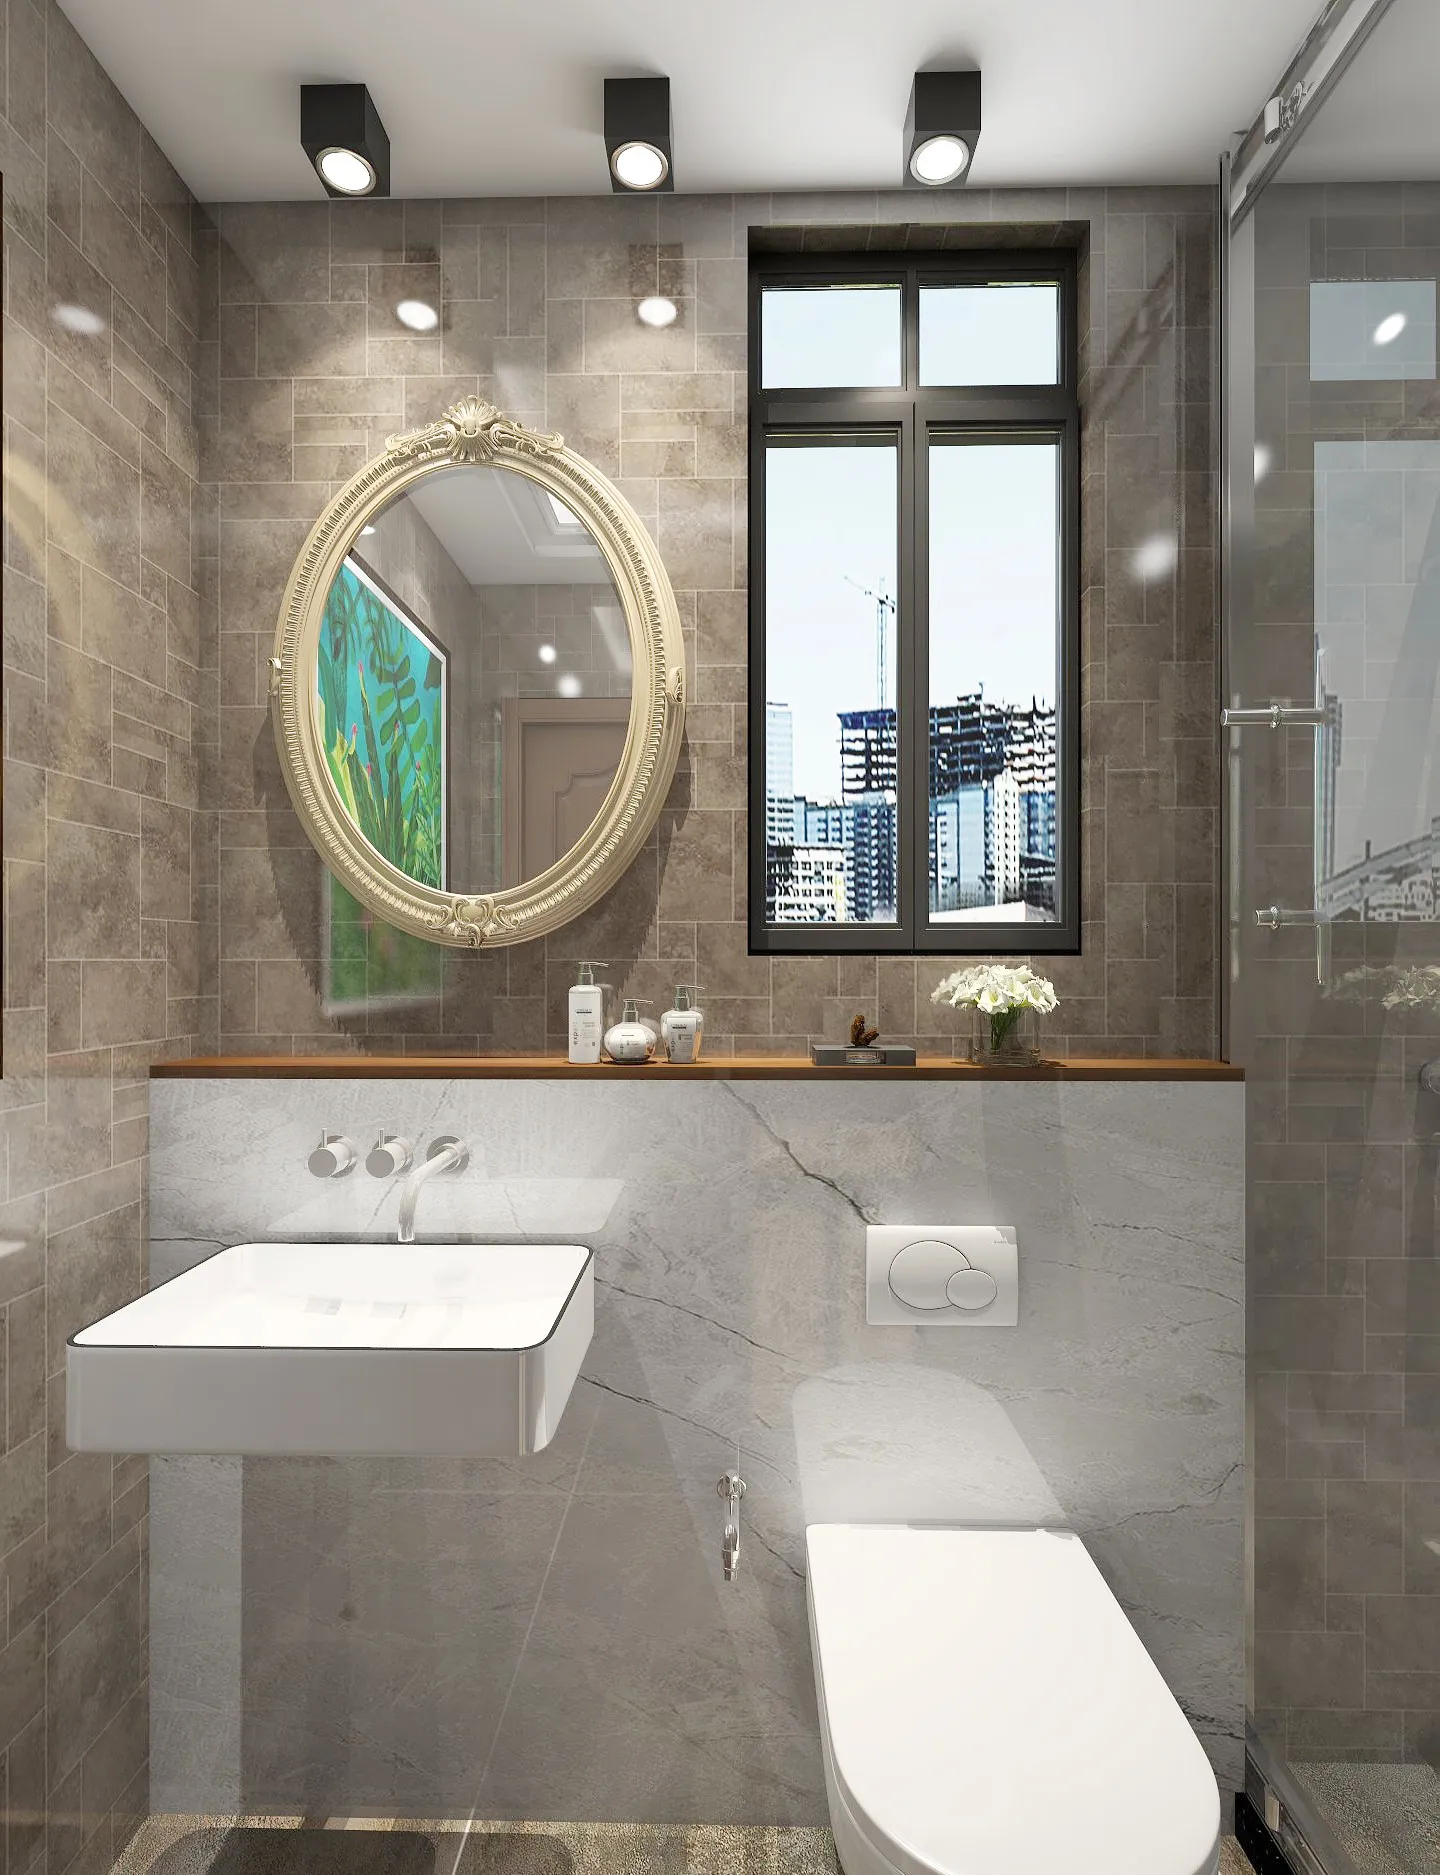
Not all frames are created equal, and the washbasin frame that works for your neighbor's concrete-walled bathroom might collapse in your plasterboard partition. Here's what really matters:
Stainless steel remains the undisputed champion for corrosion resistance, but not all grades are equal. Go for marine-grade 316 stainless if you're near coastal areas. Powder-coated steel offers excellent durability at lower price points, but inspect the coating quality carefully. I've seen cheap finishes bubble off within months.
More manufacturers are now offering aluminum alloy frames – lighter but equally sturdy options that make installation easier. Whatever material you choose, ensure it's certified for bathroom use. Regular steel will rust no matter how fancy the packaging looks.
That ceramic basin might feel light in the showroom, but remember: you'll be adding water, your leaning weight during use, and potentially someone sitting on it (admit it, we've all done it!). Industry standards recommend frames rated for at least 4-5 times the actual basin weight.
Here's a pro tip: check the mounting holes. More holes spaced closer together distribute load better across your wall structure. If you see just two widely spaced mounts? Run away – that setup concentrates stress dangerously.
The biggest mistake I see? People choose frames for smaller basins than they actually install. Your gorgeous vessel sink might be twice as heavy as a standard countertop basin – make sure your frame accounts for that!
Solid brick or concrete walls can handle virtually any frame with proper anchoring. But plasterboard partitions? You'll need specialized "hollow wall" frames that distribute weight across multiple studs. Some advanced systems even include load-spreading plates that mount behind the drywall.
If you have tiled surfaces already, look for frames designed for retrofitting – they typically feature adjustable mounting brackets that adapt to your existing layout. Measure your wall cavity depth carefully too; some frames need significant depth you might not have.
Will your pipes come from the floor or through the wall? Quality frames offer cutaway sections and pre-positioned access points for both scenarios. Look for models with adjustable plumbing gate locations – they're life-savers when your rough-in measurements don't perfectly align.
Pay attention to waste pipe clearance. Narrower frames might require special low-profile traps. Ask about this upfront; discovering pipe conflicts during installation causes expensive delays.
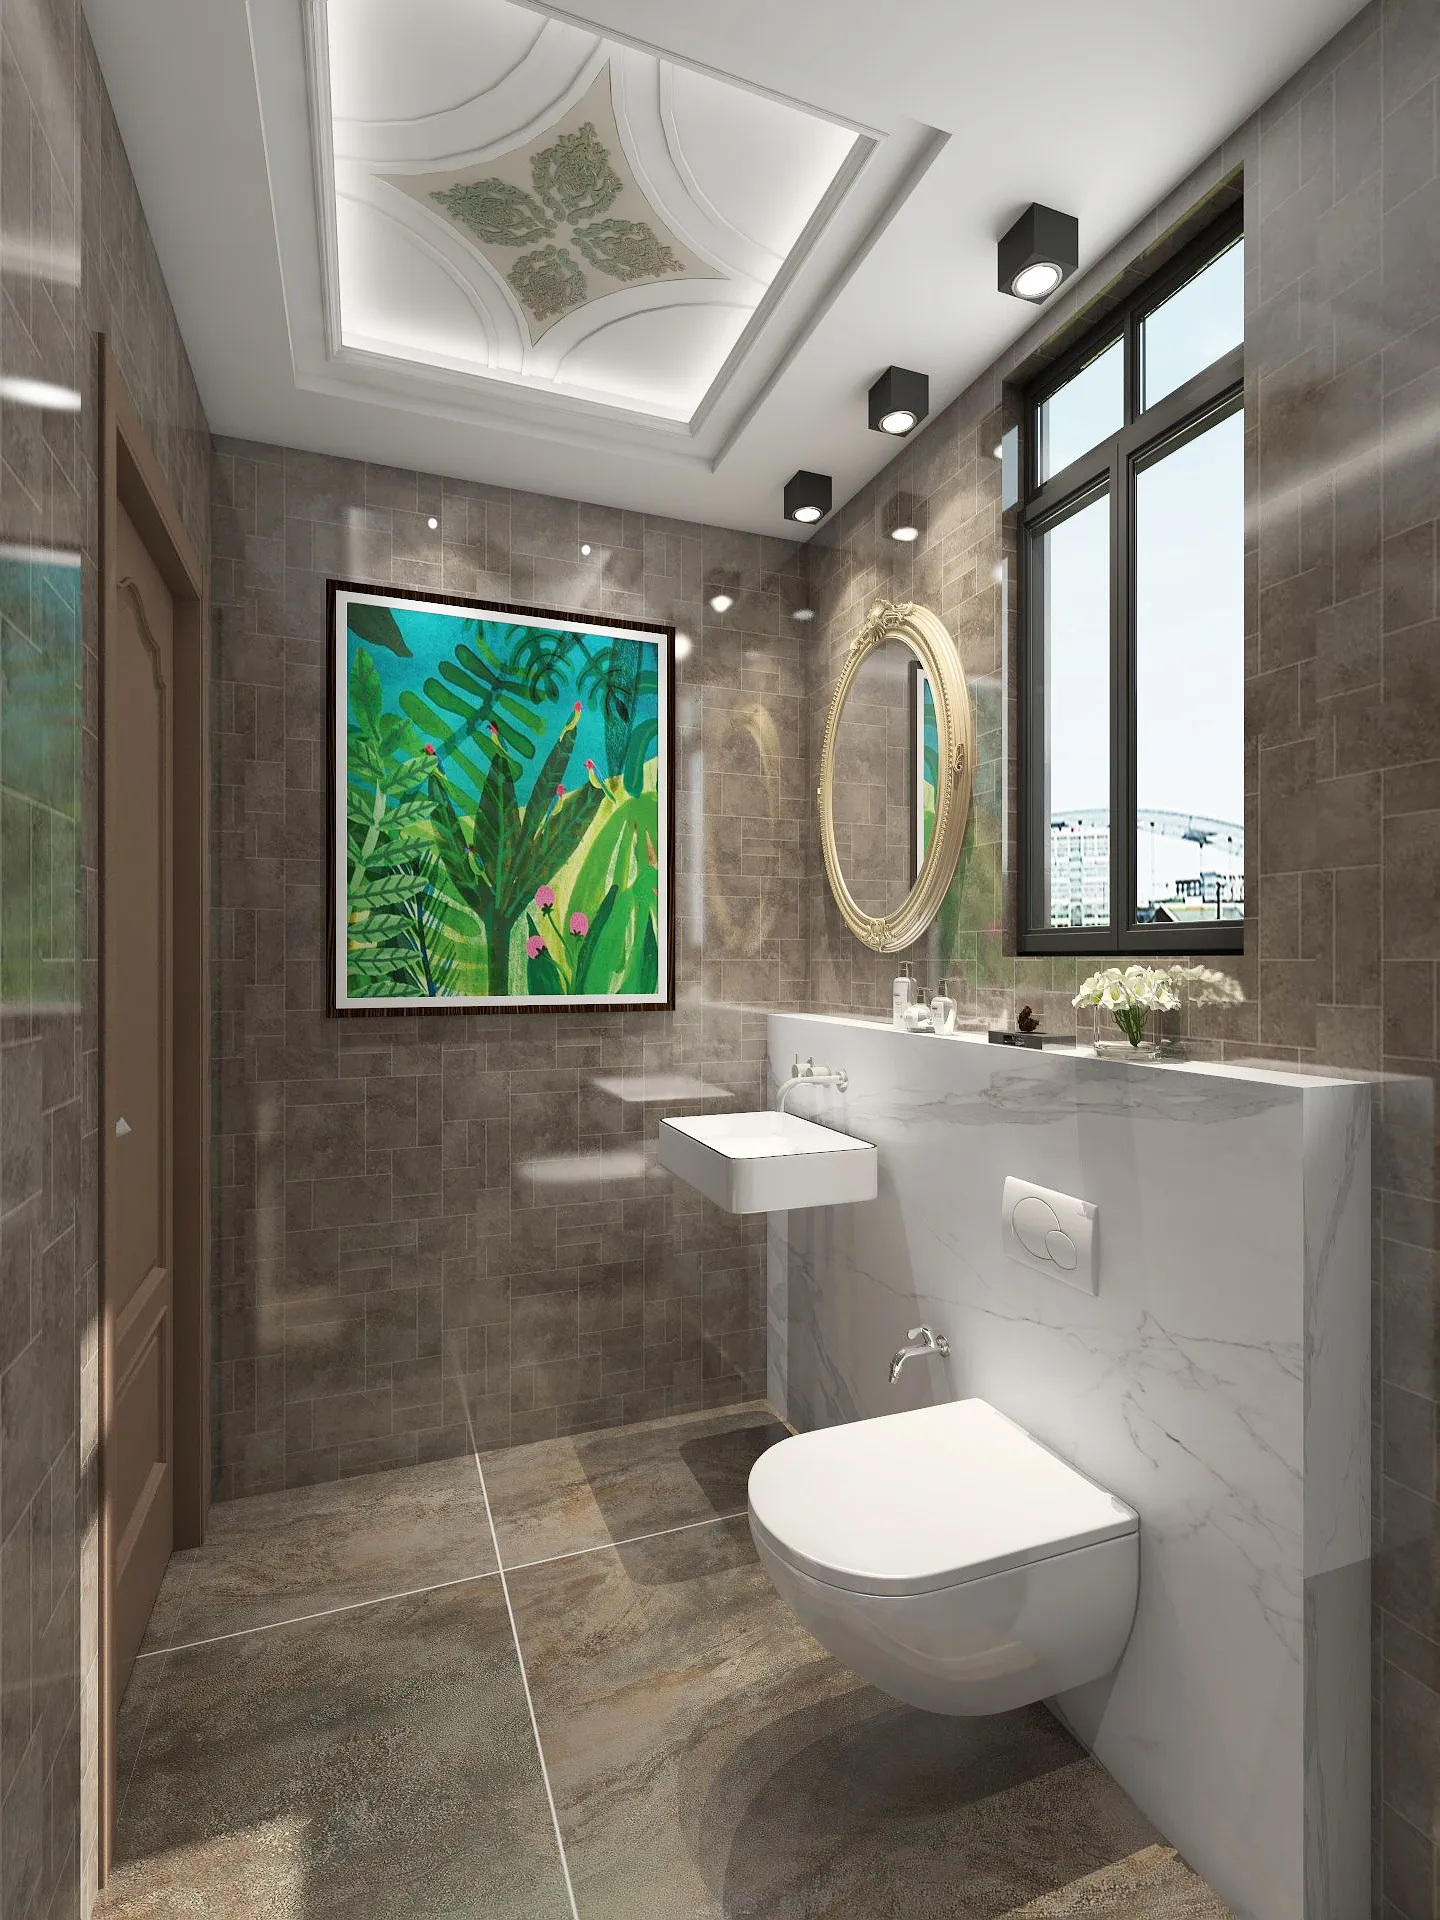
Once you've selected your frame, proper installation makes all the difference between a rock-solid result and a wobbly nightmare. Follow this battle-tested process:
Start by confirming your wall structure with a stud finder – don't rely on builder's marks. For masonry walls, use a scanner to avoid pipes and electrical runs. Measure and mark your precise mounting height: most experts recommend mounting heights of 75-90cm depending on user height.
Prepare your workspace: protect floors, disconnect power, and shut off water supplies. Gather your tools – you'll need a spirit level, drill with masonry/concrete bits, impact driver, screw kits, measuring tape, and potentially wall anchors.
Position your frame exactly where marked, using temporary supports if needed. Here's where the magic happens: screw in your upper fasteners first but don't tighten fully. Check for perfect level in all directions – this is where micro-adjustable frames shine.
Once level, fasten the bottom mounts. Alternate tightening gradually to avoid twisting the frame. For hollow walls, ensure weight distributes across at least two studs using load-spreader plates. Always use the manufacturer's specific fasteners – generic screws may not meet load requirements.
Now bring in your basin. Most quality washbasins feature mounting slots or preformed anchor points. Apply silicone sealing compound to the basin back where it contacts the wall – this prevents water damage behind the basin.
Lower the basin onto the mounting brackets carefully. Hand-tighten all fixtures initially, check for level again, then make final torquing passes following the manufacturer's pattern sequence. Over-tightening cracks ceramics!
The moment of truth: grab both sides firmly and try to wiggle the basin. Any movement means something's wrong. Don't ignore it! Check mount tightness and contact points before proceeding.
Connect your faucets temporarily for a leak test. Turn water on slowly while watching connections. Once confirmed leak-free, make permanent plumbing connections.
Now for the magic: install whatever decorative covering your system uses. This might be as simple as neat silicone sealing between basin and wall, or custom panels for fully concealed frames. Take your time here – messy trim work ruins the floating illusion.
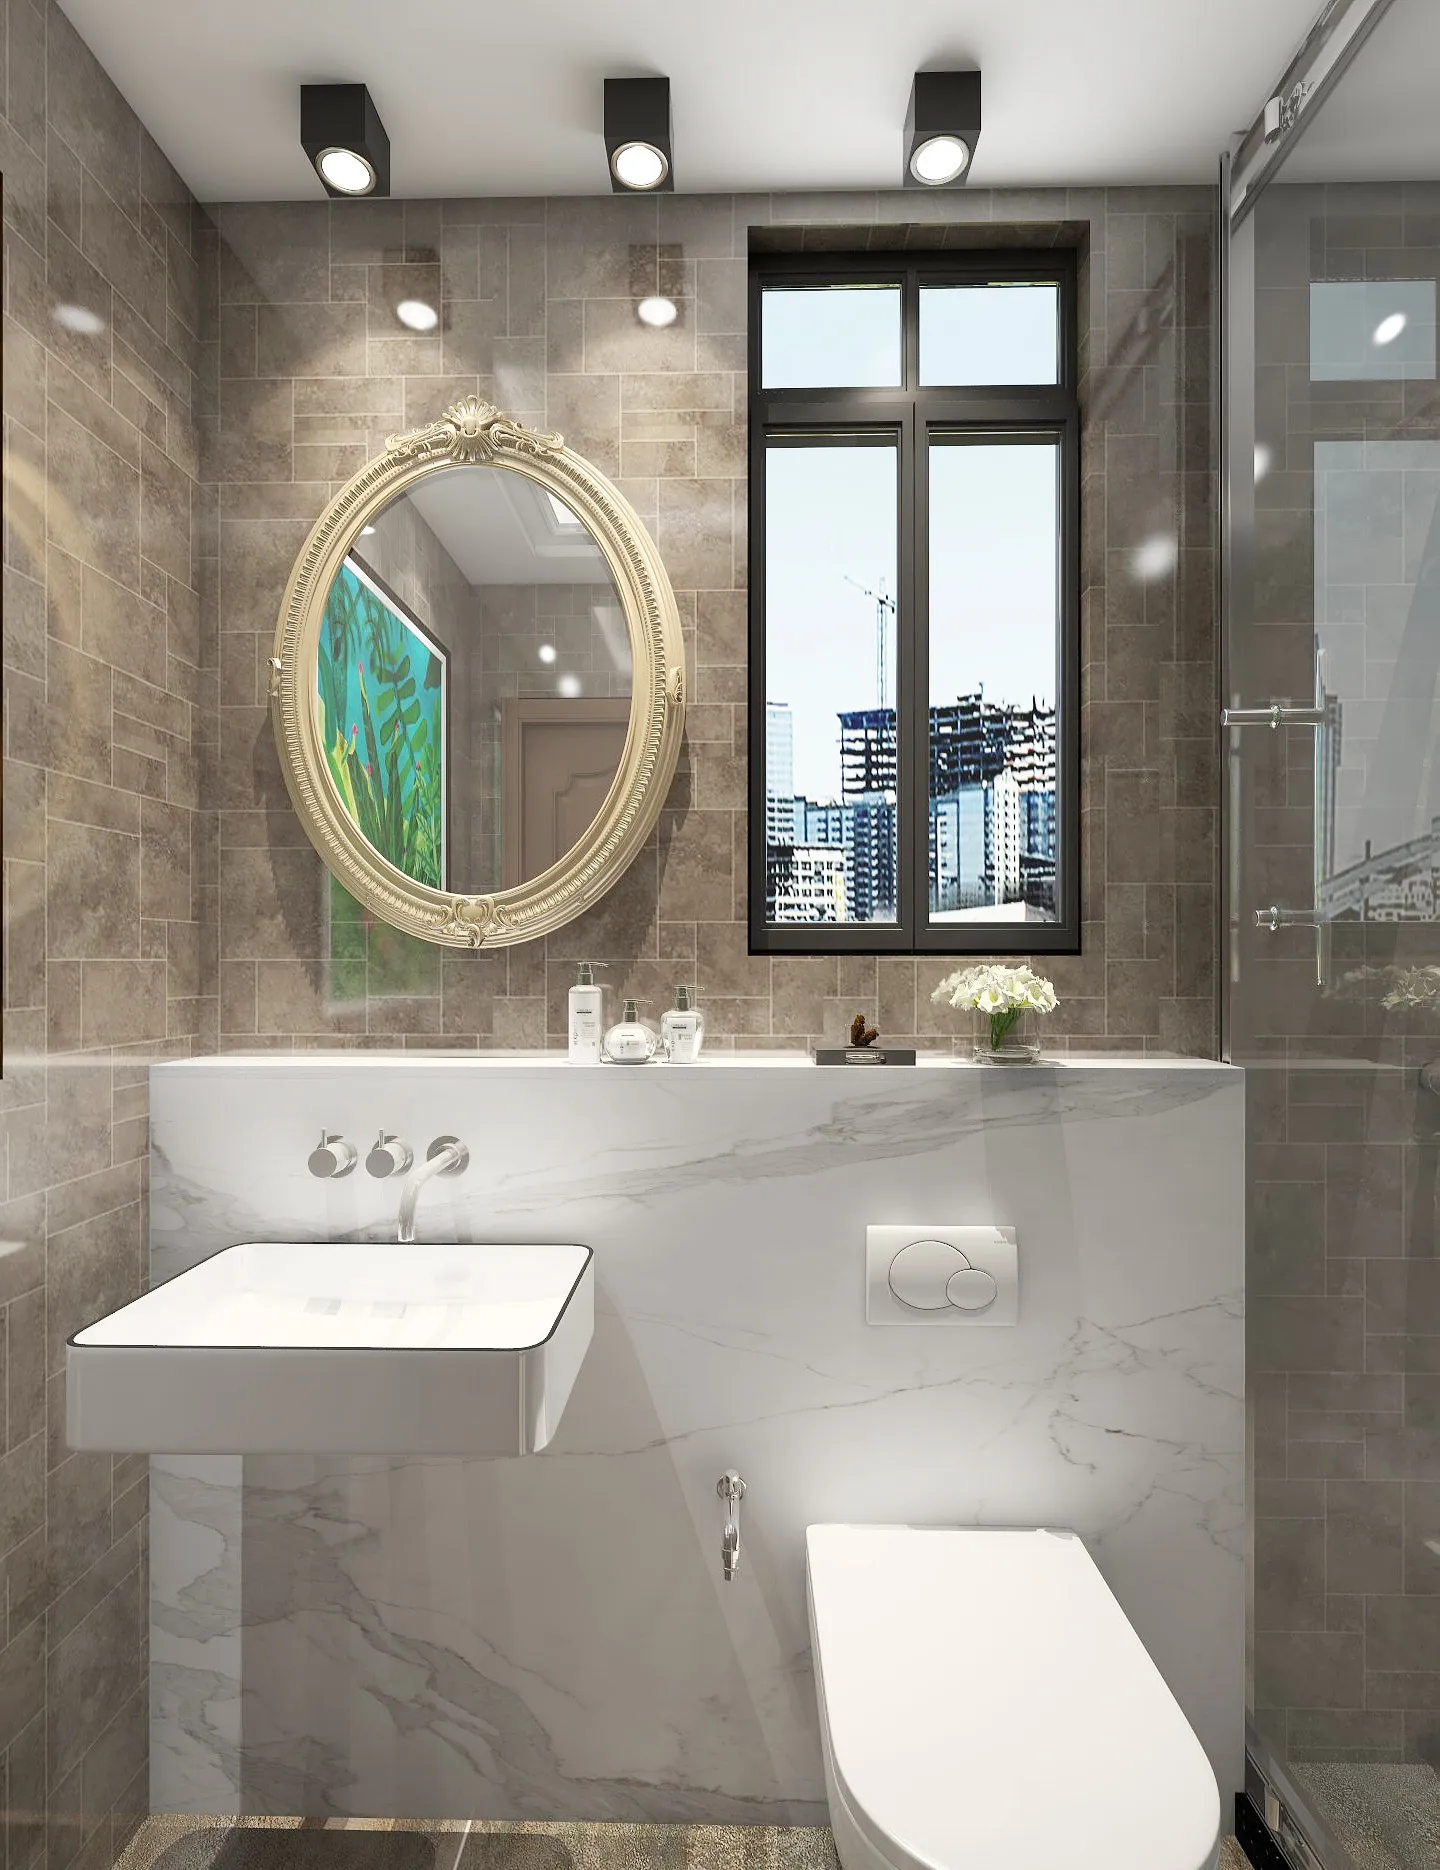
Hidden frames are extremely low-maintenance if installed correctly, but a few precautions prevent future headaches:
The best systems come with 5-10 year warranties, but proper care keeps them working flawlessly for decades. Look for manufacturer support – premium brands offer expert help for replacements or adjustments years later.
Even with perfect installation, issues occasionally surface. Here's how to solve the most common complaints:
Annoying vibration or rattling: Likely caused by slightly loose mounting bolts or insufficient damping material. Check all mount torques first. If that fails, specialized vibration pads inserted between frame and basin often solve this.
Creaking sounds when leaning: Typically indicates metal-on-metal contact points between frame components. Application of silicone lubricant or specialized rubber shims stops this noise instantly.
Basin tilting forward: Usually means either your wall structure is deforming (serious issue!) or mounting bolts have loosened. Immediate inspection required – remove basin carefully and inspect wall integrity.
Mysterious water behind basin: Failed silicone seal between basin and wall. Cut out old sealant completely, dry thoroughly, and reapply high-quality sanitary silicone using proper finishing techniques.
The single best investment? Add regular professional inspections every 2-3 years. Paying a specialist for one hour could save you from catastrophic failure and costly bathroom repairs later.
Choosing and installing your concealed support frame doesn't need to be intimidating. With the right information and preparation, you'll gain that stunning, functional bathroom centerpiece without compromise.
Remember: frame selection determines your success before installation even begins. Choose quality materials rated appropriately for your unique situation. Follow installation steps methodically – never rush the critical mounting stage. And invest in maintenance to protect your investment long-term.
What's next? Grab your existing bathroom layout and start researching frames that match your structure. Compare specifications carefully – weight limits, materials, and compatibility details matter more than appearance. With these insights, you're ready to create that magazine-worthy bathroom sanctuary you deserve!
Recommend Products












