Sauna Floor Load-Bearing Requirements: Avoiding Installation Risks
Why Your Sauna's Foundation Matters More Than You Think
Picture this: you've invested in a beautiful cedar sauna, envisioning years of relaxation and health benefits. But weeks after installation, you notice worrying cracks in the flooring beneath it. The door starts sticking. That glorious steam session now comes with subtle vibrations beneath your feet. What went wrong? Most likely, inadequate load-bearing preparation.
Saunas aren't just cozy wooden rooms—they're heavy engineering projects in disguise. Between the dense timber construction, water tanks, rocks, and the weight of multiple occupants, a standard home sauna can easily exert over 150 pounds per square foot . That's equivalent to parking a compact car in your bathroom!
The #1 mistake DIYers make? Assuming any level floor surface can support a sauna. Concrete slabs can crack, wood joists can sag, and tile floors can shatter if load calculations are overlooked.
Demystifying Sauna Weight Components
To properly engineer your foundation, you need to account for every weight contributor:
Structural Weight
Cedar or hemlock panels: 3-4 lbs/sqft
Benches & framing: 6-8 lbs/sqft
Roof assembly: 5-7 lbs/sqft
Insulation: 1-2 lbs/sqft
Functional Loads
Stove + rocks: 150-400 lbs
Water tank (full): 200-450 lbs
Ventilation system: 30-50 lbs
Lighting/accessories: 20-40 lbs
Human Factors
Occupants (avg 175 lbs each)
Steam saturation (adds 10-15% to material weight)
Dynamic movement vibration
Snow load for outdoor units
Professional installers use this rule of thumb: Take your calculated total weight and add a 40% safety margin . Why? Because wood expands when humidified, rocks shift, and people don't sit perfectly still!
The Material Match Game: Pairing Floors & Saunas
Not all foundations are created equal—especially when dealing with saunas. Here's how common flooring options stack up:
Concrete Slabs:
• Requires minimum 4" thickness (6" recommended)
• Must be reinforced with rebar or wire mesh
• PSI rating: ≥3,500 compression strength
• Beware of cracks >1/8" - indicates structural weakness
Wood Subfloors:
• Joist spacing max 16" on center
• Double-layer plywood (3/4" exterior grade + 1/2" underlayment)
• Cross-bracing essential below joists
•
Waterproofing
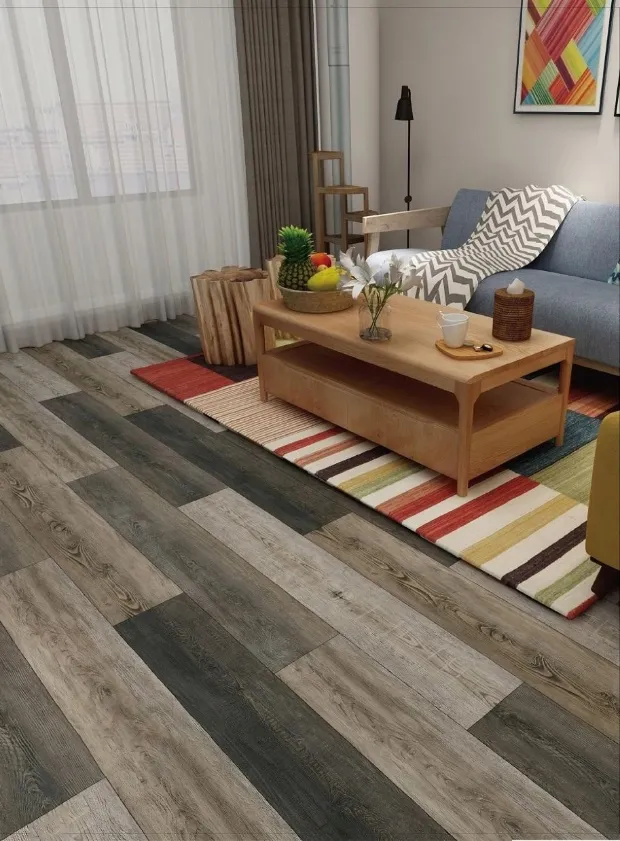
is non-negotiable—consider SPC flooring core for moisture resistance
Tiled Surfaces:
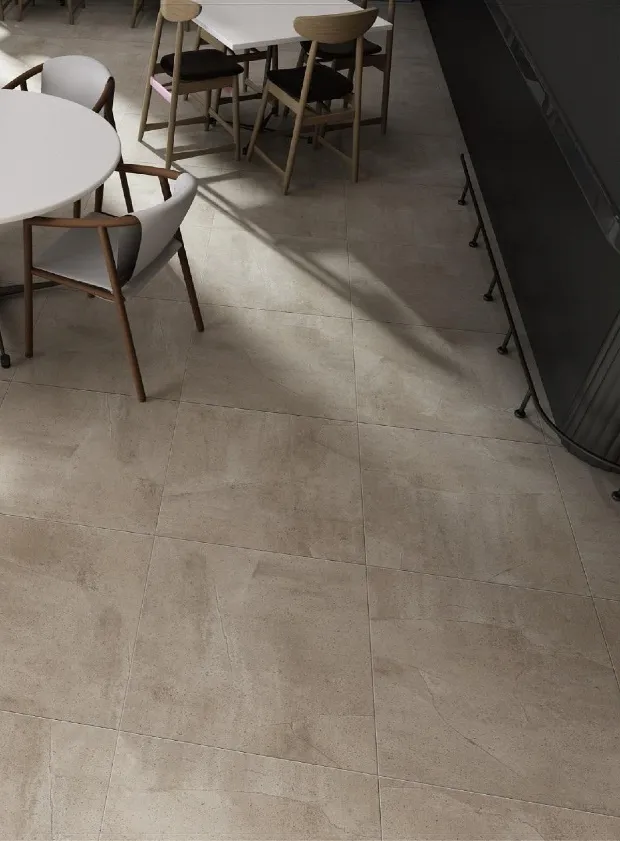
• Use porcelain rather than ceramic (higher density)
• Substrate deflection limit: L/360 or less
• Grout lines must be epoxy-sealed
• Avoid large formats (>12x12") without uncoupling membrane
Outdoor installations bring additional complexities—frost heave, drainage slope, and the integration of vapor barriers that wrap the entire foundation like a protective envelope.
Disaster Prevention Checklist
Avoid these critical installation mistakes:
⚠️
Ignoring Moisture Management
Steam finds every weakness. Create a continuous drainage plane using polyethylene sheeting and ensure water flows away from the foundation.
⚠️
Improper Reinforcement
For upper-story installations, consult a structural engineer to calculate point loads and determine beam reinforcement needs.
⚠️
Compromised Support
Install anti-vibration pads made of dense rubber or polymer compounds. These absorb thermal expansion noise and distribute weight evenly.
⚠️
DIY Without Diagnostics
Even if you're installing a prefab kit, invest $250 in a laser level scan and moisture mapping to detect invisible vulnerabilities.
Real-World Case Study: The Almost-Catastrophe
Mark and Susan installed a 6-person barrel sauna on their deck. Despite warnings, they skipped additional reinforcement. Within 3 months:
• Deck joists sagged 1.5" at center
• Cedar planks developed compression fractures
• Glass door shattered during a cooling cycle
The fix? $8,500 in repairs including helical piers sunk 7 feet deep. Their maintenance tip? "Feel the floor" monthly—kneel barefoot and scan for subtle vibrations or temperature variations indicating settling.
Professional vs. DIY: When to Call Experts
While small infrared units (<120 sqft) can often be DIY projects, consider professional installation if you encounter:
• Slopes exceeding 2°
• Floor joists larger than 16" OC spacing
• Any existing cracks in concrete
• Plans for steam rooms exceeding 200°F
• Historic homes with unknown subfloor conditions
Building contractors now use ultrasonic density testers to map subsurface voids and thermal imaging to detect moisture traps—tools far beyond the average homeowner's toolkit.
Maintenance: Protecting Your Investment
A well-built foundation needs periodic care:
• Monthly: Check levelness with a 4-ft precision level
• Quarterly: Inspect for mold under benches using a mirror probe
• Annually: Re-seal perimeter gaps with high-temp silicone
• After 5 years: Core sample concrete for compression testing
For wood foundations, consider penetrating oil treatments that don't trap moisture. Many find that high-quality commercial flooring systems outperform residential options due to superior impact resistance and thermal cycling tolerance.
The Final Word: Safety First, Relaxation Second
The silent integrity of your sauna's floor makes everything else possible—the therapeutic heat, the cleansing steam, the quiet moments of reflection. Cutting corners here doesn't just risk property damage; it endangers the very people who step inside seeking wellness.
Allocate at least 20% of your sauna budget for proper foundation work. Document load calculations permanently near the electrical panel for future reference. And most importantly: never let aesthetic excitement override structural pragmatism. That steamy sanctuary deserves nothing less than rock-solid underpinnings—quite literally.
Tags:
Recommend Products


