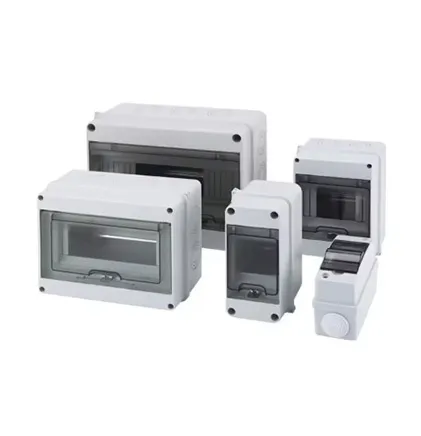
Hey there! If you're dealing with a stubborn distribution box door lock that won't budge or seems worn out, you're in the right place. Let's walk through how to diagnose and fix this common issue step-by-step. I'll keep things conversational so it feels like we're troubleshooting this together in your garage.
1. Diagnosing the Problem
First things first – don't force the lock! Here's how to figure out what's really wrong:
-
Check for visible damage
– Cracks around the lock mechanism or bent metal parts
-
Test key rotation
– Does the key turn smoothly or feel gritty?
-
Listen for clicks
– Healthy locks should give a satisfying "click" when engaged
-
Look for weather damage
– Moisture rusting internal components (common in outdoor boxes)
-
Inspect alignment
– Is the door sagging on its
stainless steel fittings
, preventing the lock from catching?
Safety First:
ALTERNATING CURRENT IS NO JOKE ⚡ Before touching any
electrical equipment, turn off the main power at your meter base. Use certified insulated gloves – better safe than sorry!
2. Repair or replace? Making the Call
Small fixes often solve the problem, but sometimes replacement is smarter:
Simple Repairs (DIY-Friendly):
-
Spray lock lubricant (WD-40 Specialist Electrical Contact Cleaner works great)
-
Tighten loose screws on the locking mechanism
-
Adjust door alignment by tightening hinge bolts
-
Clean out debris with compressed air
When Replacement Wins:
-
Severe corrosion in the lock cylinder
-
Broken internal springs or tumblers
-
Stripped screw threads on mounting brackets
-
Physical damage from forced entry attempts
-
Incompatibility with newer security standards
Pro Tip:
Spend $5 on a lock cylinder rebuild kit before replacing the whole assembly! Often it's just worn springs causing the issue.
3. Door Removal & Preparation
Whether repairing or replacing, accessing the lock requires removing the door:
-
Power Down
– Confirm main power is OFF using a non-contact voltage tester
-
Unbolt Hinges
– Remove hinge pins (support the door as you work)
-
Clear Debris
– Wipe down the frame surface where the door meets the seals
-
Disconnect Wiring
– If your box has lights/wiring, label wires before disconnecting
-
Lay Flat
– Place the door on a workbench or protected surface
4. Rebuilding a Faulty Lock
For repairable locks, here's the rebuild process:
-
Carefully extract retaining clips securing the cylinder
-
Slide out old tumblers and springs (take photos for reassembly reference!)
-
Soak metal parts in vinegar solution to remove rust
-
Apply dielectric grease to all moving surfaces
-
Rebuild with lock repair kit components
-
Test action before reinstalling
Don't Force It!
If pins won't budge even after soaking, replacement is safer than risking damage during reassembly.
5. Full Lock Replacement Steps
When installing new hardware:
-
Match Specifications
– Take old hardware to hardware store for exact replacement
-
Install New Catch Plate
– First secure the strike plate on the box frame
-
Position Lock Mechanism
– Line up with strike plate before fixing bolts
-
Torque Gradually
– Alternate between bolts to distribute pressure evenly
-
Test Empty
– Ensure smooth action before reinstalling the door
-
Weatherproof
– Apply silicone sealant around mounting points
Critical:
Always use factory replacement parts or UL-rated hardware. Improvised solutions may void your insurance during inspections!
6. When Doors or Hinges are the Problem
Sometimes the lock isn't the culprit! Check these:
Fixing Warped Doors:
-
Apply gentle heat (heat gun) to bent areas while supporting with wood blocks
-
Use rubber mallets for alignment adjustments
-
Consider metal reinforcement plates along weak edges
Hinge Solutions:
-
replace worn hinge pins (consider stainless steel versions)
-
Install shims to correct alignment issues
-
Upgrade to adjustable hinges if door warpage is permanent
-
Add support wheels for heavy metal doors
7. Maintenance is Key
Prevent future headaches with regular care:
-
Apply silicone lubricant to locks quarterly
-
Tighten hinge bolts annually
-
Check door seal compression seasonally
-
Keep protective caps over lock cylinders
-
Paint metal surfaces every 2-3 years to prevent corrosion
Seasonal Wisdom:
Before winter, treat locks with moisture-displacing spray to prevent freeze-ups. Ice expands in mechanisms just like in pipes!
When to Call a Professional
Seriously, know your limits:
-
Complex locking mechanisms like tubular cam locks
-
Electrical grounding points near the lock area
-
Security systems requiring certified technicians
-
Severe corrosion affecting box integrity
-
Wiring interference risks