

PU stone wall panels have taken the interior and exterior design world by storm, and it's easy to see why. These lightweight, durable, and stunningly realistic panels mimic the look of natural stone without the heavy lifting (literally) or the sky-high price tag. Whether you're sprucing up a home living room, a restaurant facade, or a commercial office lobby, they offer a blend of beauty and practicality that's hard to beat. But here's the thing: even the best materials can fall flat if installed incorrectly. From wonky seams to panels that peel off months later, installation mistakes can turn your dream wall into a frustrating, costly nightmare. As someone who's worked with countless homeowners, contractors, and even PU stone wall panel suppliers, I've seen it all. Today, I'm breaking down the most common pitfalls—and how to steer clear of them. Let's dive in.
Let's start with the basics: your wall. You've unboxed those sleek PU stone panels, admired their texture, and can't wait to see them up. So you grab some adhesive, slather it on, and stick 'em right to the wall. What could go wrong? A lot, actually. The truth is, PU stone panels (or any wall covering, for that matter) are only as good as the surface they're attached to. Think of it like painting a wall without sanding or priming—sure, it might look okay at first, but soon enough, the paint will crack, bubble, and peel. The same logic applies here.
So what does proper surface prep entail? First, cleaning . Dust, grease, and even old paint flakes create a barrier between the panel and the wall, weakening the bond. Grab a stiff brush or a vacuum with a brush attachment to sweep away loose debris, then wipe the surface with a damp cloth and mild detergent. For extra-stubborn grime (like in a kitchen or garage), a degreaser might be necessary. Let it dry completely—moisture trapped under the panel is a recipe for mold and adhesive failure.
Next, leveling . If your wall has dents, cracks, or uneven spots, those imperfections will show through the panels. A quick visual inspection might not cut it—run a straightedge across the wall to check for high or low points. Small cracks can be filled with spackle; larger gaps or holes may need a layer of joint compound. For seriously uneven walls, you might even need to install a backer board (like drywall or cement board) to create a smooth, flat surface. Remember: the goal is a substrate that's as flat as a tabletop.
Finally, priming . Not all walls need a primer, but many do—especially porous surfaces like bare concrete or drywall. A good primer seals the surface, prevents moisture absorption, and gives the adhesive something to grip onto. Most PU stone wall panel suppliers will recommend a specific primer type (often a water-based acrylic primer) that works best with their panels. Skipping this step? You're rolling the dice on whether those panels stay put.
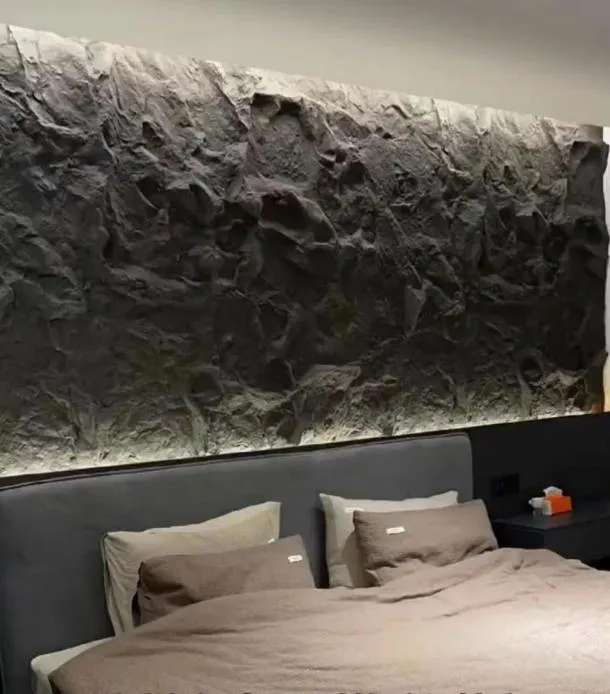
Here's a scenario I hear all the time: "I used the same glue I had leftover from installing my kitchen backsplash, and now the panels are falling off!" Adhesive is not a one-size-fits-all product, and using the wrong type is one of the fastest ways to ruin your PU stone panel installation. PU stone panels are lightweight, but they still need a bond that can withstand temperature changes, humidity, and even the occasional bump or knock.
Let's break down the options. The most common adhesives for PU stone panels are polyurethane construction adhesive and silicone-based adhesive . Polyurethane adhesives are great for most applications—they're strong, flexible, and bond well to a variety of substrates (concrete, wood, drywall). They also expand slightly as they cure, filling tiny gaps and creating a snug fit. Silicone adhesives, on the other hand, are better for areas with high moisture (like bathrooms or exteriors) because they're water-resistant and flexible. But here's the catch: not all polyurethanes or silicones are created equal. Generic "all-purpose" glues from the hardware store might not have the tensile strength needed for PU panels, especially if they're installed vertically or on ceilings.
Another key factor is the substrate . Installing panels on concrete? You'll need an adhesive that bonds well to porous masonry. Installing on drywall? Look for one that's designed for gypsum-based surfaces. Outdoor installations? UV-resistant adhesives are a must—regular adhesives can break down in sunlight, leading to panel failure. When in doubt, check with your PU stone wall panel supplier. Reputable suppliers don't just sell panels; they offer PU stone wall panel solutions that include guidance on the best adhesives for your specific project. They'll likely have a list of recommended products (or even sell them directly) that are tested to work with their panels.
Application matters too. Many people make the mistake of applying adhesive in small dots instead of a continuous bead or a "snake" pattern. This creates weak spots where the panel isn't fully supported. Aim for a 1/4-inch to 3/8-inch bead along the edges of the panel and a few smaller beads in the center (this is called the "perimeter plus center" method). And don't skimp on coverage—too little adhesive means the panel might not stick; too much, and you'll have glue oozing out of the seams (which is messy and hard to clean up).
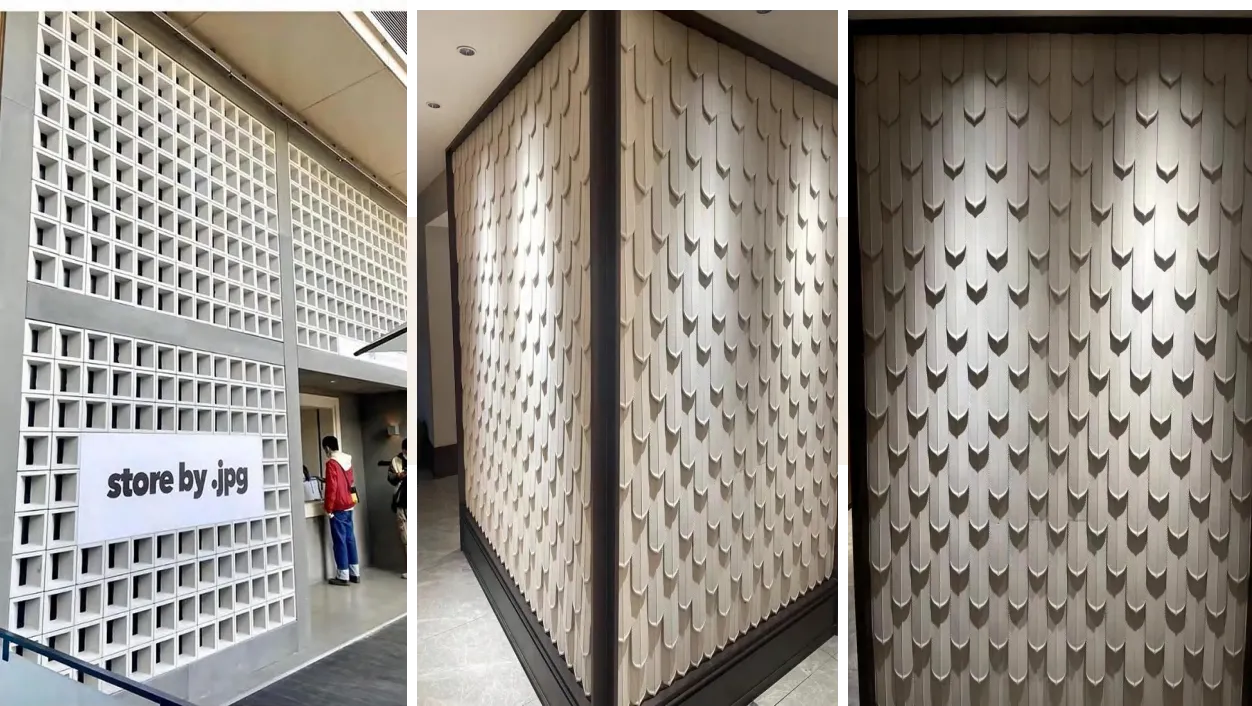
PU stone panels are made from polyurethane, a material that expands and contracts with temperature and humidity changes. It's not a huge amount—maybe 1-2mm per linear meter—but over time, those tiny shifts add up. Ignore this, and you'll end up with panels that buckle, warp, or crack. I once visited a client who had installed panels in their sunroom without a single expansion gap. By summer, the panels had expanded so much they were pushing against each other, creating unsightly humps and even popping a few loose. By winter, the gaps between them were so wide you could see the wall behind. Lesson learned: expansion gaps are non-negotiable.
So how much space do you need? It depends on the panel length and the climate. As a general rule, panels under 1 meter long need a 2mm gap, while panels over 1 meter need 3-5mm. For outdoor installations or areas with extreme temperature swings (like attics or basements), err on the side of larger gaps—up to 6mm. These gaps aren't just for the panels themselves, either; you'll also need to leave space between the top/bottom of the panel and the ceiling/floor, as well as around corners and adjacent walls.
| Panel Length | Recommended Expansion Gap | Consequence of Too Small a Gap | Consequence of Too Large a Gap |
|---|---|---|---|
| Under 1m | 2mm | Minor buckling, visible seams | Noticeable gaps, reduced aesthetic |
| 1m – 2m | 3-4mm | Moderate warping, panel displacement | Large gaps, potential for dust/debris buildup |
| Over 2m | 5-6mm | Severe cracking, panels pulling away from wall | Significant gaps, requires more caulk to fill |
How do you ensure consistent gaps during installation? Spacers are your best friend. These small plastic or rubber tools (available at hardware stores or from your PU stone wall panel supplier) slide between panels to maintain even spacing. Once the adhesive is dry, you can remove them and fill the gaps with a flexible, color-matched caulk. Avoid rigid materials like wood or metal spacers—they can prevent the panels from moving naturally. And whatever you do, don't try to "force" panels together to eliminate gaps. It might look neat on day one, but nature will have the last word.
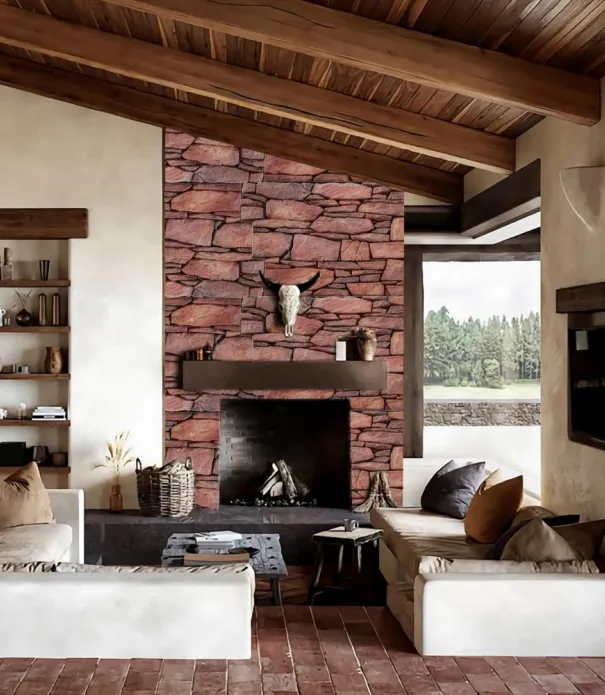
PU stone panels come in standard sizes, but chances are, you'll need to cut some to fit around windows, doors, outlets, or corners. It's tempting to grab a utility knife or a jigsaw and hack away, but poor cutting technique can leave you with ragged edges, uneven angles, and panels that just don't line up. The result? A wall that looks thrown together, not professionally installed.
First, marking the panel correctly is half the battle. Always measure the space where the panel will go, then transfer those measurements to the panel itself. Use a straightedge and a pencil (or a marker that wipes off easily) to draw a clear, straight line. And here's a pro move: label the "waste" side of the line so you don't accidentally cut the wrong part. I've seen too many people measure correctly but cut on the wrong side, ruining a perfectly good panel.
Next, choosing the right tool . PU stone panels are denser than foam but softer than natural stone, so a sharp blade is essential. For straight cuts, a circular saw with a fine-toothed blade (18-24 teeth per inch) works best. For curved cuts or tight angles, a jigsaw with a blade designed for plastic or composite materials is ideal. Avoid serrated blades—they'll tear the panel instead of cutting cleanly. And always wear safety gear: goggles to protect from flying debris, gloves to guard against sharp edges, and a dust mask (cutting PU stone does create some fine dust).
Supporting the panel while cutting is another key step. If you let the panel hang off the edge of a worktable, it will flex and vibrate, leading to uneven cuts. Use sawhorses or a stable workbench, and place a scrap piece of wood under the cut line to prevent the blade from damaging the surface below. Take your time—slow, steady cuts produce cleaner edges than rushing. After cutting, lightly sand the edge with fine-grit sandpaper (220-grit or higher) to smooth out any roughness. This ensures a tight, professional-looking fit when the panel is installed.
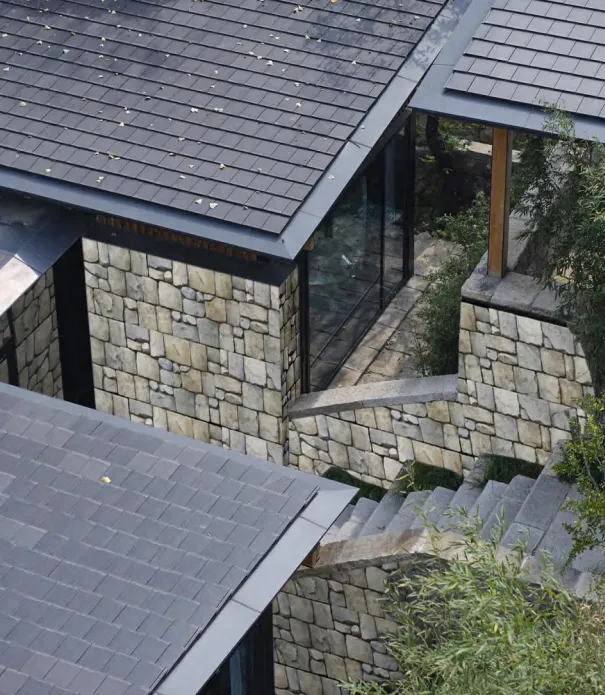
PU stone panels are generally fire-resistant, but that doesn't mean they're fireproof. And even if the panels themselves meet safety standards, improper installation can compromise their performance. This is especially critical in commercial spaces like hospitals, schools, or restaurants, where fire codes are strict and lives are on the line. I once consulted on a project where a contractor installed PU stone panels in a school using a flammable adhesive. When the fire marshal inspected, the entire installation was red-flagged, and they had to start over—costing tens of thousands of dollars and months of delays.
So what should you look out for? First, check the fire rating of the panels themselves. Reputable PU stone wall panel suppliers will provide documentation (like a UL rating or a Class A fire certification) proving their panels meet local fire codes. For high-risk areas (hospitals, schools, senior centers), you might even need to pair them with fire-resistant backing materials—think Class A fireproof CPL inorganic boards, which are designed to slow the spread of flames. Always consult local building codes; what's acceptable in a residential basement may not fly in a commercial kitchen.
Adhesives and fasteners matter too. Many generic construction adhesives are flammable, especially when not fully cured. Opt for fire-retardant adhesives explicitly labeled for use with wall panels. Similarly, metal fasteners (like screws or nails) should be made from non-combustible materials—avoid plastic anchors in fire-sensitive areas. And never, ever drill holes in panels to run electrical wires or cables without consulting an electrician. Improperly sealed penetrations can create pathways for fire and smoke to spread.

Okay, so this isn't technically an "installation" mistake, but it's closely related. Even if you nail every step of the installation, neglecting maintenance can shorten the life of your PU stone wall. These panels are durable, but they're not indestructible. Scratches, stains, and moisture damage can take a toll over time—especially in high-traffic areas like hallways or kids' rooms.
So what's involved in basic maintenance? For starters, cleaning should be gentle. Avoid abrasive sponges, scouring pads, or harsh chemicals (like bleach or ammonia). Instead, use a soft cloth or a microfiber mop with warm water and a mild detergent. For tough stains (like grease or wine), a bit of rubbing alcohol on a cotton ball works wonders—just test it on an inconspicuous area first to ensure it doesn't discolor the panel.
Inspecting regularly is also key. Every few months, check for loose panels, cracked caulk, or signs of moisture (like mold or discoloration). Tighten any loose fasteners and re-caulk gaps as needed. If a panel gets damaged (say, a corner chips off), many PU stone wall panel suppliers offer repair kits with matching filler and touch-up paint. Addressing small issues early prevents them from turning into big, expensive problems.
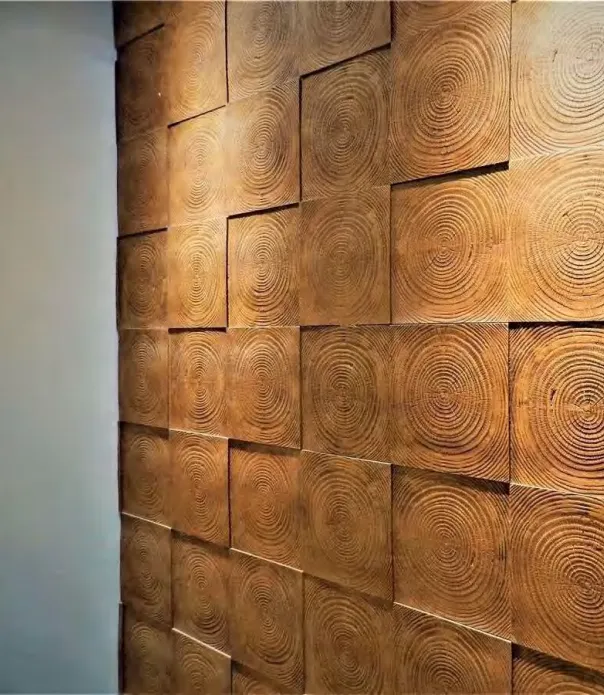
PU stone wall panels are a fantastic investment—they add texture, warmth, and style to any space, and with proper installation, they'll look great for years to come. But as we've covered, the difference between a stunning feature wall and a frustrating disaster often comes down to avoiding these common mistakes: prepping the surface, choosing the right adhesive, leaving expansion gaps, cutting carefully, prioritizing fire safety, and keeping up with maintenance.
Remember, you don't have to go it alone. Your PU stone wall panel supplier is a valuable resource—they can provide installation guides, recommend tools and materials, and even connect you with experienced installers if you're not comfortable doing it yourself. At the end of the day, taking the time to do it right will save you money, stress, and the disappointment of a wall that doesn't live up to its potential. So grab your spacers, measure twice, and build a wall you'll be proud to show off. Happy installing!
Recommend Products











