

When you walk into a beautifully designed space—whether it's a sleek modern office, a cozy residential living room, or a high-end retail store—your eyes are drawn to the details: the texture of the walls, the warmth of natural materials, the seamless flow of design. What you might not notice, though, is the unsung hero holding it all together: the adhesive. For anyone working with PU stone wall panels, choosing the right adhesive isn't just a technicality—it's the difference between a wall that wows for decades and one that starts showing cracks (literally and figuratively) within months.
PU stone wall panels have surged in popularity for good reason. Lightweight yet durable, they mimic the look of natural stone without the heavy weight or maintenance hassle, making them a top choice for both interior and exterior projects. But their beauty and functionality rely entirely on how well they're bonded to the substrate. A weak adhesive can lead to panels peeling, water seepage, or even safety hazards. That's why, whether you're a DIY homeowner tackling a renovation or a contractor managing a commercial build, understanding adhesive selection is non-negotiable. And when paired with quality panels from a trusted PU stone wall panel supplier, the right adhesive becomes the final piece in the puzzle of creating walls that are as strong as they are stunning.
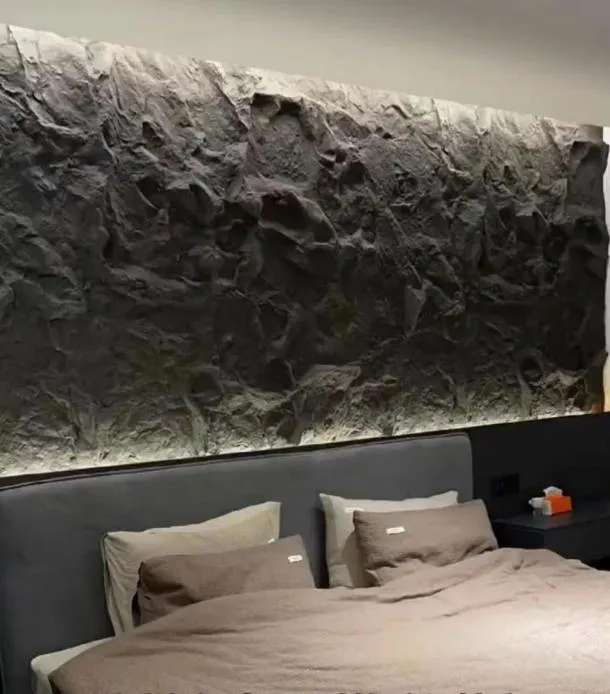
At first glance, adhesives might seem like a small detail in the grand scheme of a construction or renovation project. But seasoned builders and designers know better: the adhesive is the foundation of your wall's longevity. Let's break down why it's so critical:
Imagine installing PU stone panels in a high-traffic area—a hotel lobby, a school corridor, or a busy restaurant. If the adhesive fails, panels could loosen or fall, posing serious risks to people below. Even in residential settings, a panel in a child's room or near a staircase is a disaster waiting to happen. The right adhesive ensures panels stay firmly in place, even under stress from vibrations, temperature changes, or accidental impacts.
PU stone wall panels are designed to last, but their lifespan is directly tied to the adhesive's performance. Exposure to moisture (from rain, humidity, or even steam in bathrooms), extreme temperatures (sweltering summers or freezing winters), and UV rays can break down low-quality adhesives over time. A premium adhesive, on the other hand, forms a bond that resists these elements, keeping your walls intact for years—saving you from costly repairs and replacements down the line.
Even if a weak adhesive doesn't cause panels to fall, it can ruin the look of your project. Gaps between panels, uneven alignment, or adhesive seeping out from edges (known as "squeeze-out") can turn a high-end design into a shoddy one. The right adhesive allows for precise placement, minimal mess, and a clean finish—so your PU stone panels look as flawless as the day they were installed.
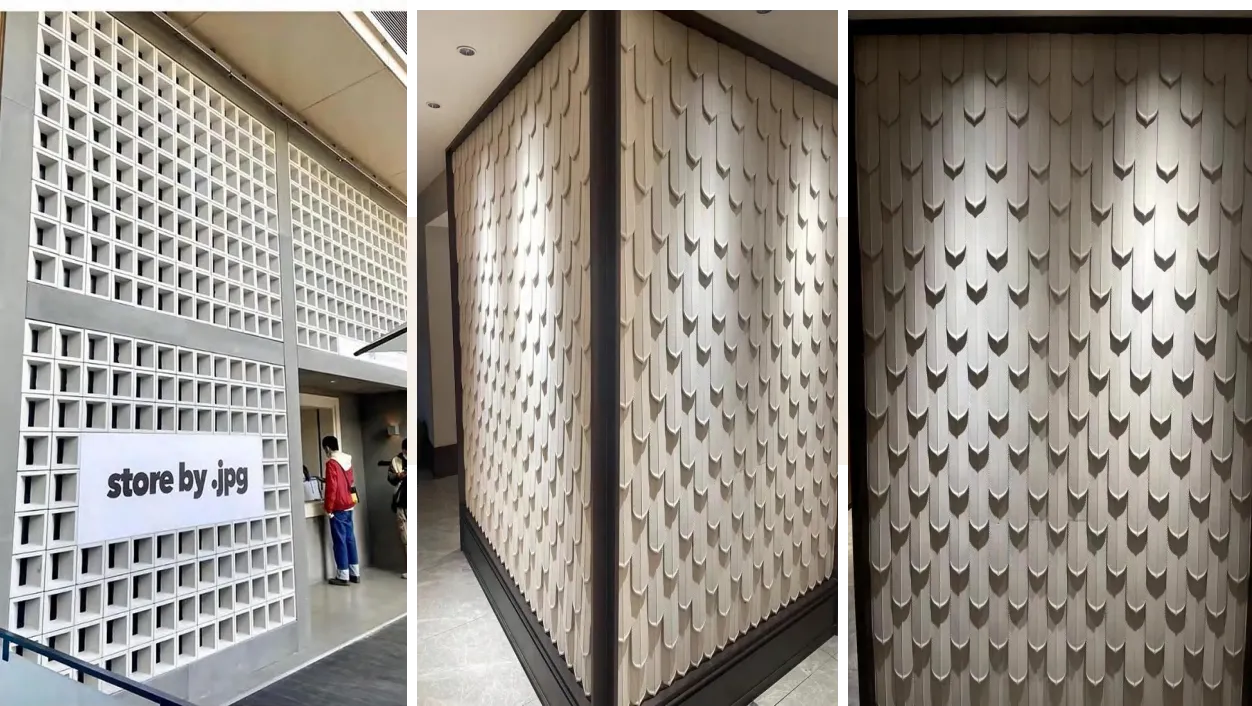
Selecting an adhesive isn't a one-size-fits-all process. What works for a residential accent wall might be completely wrong for a commercial exterior. To narrow down your options, start by asking these critical questions:
The material you're bonding the PU panels to—drywall, concrete, wood, metal, or brick—dictates the type of adhesive you need. For example, concrete is porous and may require a high-grab adhesive to ensure proper penetration, while metal is non-porous and needs an adhesive with strong initial tack. Always check the adhesive's compatibility with your substrate; a walls supplier specializing in diverse projects can often provide guidance here.
Is the wall indoors or outdoors? Will it be exposed to moisture (like a bathroom or kitchen wall) or direct sunlight? Exterior walls need adhesives resistant to UV rays and temperature swings, while bathroom walls demand waterproof formulas. Even indoor spaces with high humidity (think saunas or pools) require specialized adhesives to prevent mold growth and bond breakdown.
PU stone panels vary in thickness and density. A thin, lightweight panel for a feature wall will need less adhesive strength than a thick, heavy panel used for exterior cladding. Check the adhesive's bond strength rating (measured in megapascals, MPa) to ensure it can handle the weight of your panels, plus any additional stress from wind, vibrations, or impact.
Not all adhesives play well with PU (polyurethane) materials. Some solvents in adhesives can react with PU, causing discoloration, warping, or weakening the panel itself. Always opt for adhesives labeled as "PU-compatible," and when in doubt, consult your PU stone wall panel supplier—they'll likely have tested their panels with specific adhesives as part of their PU stone wall panel solutions.
In commercial settings like hospitals, schools, or hotels, fire ratings are non-negotiable. Look for adhesives with Class A or Class B fire resistance, depending on local building codes. Even residential projects in areas prone to wildfires can benefit from fire-retardant adhesives, adding an extra layer of safety.
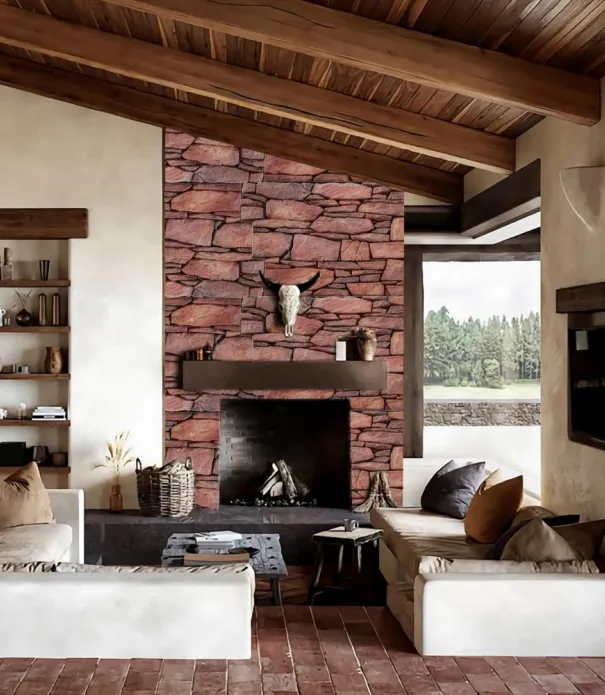
Now that you know what to look for, let's dive into the most common adhesive types used with PU stone wall panels. Each has its strengths and weaknesses, so matching the adhesive to your project's needs is key.
A blend of cement, polymers, and additives, these adhesives are a workhorse in the construction world. They're known for high bond strength, durability, and resistance to weather and temperature extremes—making them ideal for exterior walls or high-traffic indoor areas like hallways.
Pros: Affordable, easy to mix, excellent for porous substrates (concrete, brick), and resistant to moisture and UV rays. Cons: Heavier than other options, requires careful mixing (too much water weakens the bond), and may crack if the substrate moves (not ideal for flexible surfaces).
Best For: Exterior cladding, basement walls, or areas with high humidity (like laundry rooms).
Polyurethane (PU) adhesives are a top choice for PU stone panels—no surprise, given they share the same base material. They're flexible, which allows for slight movement in the substrate (common in older buildings) without breaking the bond. They also bond well to both porous and non-porous surfaces, from wood to metal.
Pros: High flexibility, strong initial tack (panels stay in place immediately), water-resistant, and compatible with most substrates. Cons: More expensive than cementitious adhesives, can expand slightly during curing (may cause bulging if over-applied), and requires good ventilation during application (due to fumes).
Best For: Interior accent walls, curved surfaces, or projects where substrate movement is a concern (like older homes).
Epoxy adhesives are the heavyweights of the adhesive world, offering unmatched bond strength and chemical resistance. They're two-part formulas (resin + hardener) that cure into a rigid, durable bond—perfect for industrial settings or areas with high mechanical stress.
Pros: Exceptional strength (often 10+ MPa), resistant to chemicals, oil, and heat, and ideal for non-porous substrates (metal, glass). Cons: Expensive, longer curing time (up to 24 hours), and inflexible (may crack if the substrate flexes).
Best For: Commercial kitchens, laboratories, or areas where panels might be exposed to spills or heavy impact.
Silicone adhesives are prized for their flexibility and waterproofing properties. They're often used in wet areas like bathrooms or around windows, where sealing out moisture is critical. They also work well for small, lightweight PU panels or as a secondary sealant around panel edges.
Pros: 100% waterproof, UV-resistant, and flexible (accommodates thermal expansion). Cons: Lower bond strength than polyurethane or epoxy (not ideal for heavy panels), and can be messy to apply (requires steady hands).
Best For: Bathroom walls, shower surrounds, or as a finishing touch to seal gaps between panels.
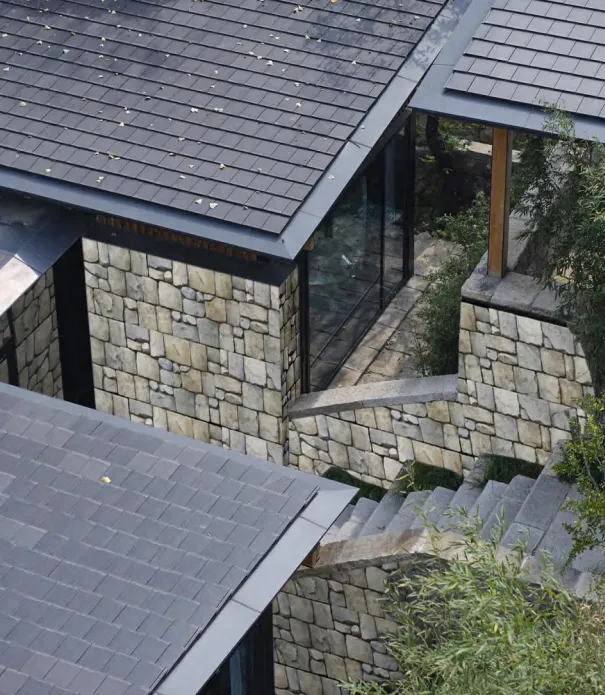
With so many options on the market, choosing a specific product can feel overwhelming. To simplify, we've compiled a list of top-rated adhesives, comparing their key features, ideal uses, and compatibility with PU stone panels. Many of these are recommended by leading PU stone wall panel suppliers as part of their comprehensive walls solutions.
| Product Name | Type | Key Features | Ideal For | Supplier Example |
|---|---|---|---|---|
| ProBond PU-500 | Polyurethane | Flexible (300% elongation), bond strength 4.5 MPa, waterproof, UV-resistant | Interior/exterior PU stone panels, curved walls | Leading PU stone wall panel suppliers |
| CemFlex Pro | Polymer-modified Cementitious | High grab (sets in 15 mins), bond strength 3.8 MPa, moisture-resistant | Exterior cladding, concrete/brick substrates | Commercial walls suppliers |
| EcoBond Epoxy Plus | Epoxy | Fire-rated (Class A), chemical-resistant, bond strength 12 MPa | Hospitals, schools, industrial kitchens | Specialty construction solutions providers |
| SiliconeShield WP | Silicone | 100% waterproof, flexible, temperature range -40°C to 150°C | Bathrooms, saunas, wet rooms | Residential walls solutions suppliers |
| MultiGrip Universal | Hybrid Polymer | Bonds to all substrates, low VOC, fast-curing (24hr full cure) | Mixed-substrate projects (wood, metal, drywall) | All-in-one walls supplier |
Note: Always verify product specifications with the manufacturer or your PU stone wall panel supplier, as formulations may vary by region.
Even the best adhesive won't perform well if applied incorrectly. Follow these steps to ensure your PU stone panels stay put for years to come.
Adhesives bond best to clean, dry surfaces. Start by removing dust, dirt, oil, or old paint with a wire brush, vacuum, or mild detergent. For porous substrates like concrete, fill cracks or holes with a patching compound and let it cure completely. If the surface is glossy (like painted drywall), sand it lightly to create texture—this helps the adhesive grip better. Finally, ensure the surface is dry; moisture can weaken the bond or cause the adhesive to bubble.
Two-part adhesives (like epoxy or some cementitious formulas) require careful mixing. Use a clean bucket and follow the manufacturer's ratio exactly—too much hardener can make the adhesive brittle, while too little will prevent it from curing. Mix slowly to avoid introducing air bubbles, which create weak spots. For cementitious adhesives, add water gradually until you reach a thick, peanut butter-like consistency—runny adhesive won't hold.
Use a notched trowel to apply adhesive to the substrate (not the back of the panel—this ensures even coverage). The trowel size depends on your panel thickness: 6mm notches for panels under 10mm thick, 10mm notches for thicker panels. Hold the trowel at a 45° angle and spread the adhesive in a uniform layer, ensuring full coverage without gaps. For large panels, add a "bead" of adhesive around the edges for extra security (called "buttering").
Carefully place the PU stone panel onto the adhesive, starting from the bottom and working upward. Press firmly and evenly to ensure the panel makes full contact with the adhesive—you should see a small amount of adhesive squeeze out from the edges (this is a good sign!). Use a level to check alignment, and adjust within the adhesive's open time (the window before it starts to set—usually 15–30 minutes). For heavy panels, use temporary supports (like clamps or braces) until the adhesive cures.
Resist the urge to disturb the panels during curing. Most adhesives reach "initial set" in 2–4 hours, but full cure takes 24–72 hours (check the product label). Avoid exposing the wall to moisture, extreme temperatures, or heavy loads during this time. Once cured, wipe away any excess adhesive with a damp cloth (for water-based adhesives) or mineral spirits (for solvent-based ones).
Even seasoned pros make adhesive mistakes—but they're easy to avoid with a little awareness. Here are the most frequent pitfalls:
That generic "super glue" from the hardware store might work for crafts, but it's no match for PU stone panels. Always use adhesives specifically designed for stone or PU materials; your PU stone wall panel supplier can recommend trusted brands as part of their solutions.
Dust, grease, or moisture on the substrate is adhesive kryptonite. A quick wipe with a rag isn't enough—invest time in cleaning and repairing the surface, and you'll save yourself from costly rework later.
It's tempting to paint or decorate right away, but adhesive needs time to reach full strength. Rushing curing can lead to panels shifting or delaminating, especially in cold or humid weather (which slows curing). Plan your timeline accordingly!
Applying adhesive in freezing temperatures (below 5°C) or direct sunlight (which dries it too fast) is a recipe for failure. Check the product's recommended application conditions, and adjust your schedule if needed—wait for a mild, dry day if working outdoors.
PU stone wall panels offer endless design possibilities, but their success hinges on one crucial decision: choosing the right adhesive. From polymer-modified cementitious for tough exteriors to flexible polyurethane for curved walls, the options are vast—but by focusing on substrate, environment, and load capacity, you can narrow down the perfect fit.
Remember, your adhesive is an investment, not an expense. Cutting corners with cheap or incompatible adhesives will cost you more in repairs, replacements, and lost time down the line. Instead, partner with a reputable PU stone wall panel supplier who offers not just quality panels but also expert guidance on adhesives and installation—part of their comprehensive walls solutions. With the right adhesive and a little care in application, your PU stone walls will stand strong, beautiful, and secure for years to come.
Recommend Products











