

Picture this: You've just ordered a batch of stunning PU stone wall panels—sleek, lightweight, and designed to transform your living room or commercial space into something out of a design magazine. The delivery truck arrives, and you can't wait to see those panels up on the wall. But before you grab your adhesive and start sticking, there's a crucial step that could make or break the entire project: surface preparation. Far too often, even the most beautiful PU stone wall panel solutions fail not because of the panels themselves, but because the surface they're applied to wasn't ready. As someone who's worked closely with walls suppliers and PU stone wall panel suppliers for years, I've seen it all—peeling panels, uneven seams, and costly do-overs that could have been avoided with a little upfront care. In this guide, we're diving deep into everything you need to know about prepping surfaces for PU stone wall panels, from why it matters to step-by-step techniques for different substrates. Whether you're a DIY enthusiast or a seasoned contractor, this is the prep playbook you'll want to keep handy.
Let's start with the basics: Why does surface prep deserve so much attention? Think of your wall like a foundation—if it's cracked, uneven, or dirty, even the best-built house (or in this case, wall panel) will struggle to stand the test of time. PU stone wall panels are engineered for durability, but their performance hinges entirely on how well they bond to the substrate. A poorly prepared surface can lead to a laundry list of issues: panels that bubble or peel, gaps between seams that collect dust and moisture, or even structural instability in high-traffic areas. For commercial projects—say, a hotel lobby or restaurant—these flaws aren't just unsightly; they can harm your brand's reputation. And for homeowners? Nothing stings more than investing in premium PU stone wall panel solutions only to watch them fail a year later.
But it's not just about longevity. Surface prep directly impacts aesthetics, too. PU stone panels are prized for their realistic texture and clean lines—if the wall beneath them is wavy or bumpy, those imperfections will show through, ruining the sleek, polished look you're after. Moisture is another silent enemy: Trapped water between the panel and substrate can cause mold growth, discoloration, or even warp the panels over time. This is especially critical in humid climates or areas like bathrooms and kitchens, where moisture levels are naturally higher. And let's not forget safety—for projects requiring fire resistance (think hospitals or schools, where even materials like class A fireproof cpl inorganic board for hospital and school supplier products demand precise substrate conditions), a compromised bond could undermine fire safety ratings. Simply put: Skipping surface prep is a gamble, and the odds are rarely in your favor.
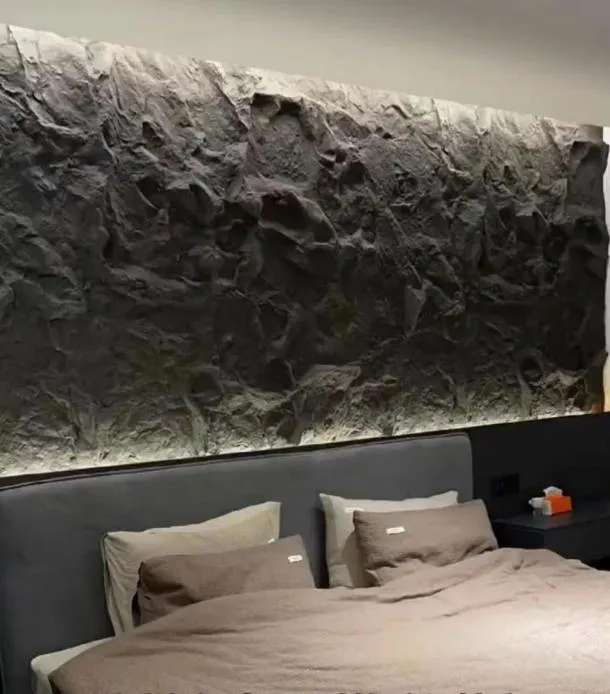
Before we dive into surfaces, let's take a quick detour to appreciate what makes PU stone wall panels so popular. Unlike traditional natural stone, which is heavy and brittle, PU (polyurethane) stone panels are lightweight, flexible, and easy to install. They mimic the look of real stone—think granite, limestone, or slate—at a fraction of the cost and weight, making them ideal for both interior and exterior use. As a PU stone wall panel supplier, we often highlight their versatility: They're resistant to UV rays, moisture, and impact, and they come in a range of colors and textures to suit any design vision. But here's the catch: Their lightweight nature means they rely entirely on adhesive bonding to stay in place. Unlike heavy natural stone, which might be anchored with mechanical fasteners, PU panels depend on the substrate's surface to hold them securely. This is why choosing a reputable PU stone wall panel supplier is key—quality panels paired with proper prep are the recipe for success.
Another advantage? PU stone panels work with a variety of substrates, from concrete to drywall to wood. But "work with" doesn't mean "work with any surface, no matter what." Each substrate has its own quirks, and understanding those quirks is half the battle. For example, a walls supplier might offer panels that adhere beautifully to drywall, but only if the drywall is properly sealed and flat. Similarly, walls solutions that work for exterior concrete might not be suitable for interior wood framing. The takeaway? PU stone panels are forgiving in many ways, but they're not magic. They need a clean, stable, and well-prepped surface to shine.
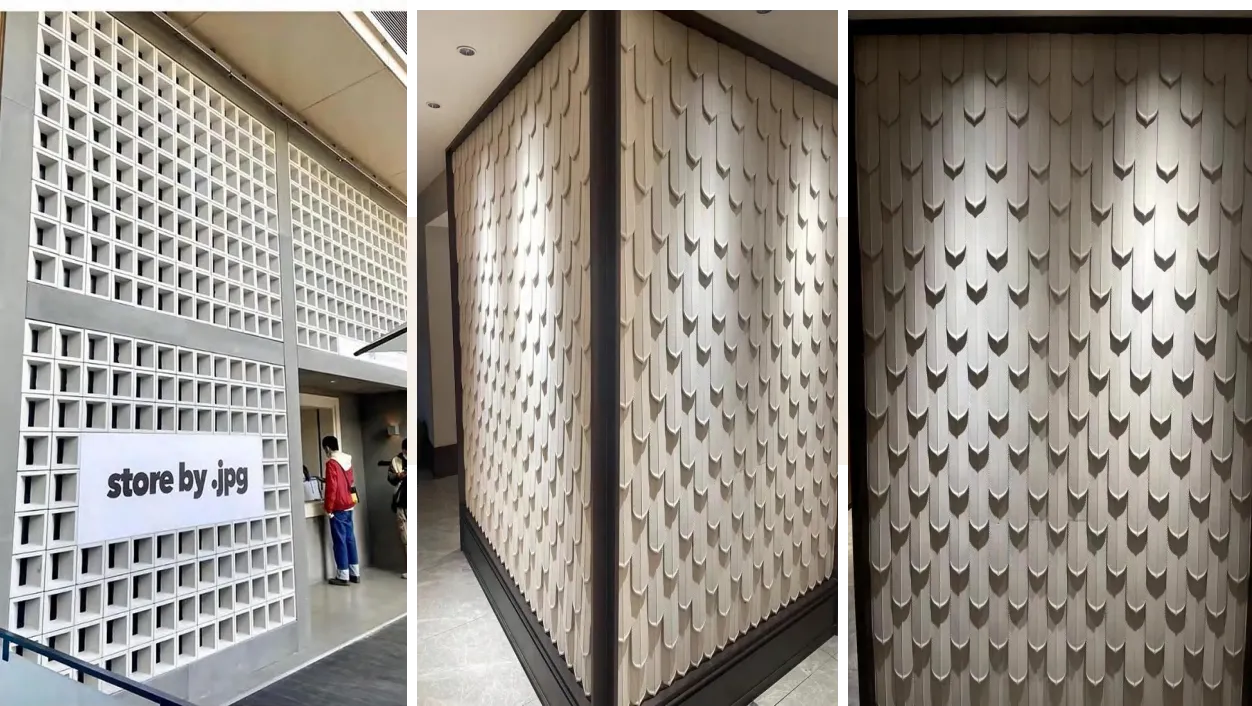
Walls come in all shapes and materials, and each demands a slightly different prep approach. Let's break down the most common substrates you'll encounter and what they need before your PU stone panels go up.
Concrete is a staple in both residential and commercial construction—it's strong, durable, and widely available. But don't let its toughness fool you: Concrete walls are full of potential pitfalls for PU stone panel installation. First, moisture: New concrete can take months to fully cure, and even older concrete might retain moisture, especially in basements or exterior walls. High moisture levels (anything above 5% for interior, 8% for exterior, measured with a moisture meter) can prevent adhesives from bonding and lead to mold. Then there's surface texture: Concrete is rarely smooth straight out of the mixer. It might have trowel marks, air bubbles, or rough patches that create uneven adhesion. Cracks, too—even hairline fractures can widen over time, pulling panels loose with them.
So, how to prep concrete? Start with a thorough cleaning: Use a wire brush or pressure washer to remove dust, dirt, and loose debris. For oil or grease stains (common in garages or industrial spaces), a degreaser like trisodium phosphate (TSP) will do the trick—just rinse thoroughly and let dry. Next, check for moisture: Tape a 2-foot square of plastic sheeting to the wall, seal the edges, and leave it for 24 hours. If condensation forms underneath, you've got a moisture problem. For minor issues, an epoxy moisture barrier primer works wonders; for severe cases, you might need to address drainage or install a vapor barrier. Then, repair cracks and imperfections: Use a concrete patching compound for small holes or cracks, and a self-leveling underlayment for larger uneven areas. Finally, apply a concrete primer specifically designed for PU panels—this creates a tacky surface that helps the adhesive grip. Let the primer dry completely (check the manufacturer's instructions—typically 24–48 hours) before installing.
Drywall (or gypsum board) is the most common interior wall material, loved for its affordability and ease of installation. But it's also delicate—punctures, dents, and uneven seams are par for the course, and it's highly porous, which can absorb adhesive and weaken the bond. If you've ever tried to hang a heavy picture on drywall without a stud, you know how easily it can fail under stress; now imagine that with full wall panels.
Prepping drywall starts with inspection: Look for loose tape, cracks, or water damage (yellow or brown stains are a red flag). Loose tape needs to be removed, the area sanded, and new joint compound applied, feathering the edges to blend with the wall. For small holes (from nails or screws), a lightweight spackling compound works; for larger holes, use a drywall patch kit. Once repairs are done, sand the entire surface with 120-grit sandpaper to smooth joints and remove any texture—PU panels adhere best to a flat, even surface. Next, clean the wall with a damp cloth to remove dust (a shop vac with a brush attachment helps for larger areas). Then, prime: Use a water-based drywall primer to seal the surface and prevent the drywall from sucking moisture out of the adhesive too quickly. Avoid oil-based primers, which can create a slippery surface that panels struggle to bond to. Finally, check flatness with a 4-foot straightedge—any gaps over 1/8 inch mean you'll need to skim-coat the wall with joint compound to level it out.
Wood walls (like plywood sheathing or exposed wooden framing) add warmth to a space, but they come with their own set of challenges. Wood expands and contracts with humidity and temperature changes, which can stress the adhesive bond. It's also prone to splinters, knots, and uneven surfaces, and untreated wood can absorb moisture and rot over time.
First, ensure the wood is structurally sound: Check for rot, mold, or insect damage—any compromised areas need to be replaced. Sand the surface with 80-grit sandpaper to remove splinters and smooth knots, then follow up with 120-grit for a finer finish. Wipe away dust with a tack cloth. Next, seal the wood: Use a water-resistant primer or sealer to prevent moisture absorption and stabilize the wood. For exterior wood walls, a marine-grade sealer is a smart investment. If the wood is painted, check for peeling or flaking paint—scrape off loose paint, sand the area, and prime before proceeding. Finally, add furring strips if the wall is uneven: These thin wooden strips (typically 1x3 or 1x4) are attached perpendicular to the studs, creating a flat, level surface for the panels. Space them 16–24 inches apart to ensure proper support, and use screws (not nails) to prevent popping over time.
| Surface Type | Key Issues to Address | Essential Prep Steps | Recommended Primer |
|---|---|---|---|
| Concrete | Moisture, rough texture, cracks | Clean, moisture test, patch cracks, self-leveling underlayment, prime | Epoxy moisture barrier primer |
| Drywall | Loose tape, holes, porosity | Repair seams/holes, sand, clean, prime | Water-based drywall primer |
| Wood/Plywood | Expansion/contraction, splinters, moisture | replace damaged wood, sand, seal, add furring strips if needed | Water-resistant wood sealer/primer |
| Existing Tile | Grout lines, adhesion failure | Clean grout, sand tile surface, apply tile primer | Polymer-modified tile primer |
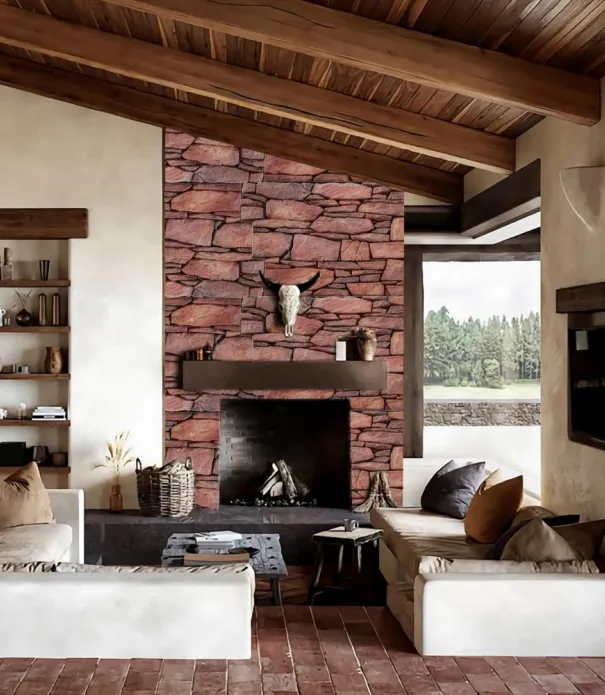
You've cleaned, repaired, and primed—now how do you *know* the surface is actually ready for panels? Testing is the final (and critical) step before installation. Here are the key tests every installer should perform:
Moisture Testing: As mentioned earlier, moisture is public enemy number one. For concrete and masonry, use a digital moisture meter with pins (inserted into the surface) or a non-invasive meter (placed on top). For interior concrete, readings should be below 5%; exterior, below 8%. For wood, aim for 6–8% moisture content (too dry, and it will absorb adhesive moisture; too wet, and it will warp). If you don't have a meter, the plastic sheeting test works: Tape a square of plastic to the wall, seal the edges, and leave for 24 hours. No condensation? You're good. Condensation? Time to address moisture.
Adhesion Test: This is the ultimate litmus test. Apply a small amount of your panel adhesive to the prepped surface (about the size of a credit card), then press a scrap piece of PU panel onto it. Let it cure for the recommended time (check the adhesive bottle—usually 24–48 hours). Then, try to pull the panel off. If it comes off easily, or if the adhesive remains on the panel (not the wall), the bond is weak—you may need a different primer or to re-prep the surface. If the panel tears or the adhesive stays on the wall, congratulations—your surface is ready.
Flatness Check: Grab a 4-foot straightedge and a feeler gauge. Run the straightedge across the wall horizontally, vertically, and diagonally. Measure any gaps between the straightedge and the wall. Gaps larger than 1/8 inch need to be filled with a patching compound or self-leveling underlayment. Even small gaps can add up over large wall areas, leading to uneven panels.
Dust Test: After sanding and cleaning, run a dry cloth over the wall. If dust collects on the cloth, you need to clean again—dust acts like a barrier between the adhesive and the wall. A tack cloth (sticky cloth designed to pick up dust) is great for final cleanup.
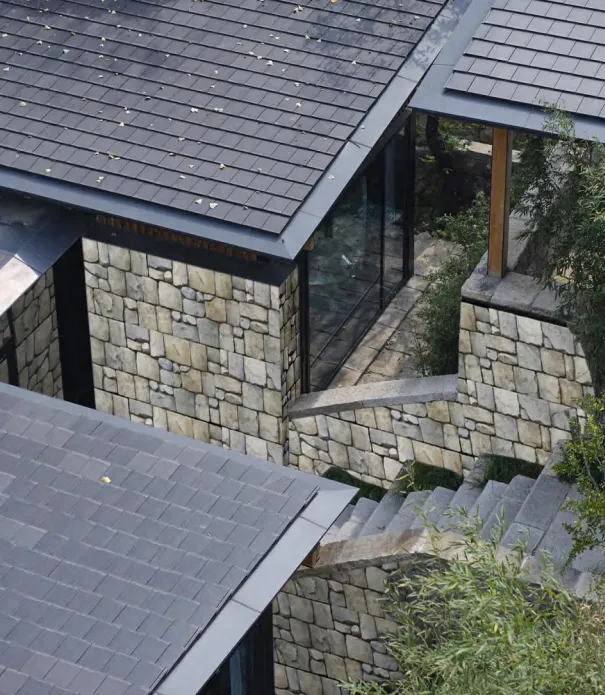
Now that you know what to test for, let's walk through the prep process from start to finish. This step-by-step guide works for most surfaces, with notes for specific materials.
Step 1: Clear the Area Remove furniture, decor, and outlet covers. Lay down drop cloths to protect floors from dust and debris. If you're working near electrical outlets, turn off the power to the room (better safe than sorry).
Step 2: Inspect the Wall Do a thorough walk-around. Look for cracks, holes, water damage, loose paint, or mold. Note problem areas—this is your repair roadmap.
Step 3: Clean the Surface For concrete/drywall: Use a vacuum with a brush attachment to remove dust, then wipe with a damp cloth. For grease or stains: Use TSP or a degreaser, rinse, and dry. For wood: Sand first, then vacuum and wipe with a tack cloth.
Step 4: Repair Damage Fill cracks/holes with appropriate patching compound (concrete patch for concrete, spackle for drywall, wood filler for wood). For large uneven areas, use self-leveling underlayment (concrete) or joint compound (drywall). Let repairs dry completely—rushing this step is a common mistake.
Step 5: Sand Sand all repaired areas and the entire wall with 120-grit sandpaper to create a smooth, even surface. Sand in circular motions, then wipe away dust with a tack cloth.
Step 6: Test for Moisture Use a moisture meter or plastic sheeting test. Address any issues with primers, moisture barriers, or vapor barriers as needed.
Step 7: Prime Apply the recommended primer (concrete primer, drywall primer, wood sealer) with a roller or brush, following the manufacturer's instructions for coverage and drying time. Two thin coats are better than one thick coat—this ensures even coverage.
Step 8: Final Inspection Re-check flatness with a straightedge, do an adhesion test with a scrap panel, and ensure the surface is dust-free. If all tests pass, you're ready to install your PU stone panels!
Having the right tools makes prep work faster and more effective. Here's your must-have list:
The Success Story: A restaurant in Riyadh wanted to revamp its exterior with PU stone panels to create a rustic, inviting look. They partnered with a local PU stone wall panel supplier who emphasized surface prep. The existing wall was concrete with years of paint and dirt buildup. The contractor pressure-washed the wall, repaired cracks with concrete patch, applied a moisture barrier primer, and did adhesion tests. Six months later, the panels look as good as new—no peeling, no gaps, and the restaurant owner reports countless compliments on the "stone" exterior. The supplier's walls solutions included not just panels but also prep guidance, which made all the difference.
The Cautionary Tale: A homeowner in Jeddah decided to install PU panels in their living room to update the space. Eager to finish quickly, they skipped moisture testing on their drywall (which had a history of minor leaks). They cleaned the wall, patched a few holes, and installed the panels. Three months later, during the rainy season, the panels began to bubble and peel. An inspection revealed mold growing behind the panels—the drywall had retained moisture, which the homeowner never tested for. They had to remove all panels, repair the drywall, and re-install, doubling their time and cost. The lesson? Even "minor" shortcuts can lead to major headaches.
When selecting a PU stone wall panel supplier, look beyond the product—great walls supplier partners offer expertise that extends far beyond panels. A reputable PU stone wall panel solutions provider will share detailed surface prep guidelines tailored to their panels (adhesive recommendations, primer specs, moisture limits). They may even offer on-site consultations to assess your wall and recommend prep steps. For example, some suppliers provide sample primers or adhesion test kits to help you validate your prep work before committing to a full installation. This level of support is invaluable, especially for first-time installers or complex projects.
Don't hesitate to ask questions: "What's the maximum moisture level your panels can tolerate?" "Do you recommend a specific primer for drywall vs. concrete?" "Have you worked on projects with similar substrates in this climate?" A supplier who can't answer these questions may not have the experience to back their products. Remember, your walls solutions are only as strong as the partnership behind them—invest time in finding a supplier who prioritizes your success, not just the sale.
Surface preparation might not be the most glamorous part of installing PU stone wall panels, but it's the foundation of a successful project. By taking the time to clean, repair, test, and prime your surface, you're ensuring your panels look great and last for years. Whether you're a DIYer or a contractor, the steps outlined here will guide you to a smooth, stress-free installation. And when you see those beautiful PU stone panels transform your space—no bubbles, no gaps, no mold—you'll know the prep work was worth every minute.
So, grab your tools, test that moisture, and get ready to create a wall that wows. And when you're ready to order panels, remember: A trusted PU stone wall panel supplier isn't just selling a product—they're selling peace of mind, knowing that with proper prep, their PU stone wall panel solutions will turn your vision into reality.
Recommend Products











