Outdoor floodlight angle calibration guide: Achieving perfect wash wall or floodlight effects
Introduction: Mastering the Art of Light Direction
Let's talk about transforming your outdoor spaces with something we often take for granted - light direction. You know that feeling when you step outside at night and the lighting just feels... off? Maybe your beautifully landscaped garden looks like a crime scene, or that stunning architectural feature on your home disappears into shadow? That's all about angle calibration.
I've seen countless homeowners invest in premium floodlights only to get mediocre results because they overlooked this crucial step. Proper angle adjustment isn't just technical fiddling—it's your secret weapon for creating ambiance, enhancing security, and showcasing your property's best features. Whether you're aiming for a soft wash effect on your stunning wall panel surfaces or need powerful flood illumination for your backyard oasis, this guide will walk you through every step.
Why this matters: Research shows properly angled lighting reduces glare accidents by 43% and improves security effectiveness by up to 70%. Plus, your property value gets a nice little boost when your outdoor lighting actually makes everything look better.
Safety First: Non-Negotiable Precautions
Before we dive into adjustment techniques, let's have our safety chat. Outdoor lighting involves electricity and often working at heights - two things that demand respect. I've seen too many DIY disasters, so please take these precautions seriously:
- Power Down Completely: This isn't just flipping a switch. Go to your breaker box and cut power to the entire circuit. Use a non-contact voltage tester to confirm it's dead.
- Secure Your Workspace: If you're using a ladder, have someone spot you. Clear the area of trip hazards and make sure you have solid footing.
- Weather Wisdom: Postpone adjustments during rain or high humidity. Water and electricity mix in dangerous ways.
- Know Your Limits: If wiring looks complex or your fixtures are integrated with security systems, call an electrician. Seriously, some things are worth professional help.
Understanding Your Floodlight Anatomy
You wouldn't try to fix a car without knowing what the parts do, right? Floodlights have their own anatomy that affects how they perform:
Key Components That Matter
Housing: The protective shell that determines durability and weather resistance. Look for IP65 rating or higher for true outdoor resilience.
Mounting Bracket: This is your adjustment powerhouse. The locking mechanism design varies—some use thumbscrews, others have hex nuts. Know yours before starting.
Beam Angle: Ranges from narrow spot (15-30°) to wide flood (100-120°). Wider doesn't always mean better—it depends on your specific goal.
Tilt Range: Quality fixtures offer 30-45° of vertical movement and 180-360° horizontal rotation. Cheap ones? You'll struggle with limited adjustment range.
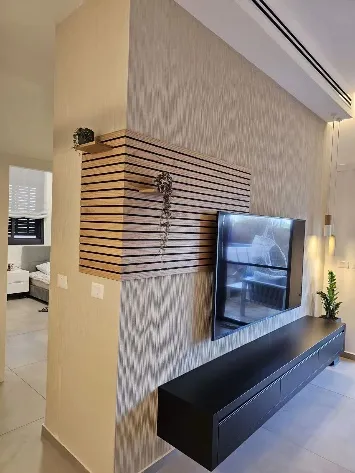
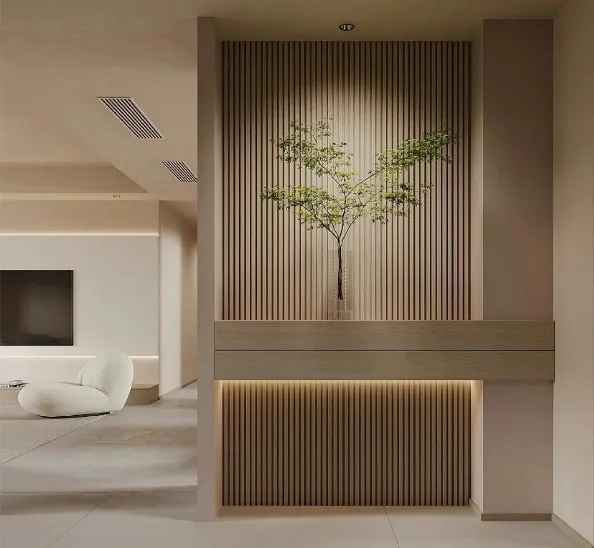
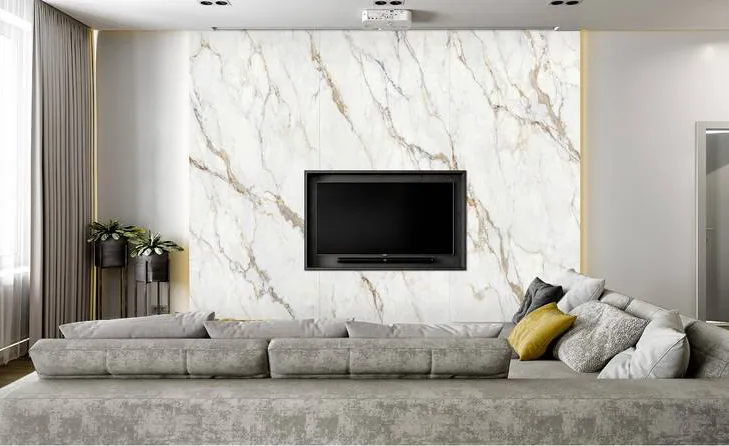
When working with lighting around special surfaces like decorative wall panels, remember that texture dramatically affects how light behaves. Smooth panels reflect light evenly while textured surfaces create fascinating shadow plays at specific angles.
The Master Adjustment Sequence
Here's the step-by-step process I've refined after calibrating hundreds of floodlights. Follow this sequence to save yourself hours of frustration:
1. Nighttime Visualization
After dark, turn on your floodlights and walk your property with a notebook. Sketch light patterns, identify dark zones, and note where glare hits windows or paths. This baseline is invaluable.
2. Daytime Preparation
With power OFF and ladder secured:
- Loosen adjustment knobs just enough to move the fixture
- Clean the lens with microfiber cloth (dirt diffuses light)
- Confirm the mounting surface is solid (no wobble!)
3. Vertical Calibration First
Determine your primary goal:
- Wash effect: Position 30-45° above the target surface
- Security coverage: Point downward 15-30° from level
- Path lighting: Extreme downward angle (45-60°)
Tighten vertical tilt before moving to horizontal adjustment.
4. Horizontal Alignment
With vertical set, rotate the fixture to cover your target area. Use reference points like windows or tree trunks to maintain consistent orientation across multiple lights.
5. Fine-Tuning Under Live Conditions
Restore power at dusk and observe. Make micro-adjustments with an assistant who can report light patterns while you work at the fixture. Mark final positions with paint pen.
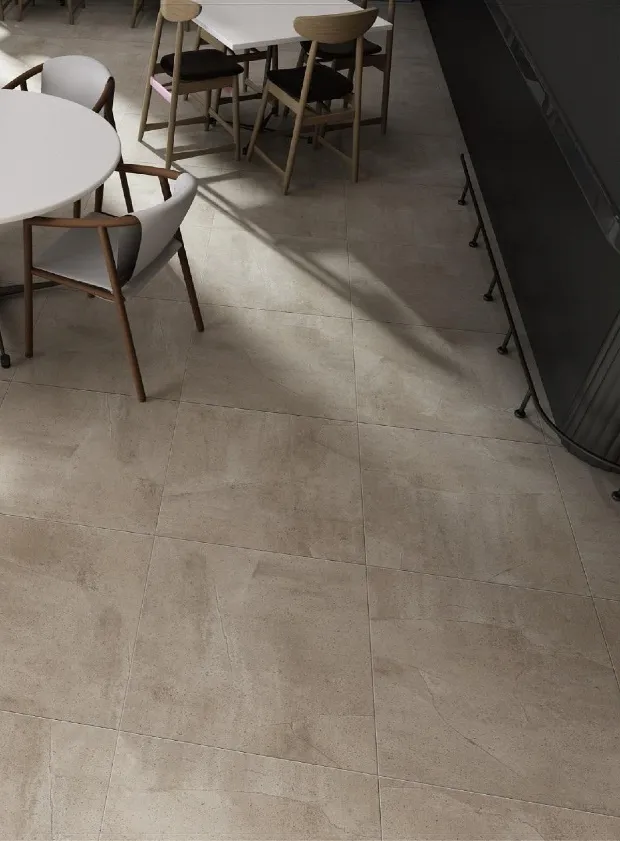
Pro Tip: When lighting downward onto patio surfaces with specific flooring materials, adjust the beam spread to match the area geometry. Narrow beams look cleaner on rectangular spaces while wider spreads work for irregular shapes.
Advanced Techniques for Specific Effects
Perfect Wall Washing Technique
Create that beautiful graze effect on your exterior walls:
- Position light 2-3 feet from wall surface
- Set height at 1/4 to 1/3 the wall height
- Angle at 25-35° toward the surface
- Use 45-60° beam angle floodlights
- Space fixtures 50-75% of mounting height apart
For textured wall panels, experiment with slightly steeper angles (40-45°) to enhance depth perception through shadow play.
Security and Motion Coverage
When protection is priority:
- Mount 8-10 feet high (beyond easy tampering)
- Set primary angle downward 10-20°
- Position slightly outward to illuminate approaches
- Set secondary fixtures for overlapping coverage
- Coordinate angles with motion sensor range
Architectural Highlighting
Showcase special features like columns or stonework:
- Position light source low and forward
- Use narrow 25-30° beam angles
- Create separation between light and subject
- Employ precise 60-75° angles for dramatic uplighting
- Layer multiple fixtures at different angles
Tree and Landscape Illumination
For natural elements:
- Mount at tree's drip line (not against trunk)
- Position 3-5 feet from canopy edge
- Use 20-25° upward angle through branches
- Vary heights and angles for multi-dimensional effects
- Place ground fixtures looking up through foliage
Entertainment Area Lighting
Create inviting social spaces:
- Mount perimeter lights higher than seating areas
- Use 35-45° downward angles
- Bounce light off nearby surfaces
- Create staggered coverage patterns
- Set "spill points" around activity zones
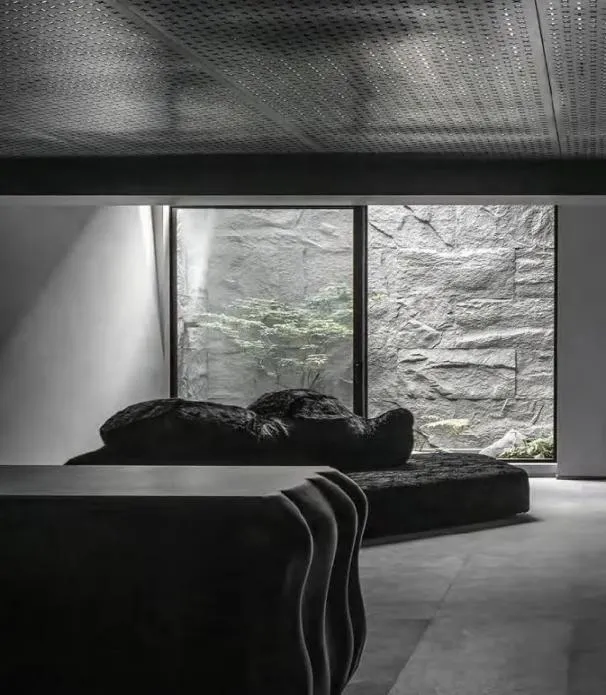
When lighting around patio ceiling panels, utilize indirect reflection techniques to avoid harsh downward lighting.
Troubleshooting Common Problems
Patchy Coverage
Causes: Wrong beam angle selection, excessive spacing, inconsistent angles
Fix: Increase fixture density, standardize mounting heights, use wider beam lights
Harsh Glare
Causes: Fixtures visible from eye level, undershielded design, overlighting
Fix: Add glare shields, reposition to hidden locations, reduce output wattage
Spill Light Issues
Causes: Poor directional control, overshoot angles, fixture malfunction
Fix: Install visors or hoods, decrease tilt angles, replace misaligned lamps
Hot Spot Concentration
Causes: Overly narrow beam angles, too close positioning, uneven surfaces
Fix: Increase distance, use diffusers, balance multiple light sources
Motion Sensor Conflicts
Causes: Light angle blocking detection, sensor misalignment, overlapping coverage
Fix: Coordinate fixture angles with sensor patterns, adjust detection zone
Environmental Interference
Causes: Vegetation growth, weather damage, debris accumulation
Fix: Establish seasonal inspection routine, install protective guards
Long-Term Performance Maintenance
Adjusting your lights perfectly today doesn't mean they'll stay that way. Follow this maintenance rhythm to preserve your lighting investment:
Monthly Quick Check
- Verify all lights activate properly
- Scan for vegetation encroachment
- Note any color temperature shifts (indicates failing LEDs)
Seasonal Deep Maintenance
- Power down system completely
- Clean lenses and housings
- Check fixture angles with protractor
- Tighten all mounting hardware
- Test waterproof seals
Biannual Performance Review
- Re-evaluate lighting effectiveness
- Photograph patterns for comparison
- update aging fixtures proactively
- Measure light levels with lux meter
For lighting installations near ceiling panels, pay special attention to accumulated dust that can cause uneven light diffusion.
Putting It All Together: Creating Your Lighting Masterpiece
Now that you understand the mechanics, let's talk about artistry. Lighting angles let you paint with photons—creating mood, guiding movement, and highlighting beauty. The technical skills we've covered become your brushstrokes.
What makes professional installations stand out? Layering. Use:
- Downward security angles for perimeter protection
- Gentle wash lighting for architectural surfaces
- Spot angles for feature highlights
- Cross-lighting techniques for dimensional effects
The most breathtaking landscapes use all four simultaneously at varying intensities. Start with security needs, then add wash layers, then artful highlights.
Closing Thought: Remember that lighting evolves. Vegetation grows, new features get added, and our needs change. Revisit your angles seasonally. The 30 minutes you spend tweaking positions each quarter pays off every single night.
Light transforms how we experience spaces. Mastering your floodlight angles gives you control over that transformation—turning functional illumination into emotional environments. Now go make your nights beautiful.
Tags:
Recommend Products


