

Hey there, DIY warrior! Ready to transform your backyard into an Italian villa masterpiece? Let's dive deep into the world of mosaic travertine paving. Forget those rigid tutorials that read like robot manuals – we're doing this the human way, with practical tips you can actually use.
Natural stone like travertine isn't just beautiful; it's a sustainable building material that ages gracefully. By the end of this guide, you'll master base prep, pattern artistry, and those finishing touches that separate amateur work from pro-quality installations.
Don't be that person who starts then runs to Home Depot six times! Here's what you'll need:
Pro tip: Order 10% extra stone for cuts and mistakes. Travertine's natural variations mean you'll need flexibility in your pattern layout!
Listen closely – this is where most projects go sideways. A bad base means cracks, settling, and that awful squishy feeling underfoot.
Here's the golden rule: Total depth = Paver thickness + 4" gravel base + 1" sand bedding
Example: If your mosaic pavers are 1.5" thick? Dig down 1.5" + 4" + 1" = 6.5" deep. Why? Because proper drainage prevents the ice heave monster from destroying your work come winter.
Forget fancy laser levels – string lines are your friend. Set a 1/4" per foot slope away from your house toward drainage areas. Mark slope lines with spray paint like you're Jackson Pollock. This slope is non-negotiable unless you want a backyard pond!
⚠️ Critical Warning: Never compact sand! You'll create concrete-hard spots that cause uneven settling. Just screed it smooth and walk away.
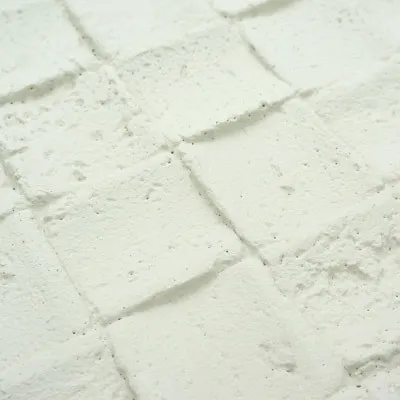
Mosaic travertine isn't just tile – it's nature's artwork. Here's how to make those veins and colors sing:
Stagger joints like brickwork. Start from the center working outward - gives symmetrical flow. Rotate stones 90° as you go for casual elegance.
Open 3 boxes at once. Mix pieces so color variations look natural, not patchy. Arrange on the grass first to preview the puzzle!
Frame your masterpiece with soldier-course borders. Cut border stones at 45° angles for pro-level corners that'll impress neighbors.
Human touch: Work in 4x4 sections. Kneel on a foam pad – your knees will thank you later. Leave 1/8" gaps between stones for the sand magic coming up!
When you hit edges or obstacles:
This isn't grout work – it's sand alchemy! Polymeric sand hardens like cement while staying flexible.
Pour sand generously over the entire surface. Sweep diagonally across joints, filling every crevice. Think "Zen garden" – meditative but thorough!
Use a leaf blower on LOW setting. Hold nozzle 12" above surface while walking backward. Removes excess sand without stealing from joints. Your stone should look clean, joints packed.
Here's the trick professionals won't tell you: Mist lightly with water TWICE . First pass: fine spray to settle sand. Wait 10 minutes. Second pass: slightly heavier spray to trigger bonding chemistry. Overwatering washes sand away!
Timing is everything: Do this at dusk so hot sun doesn't dry it too fast. Cover with plastic if rain threatens within 24 hours.
After 72 hours of curing:
This protects against wine spills and winter salt while letting the stone breathe. Reapply every 2 years for lifelong beauty.
Travertine is tough but needs love:
Congrats – you've just built something that'll outlast your mortgage! The best part? That moment when you sit back with a cold drink, admiring how sunlight hits those mosaic patterns. Natural stone isn't just a installation – it's a relationship that gets better with time. Now go show off that masterpiece!
Recommend Products












