

When it comes to transforming architectural façades—whether for a cozy home renovation or a striking commercial building—MCM flexible cladding stone wall panels have emerged as a game-changer. Their blend of durability, flexibility, and aesthetic versatility makes them a top choice for designers and builders alike. But here's the thing: even the best materials fall flat without proper installation, and that's where your MCM flexible cladding stone wall panel supplier steps in as more than just a vendor. They're your partner in turning vision into reality. In this guide, we'll walk through the entire installation journey, with a focus on how supplier support can make or break your project. From pre-installation prep to troubleshooting common hiccups, let's dive in.
First, let's get clear on what makes MCM panels stand out. Short for "Modified Composite Material," these panels are engineered to mimic the look of natural stone—think granite, marble, or travertine—without the weight or brittleness. They're lightweight, weather-resistant, and flexible enough to bend around curves, making them perfect for both flat and contoured surfaces. Whether you're aiming for a modern, minimalist vibe or a rustic, textured finish, MCM flexible cladding stone wall panel solutions offer endless design possibilities.
But here's the catch: not all MCM panels (or suppliers) are created equal. A subpar supplier might cut corners on material quality, leaving you with panels that fade, crack, or delaminate after a few seasons. On the flip side, a reputable residential or commercial building materials supplier doesn't just hand over boxes of panels. They provide technical expertise, on-site support, and materials that meet strict industry standards. For example, a supplier specializing in architectural façade solutions will understand how their panels perform in local climates—like Saudi Arabia's harsh sun or coastal humidity—and recommend the right adhesives, sealants, and installation methods to match.
Pro Tip: When vetting suppliers, ask about their track record with similar projects. Do they offer case studies? Can they connect you with past clients? A reliable supplier will happily share success stories—and even cautionary tales—to help you avoid mistakes.
Supplier support starts long before installation day. Look for partners who provide detailed product specs, installation manuals, and even on-site training for your crew. Some suppliers go the extra mile by offering sample panels for testing, so you can see how they hold up to impact, moisture, or UV exposure before committing. This level of support isn't just convenient—it's critical for ensuring your project stays on time, on budget, and up to code.
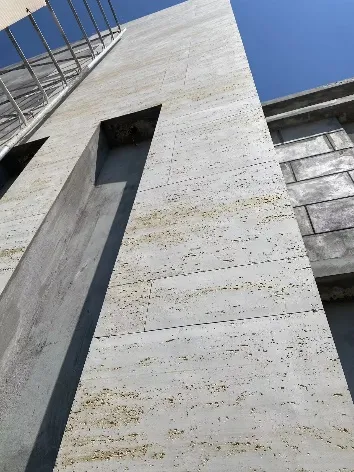
Installation success begins with preparation, and your supplier should be your first call here. Let's break down the key steps, with insights into how supplier resources can streamline the process.
Before ordering a single panel, you need to understand the surface you're working with. Is it concrete, brick, drywall, or metal? Each substrate has unique needs—for example, a wooden wall might require additional moisture barriers, while a uneven concrete surface needs leveling. Your supplier should provide a substrate compatibility guide that outlines which surfaces work with their panels and what prep is needed. If you're unsure, many suppliers offer on-site assessments, sending a technical rep to inspect the area and make tailored recommendations.
Once your panels arrive, don't just toss them in the corner. Open the crates and inspect each panel for damage, color consistency, and thickness. Reputable suppliers will include a quality control certificate with each shipment, listing batch numbers, test results, and installation dates. Compare the panels to the samples you approved—if there's a noticeable color shift or warping, reach out to your supplier immediately. Most will replace defective materials at no cost, but catching issues early avoids delays later.
You wouldn't paint a wall without a brush, and installing MCM panels is no different. Below is a breakdown of essential tools, with notes on why your supplier's recommendations matter. (Pro tip: Some suppliers offer tool rental or package deals for large projects!)
| Tool/Material | Purpose | Supplier Insight |
|---|---|---|
| Notched Trowel | Applying adhesive evenly to the substrate | Suppliers often specify trowel size (e.g., 3mm vs. 5mm notches) based on panel thickness to ensure proper adhesion. |
| Panel Cutter or Circular Saw with Diamond Blade | Cutting panels to size without chipping | Diamond blades prevent fraying—ask your supplier for blade brand recommendations to avoid damaging panels. |
| Adhesive/Sealant | Securing panels and sealing joints | Generic adhesives may fail in extreme temperatures. Your supplier will recommend a product tested specifically with their panels (e.g., polyurethane-based for outdoor use). |
| Spirit Level and Measuring Tape | Ensuring panels are straight and evenly spaced | Some suppliers provide laser level rentals for large projects to save time on layout. |
| Rubber Mallet | Gently tapping panels into place without cracking | Avoid metal mallets—suppliers often include a rubber mallet in starter kits to prevent panel damage. |
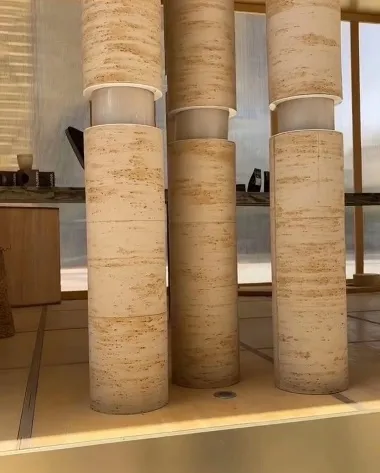
Now, let's get to the hands-on part. While every project is unique, these steps provide a general framework. Always refer to your supplier's installation manual for project-specific details—this is where their expertise shines, as they'll account for variables like panel thickness, climate, and substrate type.
Start by marking your wall with reference lines. Use a chalk line to snap horizontal and vertical guidelines, ensuring panels are aligned with windows, doors, and corners. Most suppliers recommend a 1/4-inch gap between panels to accommodate expansion from temperature changes—check their specs for exact spacing. If you're working with patterned panels (e.g., stacked stone), lay them out on the ground first to ensure the pattern flows naturally. Your supplier can provide a layout template for common designs, saving you hours of trial and error.
Even the best adhesive won't stick to a dirty or uneven surface. Scrub the substrate with a mild detergent to remove dirt, oil, and mildew. For porous surfaces like brick, fill cracks with a patching compound and let it cure fully. If moisture is a concern (e.g., in bathrooms or basements), apply a waterproofing membrane—your supplier can suggest compatible products. Once clean and dry, do a final check with a level: any dip or bump over 1/8 inch should be sanded or filled. Remember: a smooth substrate = smooth installation.
Now, grab that notched trowel we mentioned earlier. Apply adhesive to the substrate in a "U" or "W" pattern, then use the trowel's notches to create ridges—this ensures full contact with the panel. Work in small sections (3-4 square feet at a time) to prevent the adhesive from drying out. Your supplier will specify open time (how long the adhesive stays workable)—for example, 20-30 minutes in moderate temperatures. Avoid applying adhesive in direct sunlight or high winds, which can speed up drying.
Carefully lift a panel and align it with your guidelines. Gently press it into the adhesive, starting from the bottom and working upward to avoid air bubbles. Use a rubber mallet to tap the panel evenly—don't hit too hard, as this can crack the material. For vertical seams, use temporary spacers to maintain the gap (your supplier might include these in the shipment). If your panels have interlocking edges, ensure they click into place fully. After placing each panel, check alignment with a level—adjust within the first 10 minutes if needed, before the adhesive sets.
Once all panels are installed and the adhesive has cured (typically 24-48 hours), it's time to seal the joints. Use a high-quality silicone sealant that's color-matched to your panels—your supplier can recommend brands that won't yellow or crack over time. Apply sealant with a caulking gun, smoothing it with a damp finger for a clean finish. For horizontal joints, slope the sealant slightly downward to channel water away from the wall. This step is non-negotiable for exterior projects; even a small gap can let in moisture, leading to mold or panel damage.
Cutting panels to fit around windows, outlets, or corners? Use a circular saw with a diamond blade, and mark the cut line with masking tape to prevent chipping. For curved edges, a jigsaw works well—just go slow. Once all cuts are done, wipe down the panels with a soft cloth to remove adhesive residue. If there are any smudges, your supplier might recommend a specific cleaner (avoid harsh chemicals like bleach, which can discolor the panels).
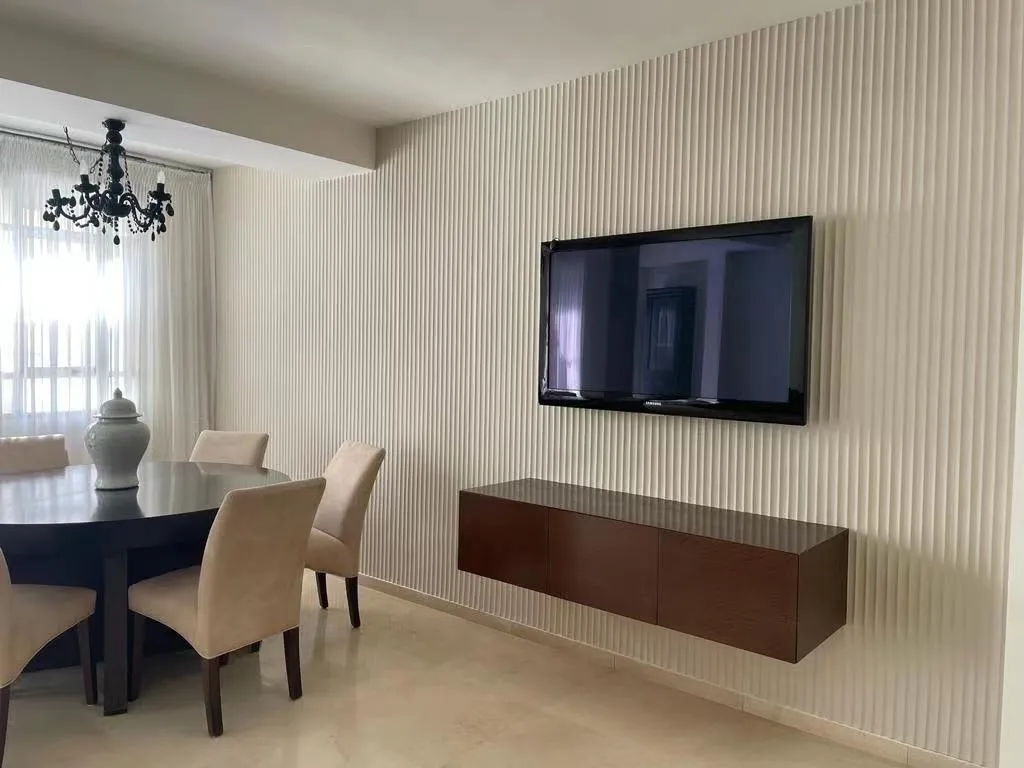
Even with careful planning, issues can pop up. Here are three common problems and how your supplier's support turns frustration into a quick fix:
This is usually due to improper adhesive application or substrate issues. If panels start to lift within the first week, contact your supplier's technical team—they might send a rep to inspect the adhesive coverage or substrate moisture levels. In some cases, they'll recommend re-adhering with a stronger adhesive or adding mechanical fasteners (e.g., screws with decorative caps) for extra support.
Natural stone varies, but MCM panels should have consistent coloring within a batch. If you notice a mismatch, check the batch numbers on the packaging—mixing batches can cause slight differences. Your supplier should replace panels from the same batch at no cost, as color consistency is part of their quality guarantee.
Did you skip surface cleaning? Or maybe the adhesive was too old? Suppliers test their adhesives rigorously, so if bonding fails, it's often user error. But don't stress—their technical docs will include troubleshooting steps, like sanding the substrate for better grip or using a primer. If all else fails, they might send a sample of fresh adhesive to test.

Installing MCM panels is an investment—protect it with simple maintenance. For most projects, a monthly wipe-down with a soft cloth and mild soap is enough. Avoid pressure washers, which can force water behind the panels. If you notice a scratch, your supplier might sell touch-up kits with matching paint or filler. For exterior panels, inspect sealant annually and reapply if it's cracking or peeling. And here's a pro move: ask your supplier about long-term care guides —many include seasonal tips, like removing snow buildup gently to prevent panel stress.

Installing MCM flexible cladding stone wall panels isn't just about following steps—it's about partnering with a supplier who has your back. From the moment you request samples to the final inspection, a great MCM flexible cladding stone wall panel supplier provides the expertise, materials, and support that turn a daunting project into a smooth success. Whether you're a seasoned contractor or a DIY homeowner, remember: the best architectural façade solutions are built on collaboration. So take the time to vet suppliers, ask questions, and lean on their knowledge. With the right partner, your MCM panels won't just cover a wall—they'll elevate your entire space.
Ready to start your project? Reach out to a local supplier today and ask about their installation support packages. Your façade (and your future self) will thank you.
Recommend Products











