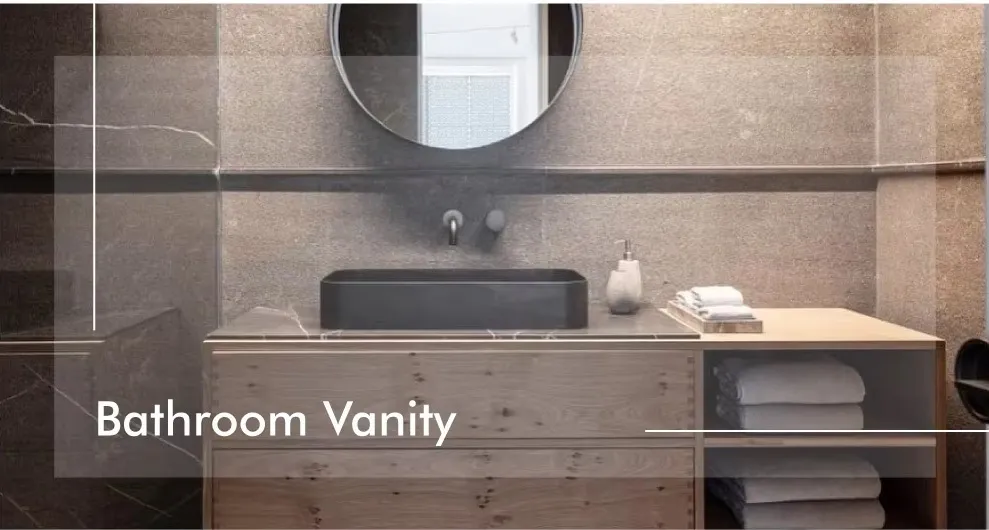
You know that feeling when you walk into your bathroom and instead of feeling refreshed, you're greeted by a vanity that looks like it survived the 80s? That yellowish tint creeping across the surface isn't just unattractive—it makes your whole bathroom feel dated and uncared for. The truth is, a worn-out vanity doesn't just hurt your bathroom's appearance; it subtly chips away at your daily experience too. That's why I'm passionate about helping homeowners like you reclaim their bathroom sanctuary without blowing the budget.
Over my years helping homeowners transform their spaces, I've seen firsthand how revitalizing a vanity can completely shift how you experience your bathroom. That yellowish cast isn't just cosmetic—it's usually a sign that materials are breaking down beneath the surface. Before you consider complete replacement, let me show you proven solutions that can breathe new life into what you've got. When we consider
integrated bathroom solutions
as a long-term approach, we're addressing the root causes rather than just masking symptoms.
Why Your Vanity Turns Yellow (And Why It Matters)
That unappealing yellow tint isn't random—it's science in action. As vanities age, several factors work together to create that unwelcome color change:
Material Breakdown: The Chemistry of Aging
All vanity surfaces—whether solid surface, laminate, or natural stone—contain resins and binders that are vulnerable to environmental factors. According to materials scientists, the resins in acrylic-based vanities chemically oxidize over time. This creates carbonyl groups that absorb light in the blue spectrum, causing yellowing to human eyes. Laminate surfaces face different challenges, where the melamine coating degrades and reveals the yellowish core beneath.
Pro Tip: Place a white sheet of paper next to your vanity to see the true extent of yellowing—you'll often discover it's worse than you realized!
Environmental Aggressors
Your bathroom creates the perfect storm for yellowing:
-
Moisture
is the top culprit, allowing microorganisms to flourish
-
Cleaning chemicals
with ammonia or bleach accelerate resin breakdown
-
UV light
triggers oxidation reactions in surface materials
-
Temperature fluctuations
cause expansion/contraction that creates micro-cracks
These factors work together to make aging vanities appear increasingly yellow—especially when compared to newer fixtures nearby.
Visual: Comparison of new vs yellowed vanity under identical lighting
"I almost replaced my entire vanity until I realized the yellowing was surface-deep. These restoration techniques saved me over $2,500!" — Sarah J., homeowner
The Complete Vanity Revival Process
Essential Tools
-
High-adhesion primer designed for bathroom surfaces
-
Semi-gloss latex paint (bathroom-rated)
-
Non-yellowing, water-based polyurethane
-
Sanding blocks (80-120 grit)
-
Microfiber cloths (lint-free)
-
Painter's tape and drop cloths
-
Screwdriver set for hardware removal
Whitening Solutions
-
Baking soda and hydrogen peroxide paste
-
Cream of tartar & lemon juice mixture
-
Professional-grade whitening gel
-
Plastic putty knives
-
Soft-bristle brushes
-
Protective gloves and goggles
Step 1: Material Assessment
Not all vanities respond equally to restoration, so start by identifying your material:
-
Solid Surface:
Acrylic-based materials show uniform yellowing. Test an inconspicuous area with acetone—if it softens, it's acrylic.
-
Laminate:
Shows edge chipping and bubbling at seams when damaged. Water stains often appear as dark spots beneath the surface.
-
Natural Stone:
Develops uneven yellow patterns where sealants failed. Test with vinegar—if it fizzes, you have calcium-based stone like marble.
This identification will determine which restoration approach works best and prevent potential damage.
Step 2: Deep Clean & Prep
Proper preparation makes or breaks restoration:
-
Remove drawers/doors and all hardware
-
Mix warm water with mild dish soap (avoid ammonia!)
-
Scrub every surface and groove with a soft brush
-
Treat stubborn spots with vinegar-water solution (1:3 ratio)
-
Rinse thoroughly and dry for 24 hours minimum
Skipping proper drying is why many DIY projects fail—trapped moisture prevents paint and sealants from bonding correctly.
Visual: Proper hardware removal technique
Step 3: Vanity Top Restoration
Countertops require different techniques than cabinet bases:
Natural Whitening Method (Eco-Friendly)
Create a thick paste using:
-
½ cup baking soda
-
¼ cup hydrogen peroxide
-
1 tbsp lemon juice
Apply generously to yellowed areas, cover with plastic wrap, and leave for 3-4 hours. Scrub gently with a soft toothbrush, repeating if needed. This gentle oxidation reversal works well for mild yellowing.
Commercial Restorer Method (Severe Cases)
For deep-set stains:
-
Apply professional whitening gel per manufacturer directions
-
Wrap in plastic to activate bleaching agents
-
Use UV light or sunlight exposure to accelerate process
-
Neutralize with recommended solution after treatment
Always patch-test in an inconspicuous area first—some materials can become permanently etched.
Step 4: Cabinet Base Makeover
Transform dated cabinet bases without replacement:
-
Lightly sand all surfaces with 120-grit sandpaper
-
Apply stain-blocking primer specifically for bathrooms
-
Use angled brush for clean edges around corners
-
Apply 2 thin coats of semi-gloss bathroom paint
-
Create dimension with glaze for wood-grain effect
-
Seal with non-yellowing polyurethane
This cabinet refinishing approach provides better adhesion and durability than simple repainting.
Design Tip: Create visual cohesion by matching your vanity paint to wall tones two shades lighter or darker.
Step 5: Hardware & Final Touches
Updating hardware completes the transformation:
-
replace faucets with water-efficient models (look for Watersense label)
-
Modernize handles using brushed nickel or matte black finishes
-
Install soft-close hinges for drawers/doors
-
Apply fresh silicone sealant around edges
These functional upgrades deliver noticeable aesthetic impact—often becoming the jewelry that elevates the entire vanity.
When to Call in the Professionals
While DIY approaches can work wonders, recognize when expert help is needed:
-
Structural damage (sagging frames, water-damaged supports)
-
Delamination on more than 30% of the vanity top
-
Historic homes needing period-appropriate restoration
-
Completely outdated plumbing configurations
Professional refinishers have industrial-grade tools and materials like UV-cured resins that create harder, more durable surfaces than DIY options. Their work typically comes with 5-10 year warranties versus DIY's 1-3 year lifespan.
Visual: Severe vanity damage requiring professional attention
The Ultimate Protection Plan
Prevent yellowing recurrence with these maintenance habits:
-
Daily:
Wipe surfaces dry after each use
-
Weekly:
Clean with pH-neutral cleaners only
-
Quarterly:
Reapply sealant to vanity top edges
-
Annually:
Check silicone seals and recaulk as needed
-
As Needed:
Use window films to block UV exposure
The payoff? A vanity that maintains its fresh appearance for years instead of yellowing again within months. Your future self will thank you every morning.
Smart Material Choices
If replacement becomes necessary, consider these modern solutions designed to resist yellowing:
-
Quartz Composites:
Non-porous material with UV inhibitors
-
Solid Surface:
New formulations with enhanced resistance
-
Porcelain Slabs:
Becoming popular for seamless installations
-
Recycled Glass:
Offers unique visual appeal with durability
These engineered materials resist yellowing significantly better than older laminate options while offering beautiful design possibilities.
Frequently Asked Questions
Can bleach remove vanity yellowing?
While bleach appears effective initially, it causes molecular-level damage to surfaces that actually accelerates future yellowing. The chlorine causes chemical degradation that creates microscopic pores where dirt and stains accumulate faster. Over time, this creates a cycle of increasing yellowness requiring stronger treatments.
Does refinishing last as long as replacement?
Professional refinishing lasts 7-10 years compared to replacement's 15-20 year lifespan. However, refinishing costs only 10-20% of replacement costs—making it financially sensible for many homeowners. DIY refinishing lasts 2-4 years but offers the most budget-friendly option. The break-even analysis shows refinishing makes sense until approximately 45% of the vanity's lifespan remains.
Can severely yellowed vanities be fully restored?
Restoration has limitations based on material type and penetration depth. Laminate can typically be restored to 85-90% original brightness, while solid surface materials may achieve 95% restoration. Professional assessment determines realistic expectations through scratch tests and light penetration measurements.
At the end of the day, that vanity in your bathroom matters more than you might realize. It's where you start and end your days—preparing to face the world and winding down from it. When it feels fresh and clean, everything else in your routine flows better. Don't let something as fixable as yellowing steal that from you. With the methods we've covered, you now have the tools to create a space that doesn't just look better, but actually makes you feel better too. Whether you tackle this over a weekend or decide to bring in a pro, the result will be the same: stepping into a bathroom that feels like yours again.