

Hey there! If you're tackling a castle rock profile facade installation, you're probably dealing with one of the more intricate challenges in modern architecture. These stunning stone profiles can transform ordinary buildings into landmarks, but let's be honest - installing them isn't like hanging drywall. It's a complex dance between artistry and engineering where one misstep can lead to costly repairs or worse, safety hazards.
In my 15 years of working with architectural facades, I've seen beautiful installations that took people's breath away, and unfortunately, some that made professionals wince. The difference always came down to preparation, understanding materials, and meticulous execution of safety protocols. That's why I've put together this comprehensive guide - to walk you through every critical step while keeping that natural stone beauty intact and your team safe.
Before we dive into the how-to, let's address the why. Facades aren't just pretty faces for buildings - they're functional armor systems. A well-installed castle rock profile facade:
The castle rock profiles specifically bring unique advantages to the table. Their dimensional depth creates natural shadow lines that hide minor imperfections while their textured surfaces blend beautifully with natural environments. But these very characteristics also introduce installation complexities we'll need to address.
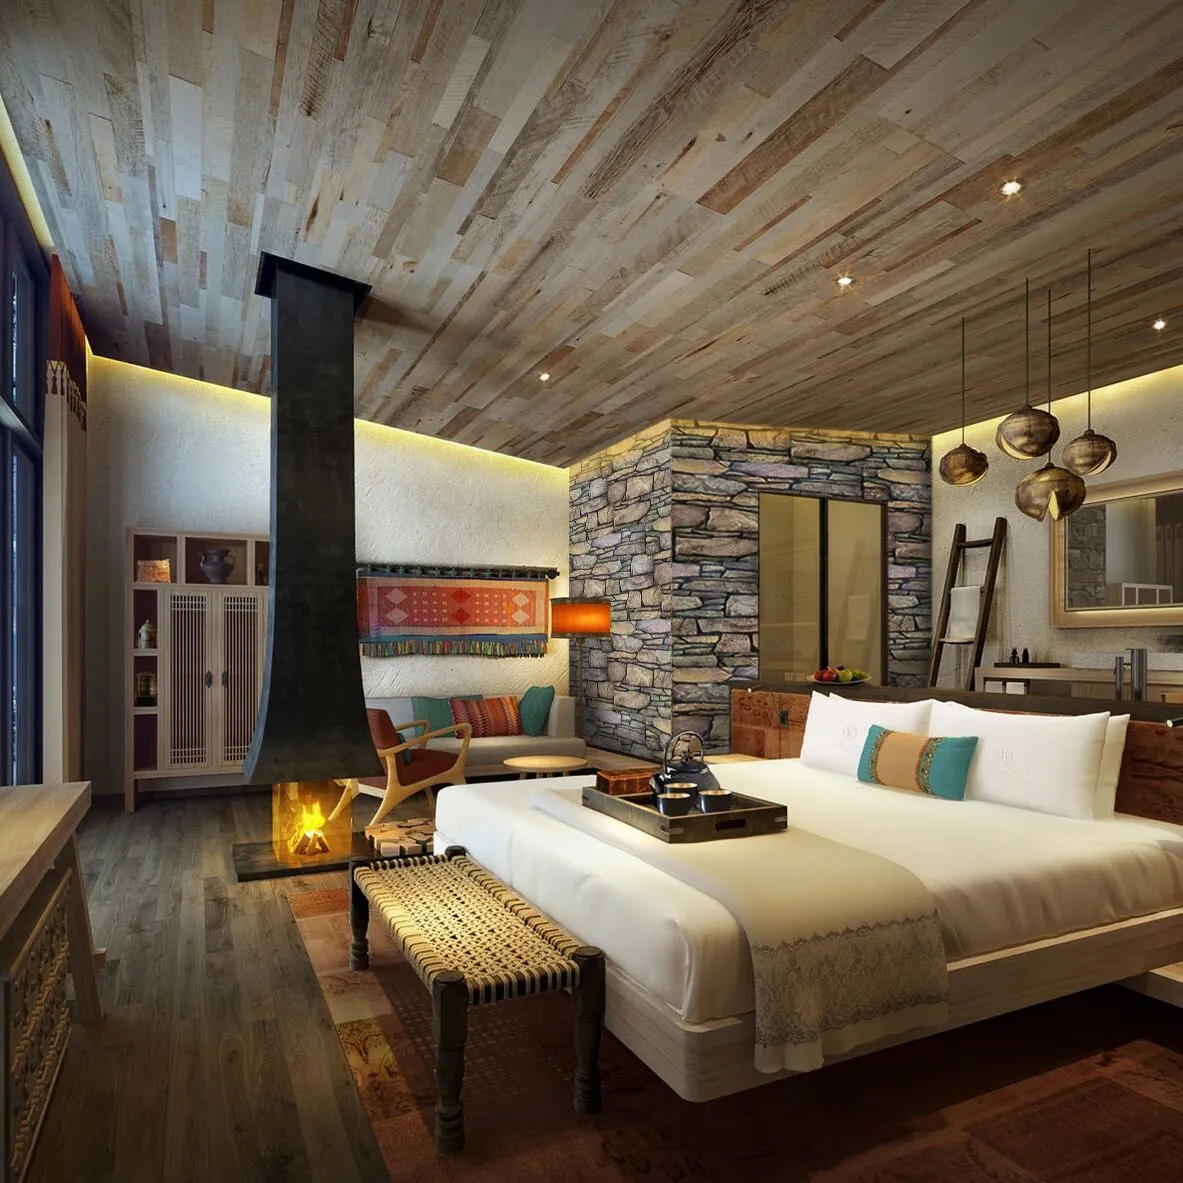
Not all stone profiles are created equal. For authentic castle rock installations, you'll need:
| Material | Purpose | Quality Indicators |
|---|---|---|
| Castle Rock Profile Panels | Primary visual & protective layer | Consistent thickness (min 40mm), color consistency across batches, UV-resistant sealant |
| Structural Adhesive Systems | Bonding panels to substructure | High-tack formulation, flexibility rating >25%, UV/weather stability |
| Vented Rain Screen System | Moisture management & insulation | Minimum 20mm air gap, non-corrosive framing, thermal break components |
| Specialized Sealants | Waterproofing joints & penetrations | Elastic recovery >75%, movement accommodation ±25% |
| Mechanical Fasteners | Secondary restraint system | Stainless steel (304/316 grade), corrosion-resistant coatings |
Pro Tip: Always request material sample panels and mock-up approval before full-scale installation. Natural stone variations can create unexpected challenges when scaling from samples to full production.
You wouldn't perform surgery with butter knives - don't install precision stone profiles with inadequate tools. Here's what you absolutely need:
| Tool | Purpose | Special Requirements |
|---|---|---|
| Laser Alignment System | Panel positioning accuracy | ±1mm accuracy, outdoor visibility rating |
| Vacuum Lifting Equipment | Stone panel handling | Minimum 300kg capacity, safety redundancy |
| Digital Calibration Tools | Joint spacing consistency | Waterproof, backlit display |
| Adjustable Scaffolding | Access at all heights | Stabilizer legs, guardrails, platform width >60cm |
| Precision Cutting Equipment | On-site modifications | Diamond blades, dust containment |
The castle rock facade wall panel system requires specific attention during handling due to its weight and surface sensitivity. Vacuum lifters should have padded interfaces to prevent microfractures that might not be visible immediately but can worsen over time.
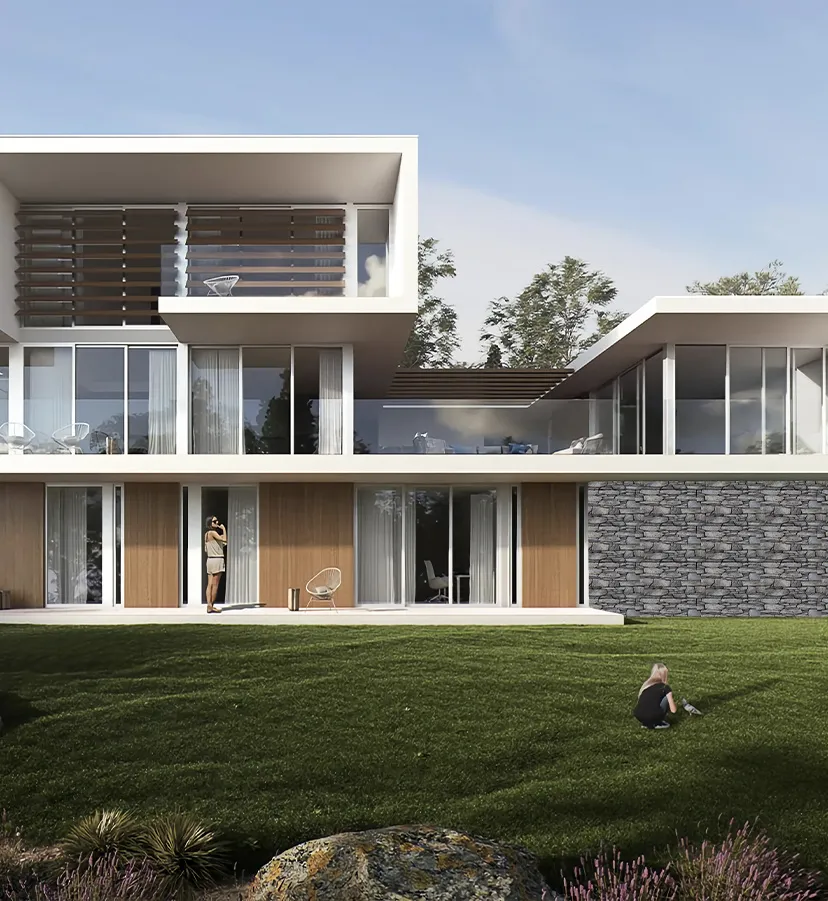
Rushing into installation without preparation is like baking a wedding cake without measuring ingredients. Here's your essential checklist:
I once saw a $200k installation fail because the concrete substrate hadn't fully cured despite surface tests indicating readiness. When in doubt, core samples tell the truth surface tests can't.
Proper surface preparation is the unsexy foundation of every great facade. For castle rock profiles:
The castle rock's deep profiles create microclimates behind panels. Install continuous drainage matting that directs moisture to weep holes at 600mm centers - a step too many crews skip with disastrous long-term results.
This is where artistry meets engineering. The key phases:
Never "dot and dab" - use continuous ribbon method with 40-60% coverage. Maintain 10mm perimeter gap to prevent adhesive squeeze-out that stains castle rock's porous surface.
Three-person minimum per panel:
1) Vacuum operator positions within 50mm of target
2) Alignment specialist makes final adjustments
3) Pressure applier ensures full contact
Install cross-braces at 45° angles until adhesive cures. Castle rock's uneven mass distribution requires specific bracing points that differ from flat panels.
Maintain consistent 10-12mm joints using non-staining spacers. Record actual joint widths at all panel corners - variations indicate substrate problems.
While adhesives provide primary strength, mechanical fasteners are your insurance policy:
The castle rock texture demands special drill bits that transition smoothly between material densities. Standard masonry bits will chip edges - use diamond-tipped progressive diameter bits instead.
Facade work consistently ranks among construction's most dangerous tasks. Here's how to protect your crew:
Castle rock panels typically weigh 80-100kg/m² - much heavier than standard cladding:
The castle rock profile installation requires specialized safety approaches:
Stone facades present unique risks most crews aren't prepared for:
Despite best plans, castle rock profiles throw curveballs. Here's how I've solved common nightmares:
Problem: Supposedly identical panels vary by 8mm causing alignment gaps.
Solution: Create custom shimming system from UV-stable polymer washers. Maintain bond line while hiding variances in shadow profiles.
Problem: Sudden temperature drop threatens adhesive curing.
Solution: Deploy IR curing blankets with thermostatic control - maintain 15-30°C curing zone regardless of ambient.
Problem: Radius sections requiring compound panel bending.
Solution: Install temporary curvature jigs with hydraulic formers. Gradually increase bend radius over 72 hours to avoid microfractures.
Problem: Matching castle rock profiles to existing century-old stonework.
Solution: Digital surface mapping to create custom transitional reveals. Use lime-based mortars instead of modern adhesives where appropriate.
Your installation isn't complete without a maintenance roadmap. For castle rock facades:
Document every inspection with photogrammetric overlays showing exactly where images were captured for comparison over time.
Castle rock is deceptively sensitive:
Recommend Products












