

When it comes to transforming a space—whether it's a cozy living room, a sleek office lobby, or the exterior of a commercial building—the walls play a starring role. They're not just dividers; they're canvases that set the tone for the entire environment. That's why choosing the right wall panels and, equally importantly, the right supplier, can make all the difference. As a one-stop architectural solution provider specializing in interior and exterior decoration materials, we understand that your project's success depends on more than just high-quality products. It depends on the support, guidance, and expertise that come with them. Today, we're diving deep into the world of PU stone wall panel installation, sharing insights, step-by-step instructions, and how partnering with a trusted PU stone wall panel supplier ensures your project runs smoothly from start to finish.
PU stone wall panels have surged in popularity in recent years, and it's easy to see why. Combining the natural beauty of stone with the lightweight flexibility of polyurethane, they offer the best of both worlds: durability, weather resistance, and a stunning aesthetic that works indoors and out. But here's the thing—even the best materials can fall short if not installed correctly. That's where your supplier steps in. More than just a "PU stone wall panel supplier," we're your partner, providing not just PU stone wall panel solutions but also the knowledge, tools, and support to make your installation a breeze. Let's get started.
Before we jump into installation, let's take a moment to appreciate why PU stone wall panels are a top choice for architects, designers, and homeowners alike. Unlike traditional stone, which is heavy and requires structural reinforcement, PU stone panels are lightweight—typically 70-80% lighter—making them easier to handle and install. They're also highly durable: resistant to moisture, UV rays, and temperature fluctuations, making them suitable for both interior decoration materials (think accent walls in living rooms or bedrooms) and exterior decoration materials (like facades or patio walls). Plus, they come in a variety of textures and colors, from rugged mountain stone to smooth river rock, so you can achieve the exact look you want without the high cost or environmental impact of quarried stone.
But here's the key: their versatility and beauty mean nothing if the installation process is a headache. That's why choosing a supplier who offers more than just panels—who offers solutions —is critical. From helping you select the right panel for your project to guiding you through every step of installation, a trusted supplier turns a potentially stressful process into a smooth, satisfying experience.
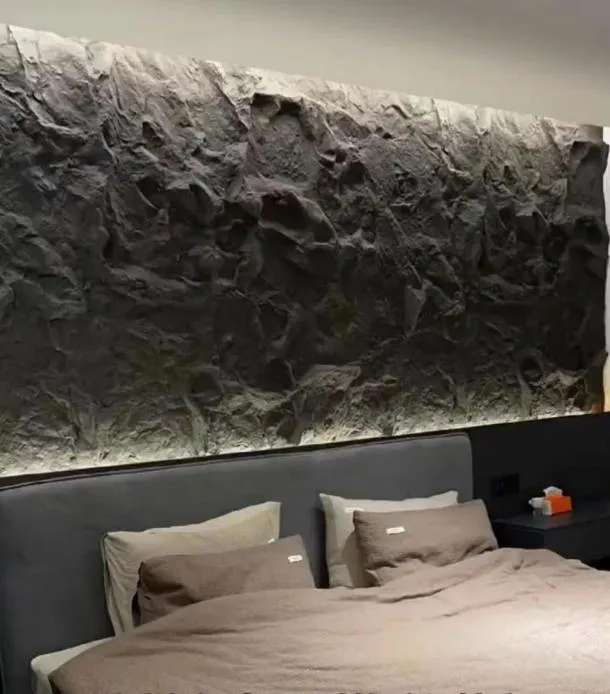
Installation day might feel like the main event, but the real magic happens in the preparation. Rushing this step is one of the biggest mistakes we see, and it often leads to misaligned panels, adhesive failure, or uneven surfaces. Let's break down what you need to do before you even unbox your panels—and how your supplier can help.
First, take a close look at the wall where you'll be installing the panels. Is it concrete, drywall, brick, or wood? Each surface has different requirements. For example, drywall may need a primer to ensure the adhesive sticks, while brick might need minor repairs to fill in cracks or gaps. Your supplier can help here: we often provide surface assessment guides or even send a technical team to inspect the site (for larger projects) to recommend pre-treatment steps. Pro tip: If you're unsure, snap a few photos of the wall and share them with your supplier—they've seen it all and can spot potential issues you might miss.
"Measure twice, cut once" is a golden rule in construction, and it applies here too. Start by measuring the height and width of your wall to calculate the total square footage. But don't stop there—account for windows, doors, or other obstacles that will require cutouts. Most suppliers (including us!) offer a "quantity calculator" tool on their website, or you can share your measurements with their team, and they'll help you determine how many panels to order, including extra for waste (we recommend 5-10% extra, just in case). This prevents the frustration of running out of panels mid-installation and ensures you're not over-ordering and wasting money.
Having the right tools on hand is non-negotiable. Below is a table of essential tools, along with their purposes and our supplier recommendations to ensure you're using the best products for the job:
| Tool Name | Purpose | Supplier Recommendations |
|---|---|---|
| Measuring Tape & Pencil | Marking panel dimensions and cut lines | 16ft+ steel measuring tape for accuracy; mechanical pencil for clean lines |
| Utility Knife or Jigsaw | Cutting panels to size (jigsaw for curves, utility knife for straight cuts) | Fine-tooth jigsaw blade to prevent chipping; sharp utility knife with replaceable blades |
| Notched Trowel | Applying adhesive evenly to the wall and panel back | 6mm x 6mm notched trowel for optimal adhesive coverage |
| Level (2ft+) | Ensuring panels are straight and aligned | Magnetic level for hands-free use on metal studs |
| Rubber Mallet | Gently tapping panels into place without damaging the surface | Soft rubber head to avoid dents or cracks in panels |
| Adhesive | Securing panels to the wall (critical for long-term hold) | Polyurethane-based adhesive recommended by your supplier (we provide a compatible adhesive with every order) |
| Caulk Gun & Sealant | Sealing gaps between panels and around edges | Waterproof, paintable sealant that matches your panel color (we offer custom color-matched sealant!) |
Pro tip: Many suppliers, including us, offer "installation kits" that include all these tools (minus the basics like measuring tape) at a discounted price. It's a convenient way to ensure you have everything you need without hunting down individual items.
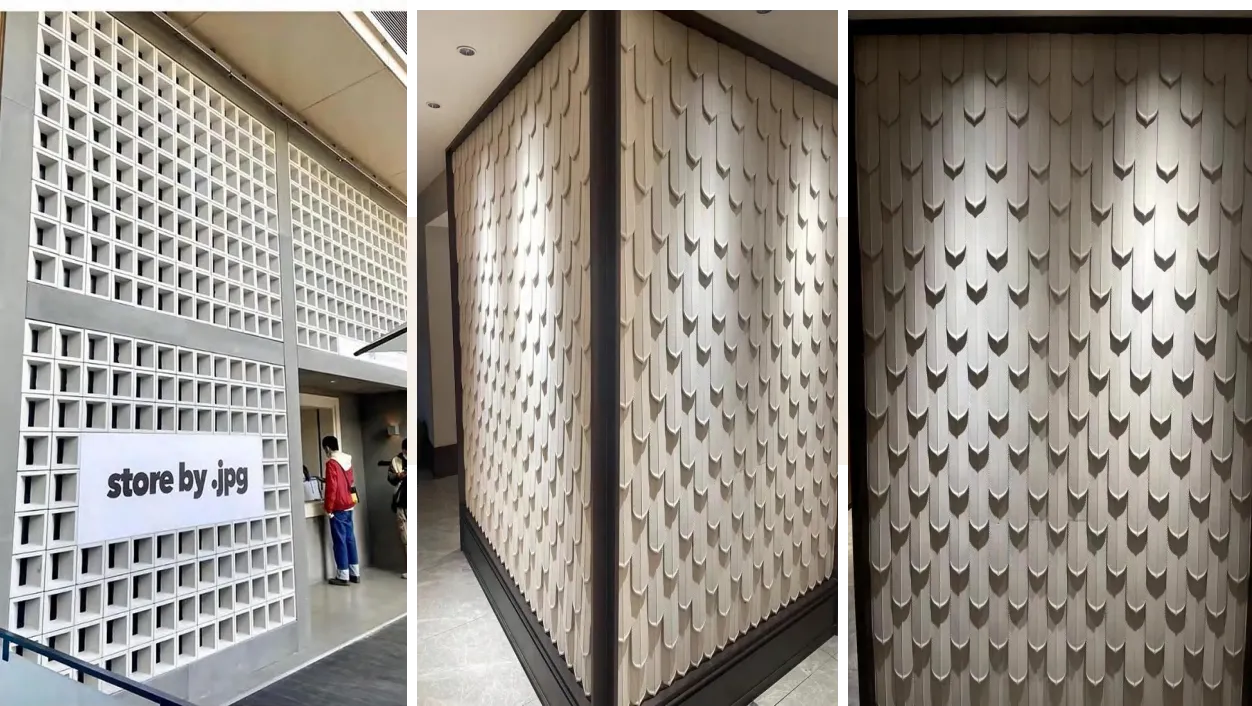
Now that you're prepared, it's time to install your PU stone wall panels. Follow these steps, and remember: if you hit a snag, your supplier's technical support team is just a phone call or email away. We're here to help!
Start by cleaning the wall thoroughly. Dust, dirt, or grease will prevent the adhesive from sticking, so wipe it down with a damp cloth and let it dry completely. If the wall is uneven (common with plaster or brick), use a filler to smooth out bumps or cracks, then sand it down once dry. For drywall, apply a primer specifically designed for bonding with polyurethane adhesives—your supplier can recommend a brand that works best with their panels. Let the primer dry according to the manufacturer's instructions (usually 2-4 hours).
Before applying any adhesive, "dry fit" the panels to plan your layout. This helps you avoid unsightly small cuts at the edges (no one wants a tiny sliver of panel at the top or bottom!). Start from the bottom corner of the wall (it's easier to work up) and lay out the panels on the floor, matching the pattern as you would on the wall. If you're using panels with a repeating pattern, ensure the seams align naturally. Mark the wall with a pencil where each panel will go, using a level to draw vertical and horizontal guidelines. This acts as your roadmap during installation.
Using your measurements and layout plan, cut any panels that need trimming (for windows, doors, or corners). For straight cuts, score the panel with a utility knife along your marked line, then bend it gently to snap it—this gives a clean edge. For curves or complex cuts, use a jigsaw with a fine-tooth blade. Always cut on the backside of the panel to prevent chipping the front face. If you're nervous about cutting, practice on a scrap piece first—your supplier can often provide extra sample panels for this purpose.
Now for the adhesive—this is what keeps your panels securely in place for years. Use the notched trowel to apply adhesive to the back of the first panel, spreading it evenly in a "waffle" pattern (this ensures good coverage and allows air to escape). Apply a 1/4-inch bead of adhesive around the edges of the panel for extra security. For larger panels (over 2ft wide), add a few extra beads of adhesive in the center to prevent sagging. Avoid applying adhesive to the very edges of the panel (leave a 1/8-inch gap) to prevent oozing when you press it against the wall.
Carefully lift the panel and align it with your guidelines on the wall, starting at the bottom corner. Press firmly against the wall, using a level to ensure it's straight both vertically and horizontally. Gently tap the panel with a rubber mallet to ensure full contact with the adhesive (be careful not to hit too hard—PU stone is durable, but excessive force can crack it). Hold the panel in place for 30-60 seconds to let the adhesive set slightly. Repeat this process for the next panel, ensuring the edges meet tightly (no gaps!) and align with your layout plan.
Work your way across the wall, row by row, keeping a close eye on alignment. Every 3-4 panels, use a level to check that the entire section is straight—small misalignments early on can snowball into big issues later. If a panel is slightly off, gently pull it away from the wall (while the adhesive is still wet) and reposition it. If the adhesive starts to dry (most have a 15-20 minute open time), don't panic—simply scrape off the old adhesive and apply fresh. Your supplier can provide specific drying times for their recommended adhesive, so keep that info handy.
Once all panels are installed and the adhesive is fully dry (typically 24-48 hours), it's time to seal the gaps. Use the paintable sealant and a caulking gun to fill in any small gaps between panels, as well as around the edges of the wall (where panels meet the ceiling, floor, or trim). Smooth the sealant with a damp finger or caulking tool for a clean finish. Let the sealant dry completely (check the manufacturer's instructions—usually 4-6 hours), then paint over it if needed to match the panel color.
Finally, wipe down the panels with a soft, dry cloth to remove any dust or adhesive residue. If your panels have a glossy finish, you can buff them gently with a microfiber cloth to enhance shine. Step back and admire your handiwork—you've just transformed your space with beautiful, durable PU stone wall panels! And remember, if you notice any issues (like a panel that feels loose), contact your supplier immediately—we'll help troubleshoot and resolve it.
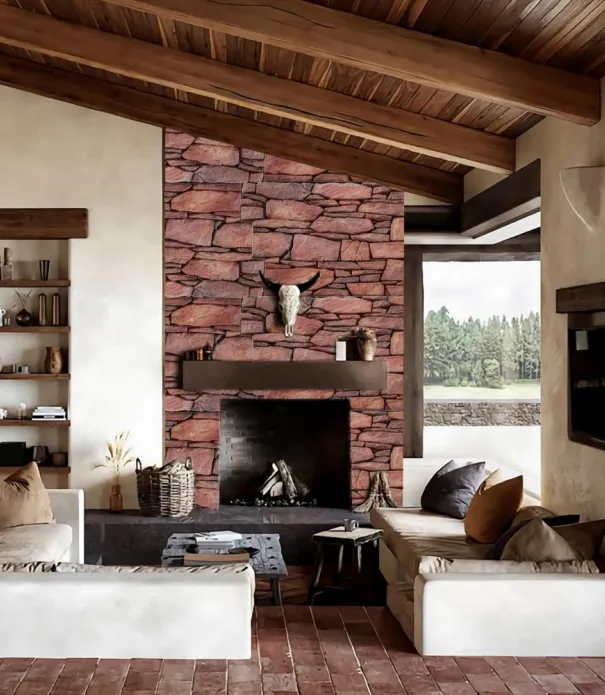
Even with careful planning, hiccups can happen. Here are some common issues and how your supplier can help you fix them:
This is almost always due to surface preparation. If panels slide or fall off, check if the wall was clean and dry, or if the adhesive was applied correctly. Your supplier can send a technical rep to inspect the wall and recommend a stronger adhesive or surface treatment (like a bonding primer). In rare cases, the wall may have a coating (like oil-based paint) that repels adhesive—your supplier can suggest a solution to strip or seal the coating.
Small gaps (1/8 inch or less) are normal and can be filled with sealant. Larger gaps may mean panels were cut incorrectly or misaligned during installation. Your supplier can guide you on how to trim panels for a better fit or provide replacement panels if needed (many offer a warranty on material defects).
Accidents happen! If a panel chips, your supplier may offer touch-up kits (paint or filler) that match the panel color. For more severe damage, they can arrange for a replacement panel—just be sure to keep your order number handy for quick processing.
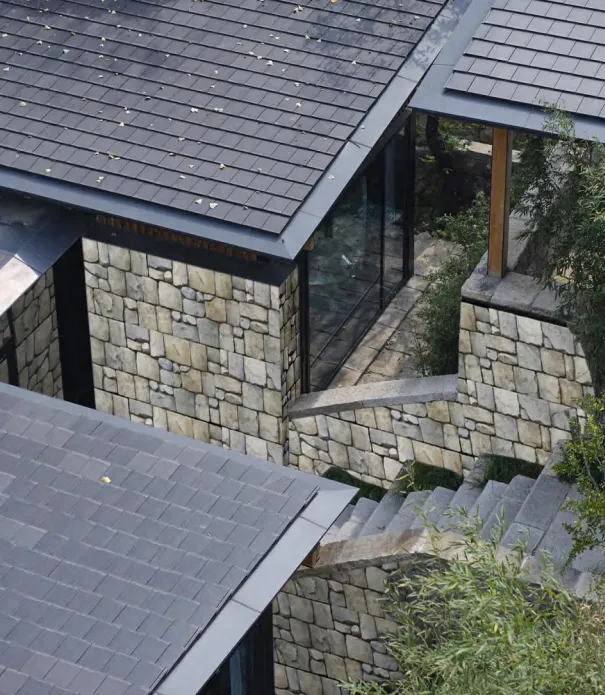
Your installation is done, and your wall looks amazing—but how do you keep it that way? PU stone wall panels are low-maintenance, but a little care goes a long way. Here's what your supplier recommends:
Your supplier should provide a detailed maintenance guide with your order, tailored to your specific panel type and environment (indoor vs. outdoor). Keep this guide handy—it's your go-to resource for long-term care.
Still not convinced that a trusted supplier makes all the difference? Let's look at two real projects where our PU stone wall panel solutions and support turned vision into reality.
A homeowner in Riyadh wanted to add a rustic stone accent wall to their living room but was worried about the weight of real stone damaging their drywall. As a one-stop architectural solution provider, we recommended our lightweight PU mountain stone panels. Our team helped them measure the wall, select a color that complemented their decor, and even provided a virtual mockup of how the wall would look. During installation, they struggled with cutting a panel around a fireplace, so they called our technical support line. We walked them through the process step-by-step, and the result? A stunning accent wall that's now the focal point of their home—installed in just one weekend, with zero structural issues.
A restaurant chain wanted to update their exterior with a modern stone look to attract customers. They needed a solution that could withstand Dubai's harsh sun and occasional sandstorms. We recommended our exterior-grade PU stone panels, which are UV-resistant and sandblasted for extra durability. Our team visited the site to assess the wall structure, provided a detailed installation plan for their contractors, and even supplied extra panels in case of damage during installation. The result? A sleek, low-maintenance façade that has held up beautifully for over two years, with zero fading or cracking—all while reducing installation time by 50% compared to traditional stone.
Installing PU stone wall panels is a rewarding project that can transform any space— but it's not one you have to tackle alone. As your trusted PU stone wall panel supplier, we're more than just a source for materials. We're your partner, offering PU stone wall panel solutions that include expert advice, technical support, and peace of mind. From helping you choose the right panels to guiding you through installation and beyond, we're committed to ensuring your project is a success.
So whether you're a homeowner tackling a DIY accent wall or a contractor working on a large commercial project, remember: the right supplier makes all the difference. Choose a one-stop architectural solution provider who offers not just products, but partnership—and watch your vision come to life, smoothly and beautifully.
Ready to get started? Reach out to discuss your project, and let's create something amazing together.
Recommend Products











