


Why Specialized Installation Matters
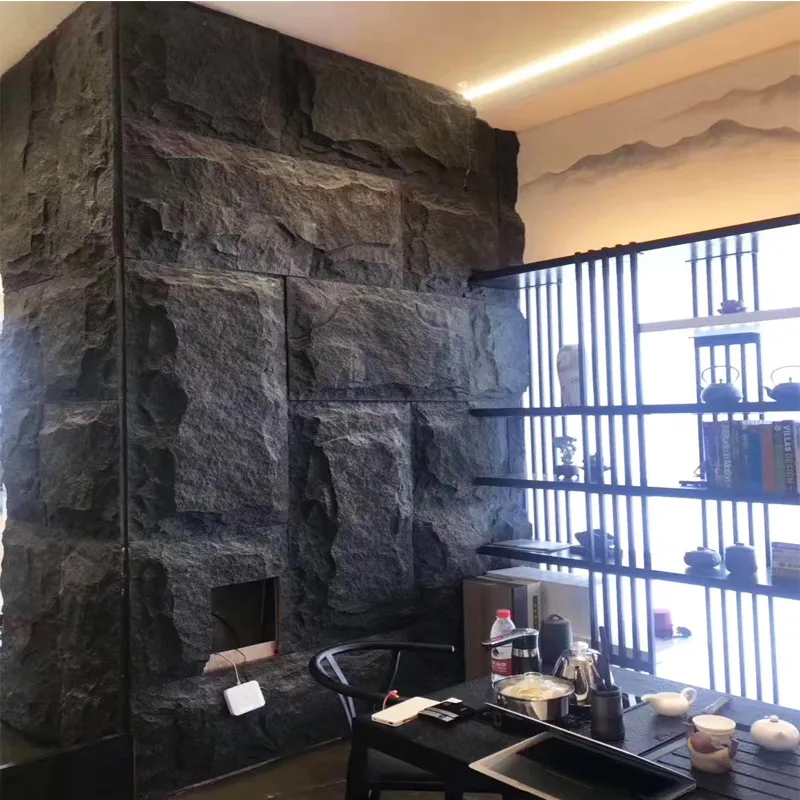
Imagine running your hand along a beautifully finished windowsill or appreciating the seamless transition where two walls meet at a corner finished with mushroom stone. These architectural details don't happen by accident. Specialized parts like stone corners and window sills require thoughtful installation techniques to ensure both aesthetic harmony and structural longevity.
Whether you're renovating a historic home or constructing a modern space, these elements serve as both functional necessities and design statements. When installed correctly using waterproof vinyl flooring principles to manage moisture (a key insight from construction material science), they transform from ordinary construction components into enduring architectural features.
Mushroom Stone Corners: Step-by-Step Mastery
Surface Preparation
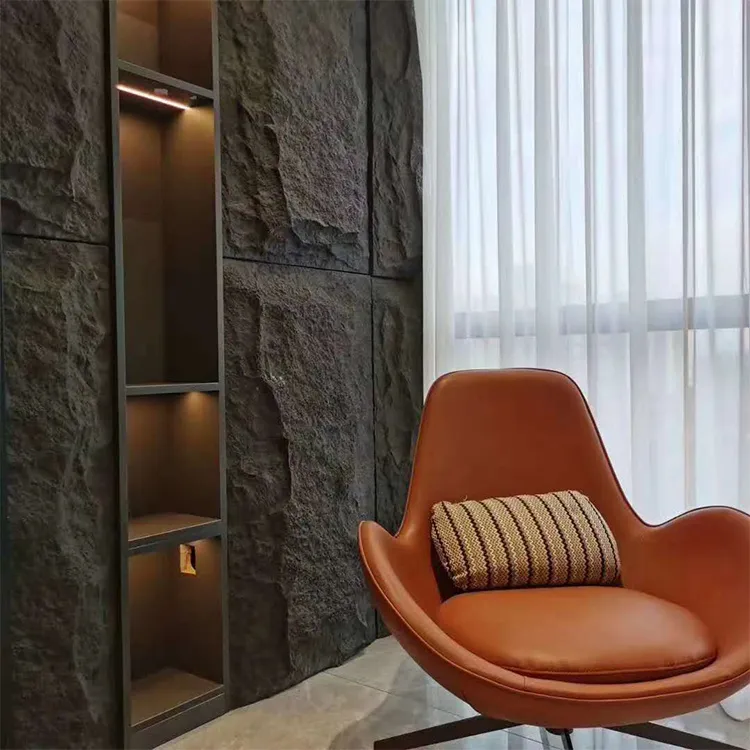
Like preparing a canvas for a painting, the substrate must be flawlessly clean and structurally sound. Remove any loose material, fill cracks with hydraulic cement, and apply bonding agent. This critical first step ensures your stone won't detach prematurely due to substrate failure.
Stone Selection & Layout
Handpick stones considering both color variation and thickness consistency. Dry-lay your pattern along the corner before mortar application. This artistic arrangement phase helps visualize transitions and reveals which stones need edge-trimming for tighter joints.
Mortar Application Techniques
Apply mortar using the "butter-back" method: spread a consistent ½" layer on each stone back while maintaining a clean ¾" perimeter. This creates suction seal without oozing. Press firmly with twisting motion to engage maximum adhesion.
Pro Tip: On exterior corners, extend stones ¼" beyond the corner line. This creates visual depth and protects the vulnerable corner edge from chipping.

Window Sill Solutions: Beyond Basic Installation
Material-Specific Approaches
Natural stone sills require different handling than composite or wood. For marble/granite, always use epoxy adhesives rather than standard mortar. With wood, precondition for 72 hours in the installation environment to minimize seasonal movement.
Slope & Drip Edge Engineering
Create 3-5° slope away from the window using laser level. Cut ½" drip groove 1" from the sill's front edge - this invisible detail prevents water from curling back underneath the sill during rainstorms.
Seamless Integration
Coordinate sill installation with window flashing and adjacent finishes. Extend waterproof membranes beneath sill ends and integrate with waterproof vinyl flooring principles when connecting to interior floors for continuity in moisture-prone areas.
Installation Wisdom: Allow pencil-line gaps between sill and frame. Fill with color-matched elastomeric sealant rather than mortar. This "breathing joint" compensates for differential expansion between materials.
Treatment & Preservation Techniques
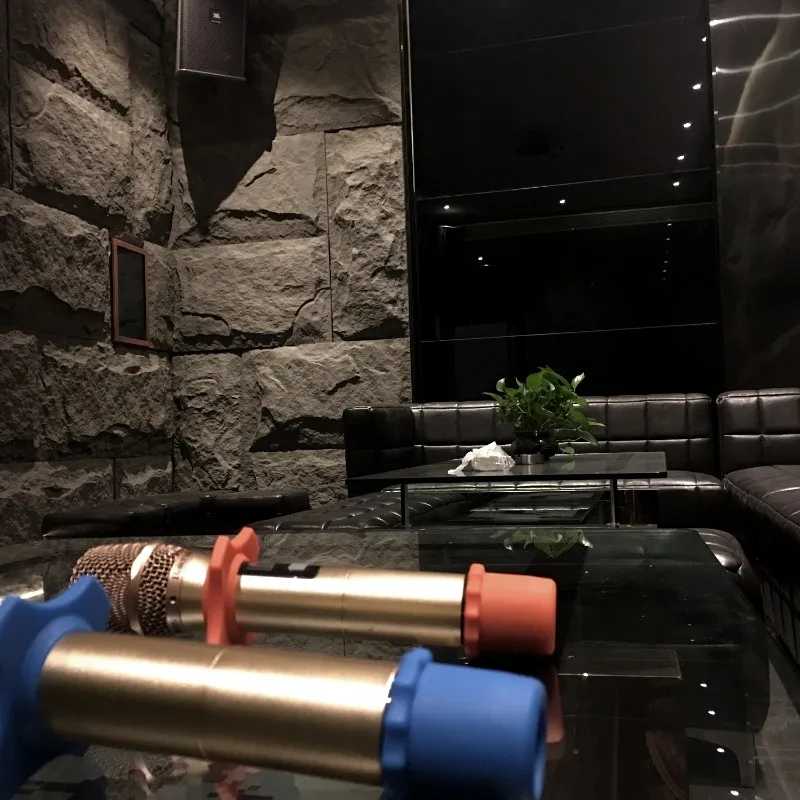
Natural stone isn't "install and forget" material. The porous nature of mushroom stone requires:
- Impregnating Sealers: Penetrating nanotechnology sealers that guard against stains while maintaining vapor transmission
- Consolidation Treatments: For weathered stone, apply silicate consolidators to bind crumbling surfaces
- Breathable Finishes: Avoid film-forming sealers that trap moisture and cause subsurface delamination
For wood sills, embrace the Japanese concept of wabi-sabi - allowing natural weathering while protecting structural integrity. Use linseed-oil based stains that penetrate rather than sit on the surface.

When Projects Go Wrong: Restoration Guide
Even properly installed features can suffer damage. Here's how to rescue compromised installations:
Repairing Mortar Failure
Carefully remove loose stones without damaging edges. Use dental picks to clean mortar pockets. Inject epoxy adhesive with syringe before resetting stone for invisible repairs.
Sill Water Damage Recovery
Remove rotting sections with oscillating tool. Install marine-grade plywood sub-base sealed with moisture-cured urethane. Rebuild with stone veneer or synthetic materials that mimic original appearance.
Preservation Insight: Document your installation angles and patterns during initial construction. Future restoration specialists will bless you for recording original mortar colors and joint widths.










