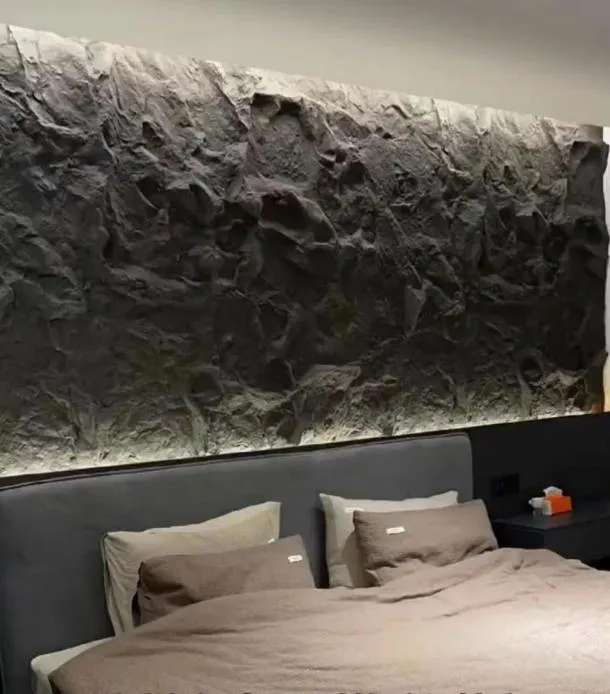
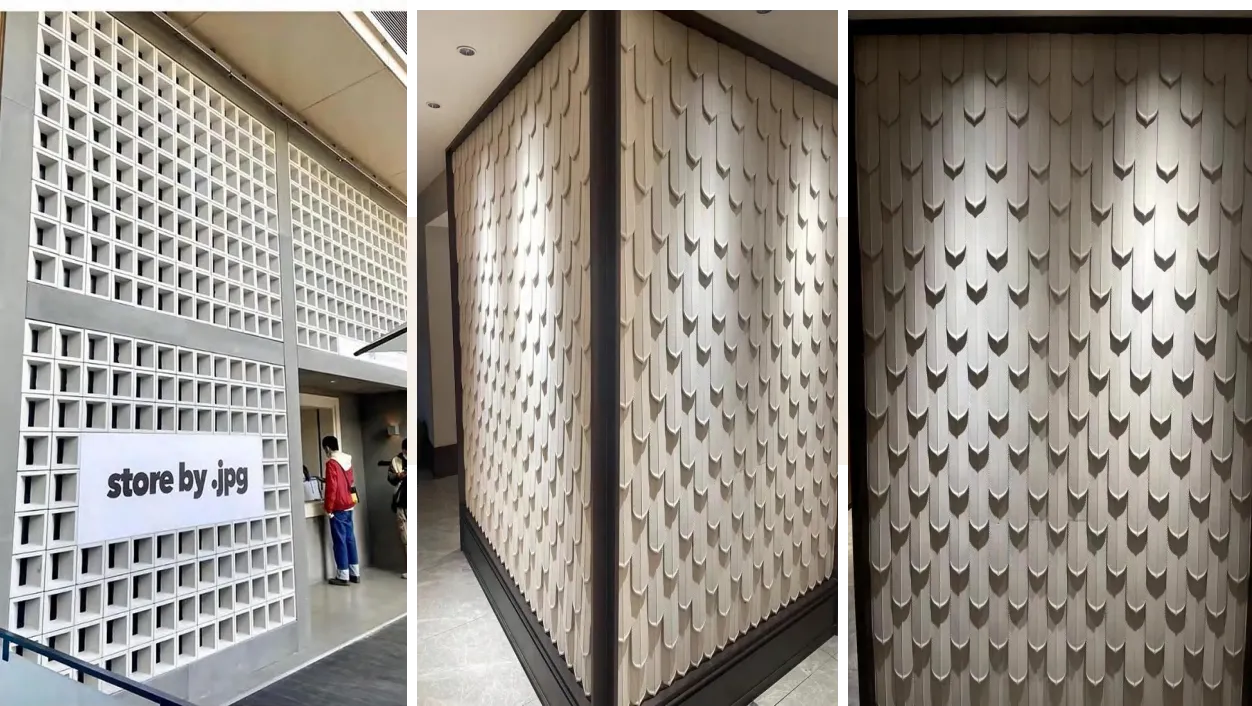
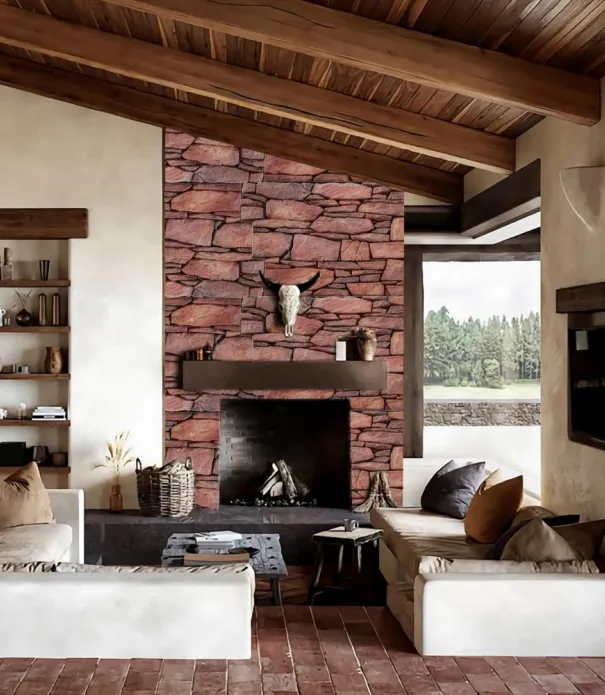
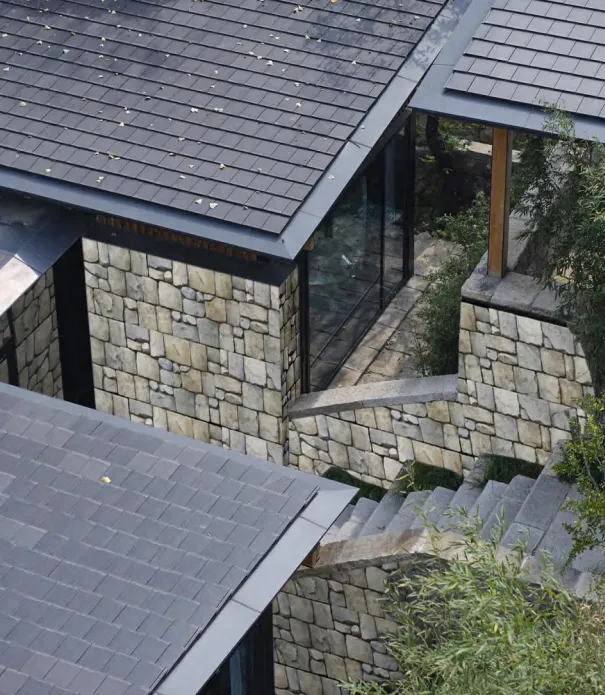
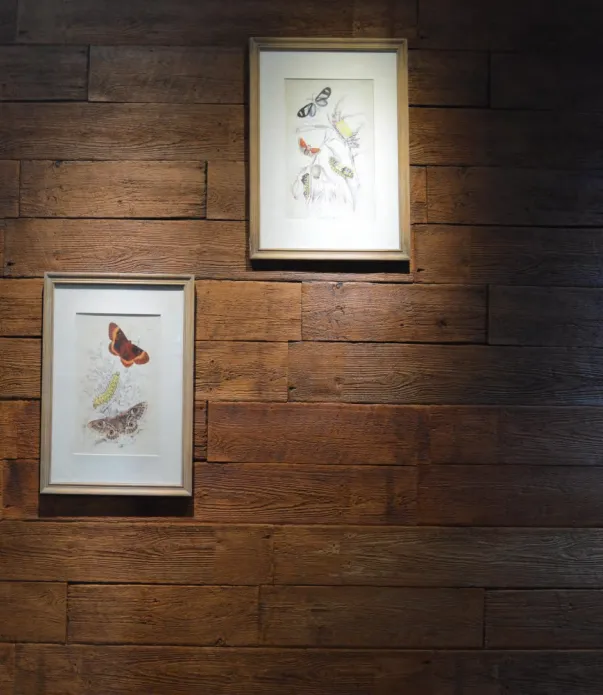
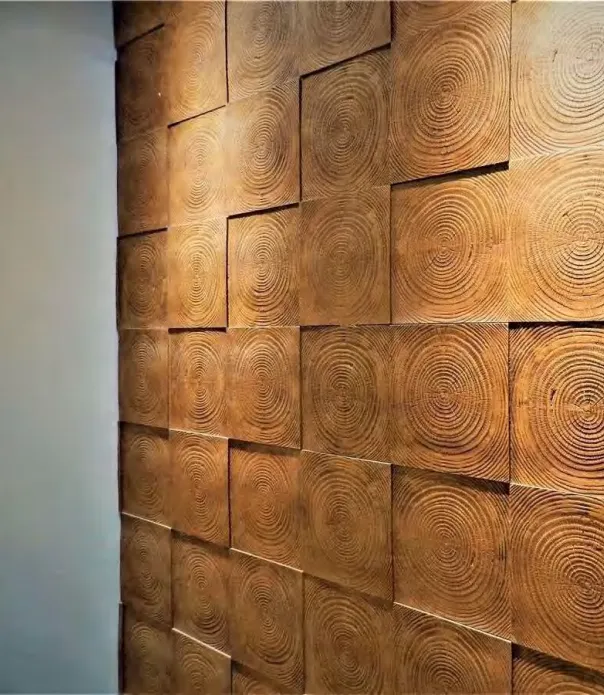
Now that you're prepped and tooled up, let's dive into the installation process. Follow these steps, and you'll have your new wall panels up in no time.
1
Prepare the Wall Surface
Start by cleaning the wall thoroughly. Dust, grease, or dirt will prevent the adhesive from bonding properly, so wipe the surface with a damp cloth and let it dry completely. If the wall is painted, lightly sand it with fine-grit sandpaper to create a rough texture – this helps the adhesive grip better. For new drywall, apply a primer to seal the surface; for masonry walls, ensure there's no efflorescence (white, powdery residue) and repair any cracks with mortar.
2
Mark Your Layout Lines
Using your measuring tape and pencil, mark a horizontal reference line near the bottom of the wall. This line should be level, so use your spirit level to double-check. The line will serve as a guide for the first row of panels. If you're installing panels vertically, mark vertical reference lines every 2-3 feet to ensure alignment. For outlets or switches, trace their outlines on the wall so you know where to cut the panels later.
3
Cut Panels to Size
Measure the space for the first panel and transfer the dimensions to the back of the PU stone panel (always cut from the back to avoid damaging the front texture). Use a straightedge to draw a cutting line, then secure the panel to a workbench with clamps. If using a circular saw, set the blade depth to slightly more than the panel thickness and cut slowly, keeping the saw blade aligned with the line. For curves or outlet holes, use a jigsaw with a fine-tooth blade. After cutting, sand the edges lightly to remove burrs.
DIY Hack:
For small, straight cuts, score the panel deeply with a utility knife, then bend it gently – it will snap cleanly along the scored line.
4
Apply Adhesive to the Panel
PU stone panels are lightweight, but a strong adhesive is still critical for long-term hold. Load your caulk gun with construction adhesive and apply it to the back of the panel in a zigzag pattern, leaving 2-3 inches of space around the edges. For larger panels (over 2 square feet), add extra dabs of adhesive in the center to prevent sagging. Avoid applying adhesive too close to the edges – it can squeeze out when you press the panel against the wall.
5
Install the First Panel
Align the bottom edge of the panel with your horizontal reference line and press it firmly against the wall. Start at the corner (if applicable) and work your way outward. Use your spirit level to check that the panel is plumb (vertical) and level (horizontal). If it's off, gently adjust it – most adhesives give you 5-10 minutes of working time before setting. Once aligned, press firmly across the entire panel to ensure the adhesive makes full contact with the wall.
6
Continue Installing Panels in Rows
For the next panel, apply adhesive as before and align it with the first panel, ensuring the edges fit snugly together. PU stone panels often have interlocking edges, so check if yours have a tongue-and-groove design – if so, slide the tongue into the groove of the adjacent panel. Use painter's tape to hold panels in place while the adhesive dries (tape across the panel and onto the wall for support). Continue this process, working row by row, and staggering the seams like brickwork for a more natural look (this also strengthens the installation).
7
Cut Panels for Obstacles
When you reach an outlet, switch, or window, measure the space carefully and mark the panel. Use a jigsaw to cut out the opening, making the hole slightly larger than the obstacle (1/8 inch) to allow for easy installation. Test-fit the panel before applying adhesive to ensure the cutout lines up – it's better to trim a little extra than to have a panel that doesn't fit.
8
Seal Joints and Edges
Once all panels are installed and the adhesive has dried (check the manufacturer's instructions – usually 24-48 hours), it's time to seal the joints. Load silicone caulk into your caulk gun and apply a thin bead along the seams between panels. Use a damp finger or a caulk tool to smooth the caulk, wiping away excess with a damp cloth. This step prevents moisture from seeping behind the panels and gives the wall a polished, professional finish. For exterior installations, use a weatherproof caulk to resist rain and UV rays.
9
Final Inspection and Touch-Ups
Stand back and inspect your handiwork. Check for any gaps between panels, loose edges, or uneven spots. If you notice a panel that's slightly loose, apply a small amount of adhesive to the back and secure it with tape until dry. For minor color inconsistencies, use a stone-touchup pen (available at most home improvement stores) to blend any visible seams. Wipe down the panels with a soft, dry cloth to remove dust and debris, and you're done!