
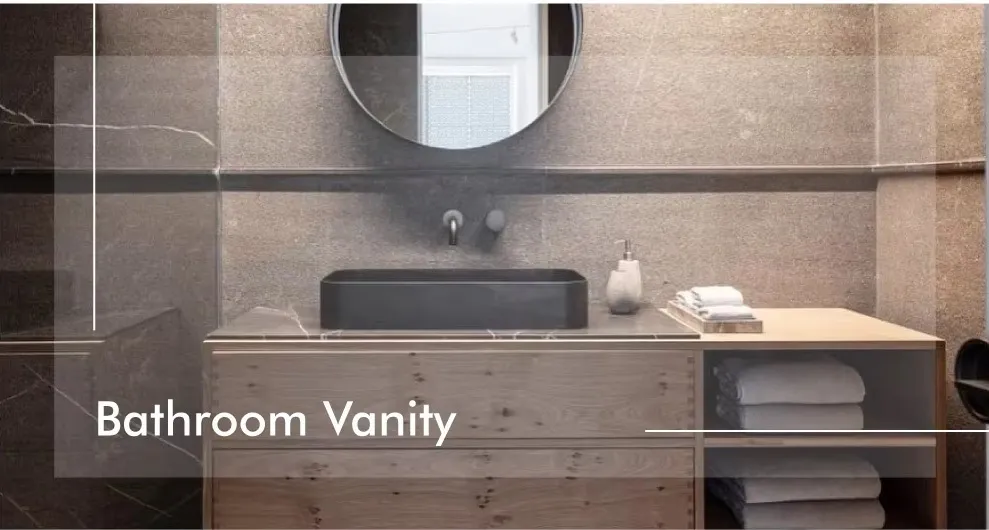
You've picked the perfect vanity, planned your bathroom redesign, and now... your walls aren't cooperating. That uneven surface behind where your vanity should sit isn't just frustrating - it's a common headache in bathroom renovations. But guess what? With some practical know-how and a few clever tricks, you can totally handle this problem and end up with a pro-quality install that looks like it was meant to be there. Let me walk you through the real-deal solutions.
Before we dive into solutions, let's get real about why uneven walls cause such headaches:
Ignoring these imperfections leads to visible gaps that collect gunk, countertop stress points, and wobbliness that'll drive you nuts every time you open a drawer. But here's the good news - solutions exist for every level of DIY courage!
Don't panic when you see that gap behind your vanity. Grab these problem-solvers:
| Basic Tools | Gap Solutions | Pro Finishing Touches |
|---|---|---|
| 4-foot level | Construction adhesive | Painter's caulk |
| Shims (plastic & wood) | Joint compound | Decorative trim pieces |
| Utility knife | Spray foam insulation | Color-matched grout |
| Carpenter's pencil | Backer rod foam | Flexible stone wall panels (great eco-friendly building materials option!) |
Pro tip: Spend $10 on a contour gauge - it'll save you hours of guesswork capturing your wall's exact wavy profile.
Don't just shove the vanity against the wall! Do this detective work first:
Serious gaps over 1.5 inches? You'll need to build out the wall surface first with new drywall strips.
Perfect for those 1/4"-1" inconsistencies behind vanity cabinets:
Real talk: This is temporary for tiled floors. If installing vinyl/LVT, anchor the vanity THEN floor around it.
For those "yikes!" gaps behind countertops before backsplash install:
Save your sanity: Add primer to your compound before backsplash installation - it prevents moisture damage.
This is where you make imperfections disappear:
Designer hack: Create "intentional" depth by installing decorative trim around the backsplash for built-in shelf look.
Sometimes shimming just won't cut it. Here's your game plan for severe cases:
Warning: Major wall reconstruction requires plumbing/electrical disconnects - call pros if uncomfortable!
Make your fix invisible with these trade tricks:
Remember: Always test cleaning products on fillers/sealants in hidden spot first!
Your fix will last decades with proper upkeep:
Smart upgrade: If redoing plumbing, install shut-off valves in accessible spot outside vanity.
Uneven walls feel like the universe mocking your DIY dreams, but they're actually just another solvable quirk of home ownership. Whether you're shimming gaps smaller than your pinky finger or rebuilding entire wall sections, the key is patience and precision measuring. Arm yourself with the right products - especially bathroom-rated joint compounds and adhesives - and approach it systematically. Remember that even pros deal with wonky walls; the difference is in the clever cover-ups. So take a breath, grab your level, and turn that frustrating gap into your secret triumph!
Final thought: That first time you lean against your rock-solid vanity with zero wiggle? Pure satisfaction. Worth every minute of the fix.
Recommend Products












