


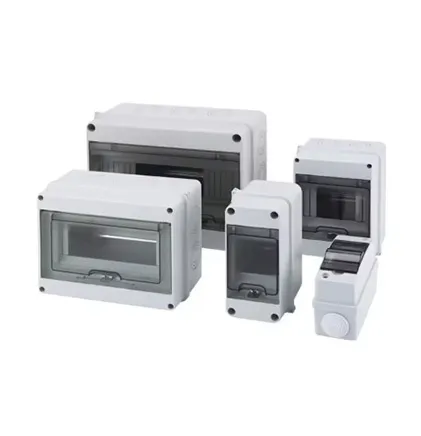
Imagine opening your distribution box to troubleshoot an electrical issue only to find a tangled mess of unlabeled wires. Frustrating, isn't it? Proper labeling isn't just about neatness – it's about safety, efficiency, and peace of mind. Drawing from professional electrical standards and real-world best practices, let's explore how to master this essential skill.
Why Proper Labeling Matters
Electricians who skip labeling often regret it later. Consider these real-world consequences:
- A factory technician spent 3 hours tracing circuits after unlabeled wires caused production downtime
- Improperly marked emergency lighting circuits delayed firefighters during an evacuation
- DIY kitchen renovations led to shocked homeowners cutting live wires masked as "disconnected"
Proper labeling prevents these nightmares. It creates visual language that speaks to anyone maintaining the system – whether that's you, an electrician, or emergency responders.
Preparing Wires Like a Pro
Wire Selection Basics
Not all wires are created equal. Here's a breakdown:
| Application | Wire Type | Color Standard |
|---|---|---|
| Main Circuits | As per schematic | Black RV type |
| Control Circuits | 1mm² cross-section | White RV type |
| Multi-core Cables | 0.3mm² | Black sheath |
The Art of Wire Stripping
Proper stripping is your labeling foundation. Watch for these pitfalls:
- Avoid the "guess cut": Measure insulation length (L) using this formula: L = Terminal sleeve depth + 1-2mm
- Tool matters: Never use knives - specialized strippers prevent nicking the conductor
- 0.5mm² wires: Fold these before terminal insertion for secure connection
Think of it like tailoring a suit – precise measurements make for perfect execution.
Labeling Techniques That Last
Sleeve Selection & Application
Choose sleeves like you'd choose tools - match them to the job:
- Control circuits: 25mm sleeves with font size proportional to tube diameter
- Main circuits (φ5mm): 30mm sleeves (avoid heat-shrink only on terminals)
Positioning tip: Have sleeved sections extend 1-1.5mm beyond exposed terminals. Orient labels parallel to components for instant readability.
Terminal Connection Wisdom
Terminals are your wire-to-component handshake:
- Match terminal shape to components like puzzle pieces (fork/ring/pin types)
- Crimp with specialized pliers - feel the "secure snap" signaling proper compression
- Install wires at perfect 90° angles (<5° tolerance) through wire slots
Remember: When two wires share a terminal, flatten their ends like pages in a book before connecting.
Real-World Application Guide
Home Upgrade Scenario
Adding a kitchen circuit? Your labeling plan:
- Mark both ends: "Kitchen GFCI West" at outlet and distribution box
- Use yellow tags on 12 AWG wires for easy visual separation
- update schematic diagram immediately
Industrial Setting Strategy
Labeling machinery connections demands extra diligence:
- Double-sleeve critical connections (redundancy matters)
- Coordinate labeling with power cables schematics
- Use laminated tags near high-heat components
Remember: This isn't just about you. Future technicians should understand your system immediately during emergencies.
Pro Maintenance Practices
Keep your labeling effective long-term:
- Every new connection: Label BEFORE energizing circuits
- Annual "label audits": Check for faded/incomplete tags
- Document changes: update diagrams simultaneously with physical labeling
- Weed management: Bundle wires like garden vines (neatly separated circuits)
When troubleshooting a dimming lighting circuit last month, a clear "Hallway LED Run - 2023" label saved me hours of tracing.
The Last Connection
Proper distribution box labeling is where safety meets craftsmanship. It transforms confusion into clarity and frustration into efficiency. Whether you're maintaining power cables in an industrial plant or wiring a backyard workshop, these techniques ensure your electrical systems communicate clearly for decades.
Start your next project with labels and sleeves ready – your future self will thank you when the system needs maintenance or upgrades. And if you ever doubt the importance, remember: precise labeling could be the difference between a 5-minute reset and a 5-hour nightmare.










