
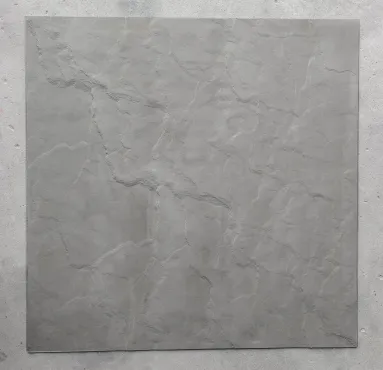
You're about to transform ordinary walls into extraordinary architectural statements. This manual walks you through every step of installing the Epoch Stone system - designed to create stunning facades while standing strong against the elements.
We get it - hanging stone on walls sounds intimidating. That's why we designed this system based on proven engineering principles to make installation surprisingly straightforward. Remember that time you saw a stone-clad building that took your breath away? That's the magic you're about to create.
What architects love about this system isn't just how beautiful it looks when finished - it's how the hidden structure creates peace of mind. The connection points work like a carefully choreographed dance between metal and stone.
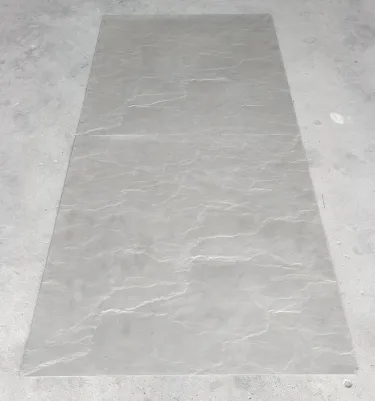
Opening those crates feels like Christmas morning, doesn't it? Let's get familiar with each player in our system:
These anodized aluminum channels run top to bottom like the spine of your installation. Notice the subtle grooves? Those aren't just for looks - they're alignment guides that'll save you hours.
Small but mighty stainless steel pieces that grip stone like gentle fingertips. The spring-loaded design means they hold tight while allowing just enough movement.
Those rubbery squares create a protective buffer between metal and stone. Think of them as shock absorbers for your wall.
Our custom fasteners include built-in weather barriers. Notice the nylon washers? They're the unsung heroes preventing water intrusion.
PRO TIP: Sort components by type before starting. Trust us - you'll thank yourself later when you're not digging through boxes mid-installation.
We've all rushed through prep and regretted it later. Let's avoid that pitfall together:
Press firmly across the entire surface with your palm. What seems solid might reveal hidden weaknesses. Pay special attention to areas around windows and doors - these are common trouble spots.
Apply waterproofing like you're painting a masterpiece - overlapping strokes with extra attention to corners. That shimmering wet-look should cover every square inch without pooling.
Snap chalk lines then stand back. Look at them from different angles. Do those lines feel right to your eye? Small adjustments now prevent "why does that look crooked?" moments later.
"Measure five times, cut once" might be an exaggeration, but measure at least twice from different reference points. Your future self will appreciate the precision.
Now the fun begins! We'll walk through each phase like we're right there with you:
Start from corners and work inward. As you secure each rail, periodically step back and sight down the length. They should disappear into straight lines, not create visual ripples.
Common Mistake Fix: If a rail won't sit flush, don't force it! Check for hidden debris in anchor holes.
Position clips where they'll hide behind stone edges. Use the laser level not just horizontally, but verify vertical alignment too. The click when clips snap into rails is deeply satisfying!
Start from the bottom and move upward. That first stone sets your entire pattern - triple-check its position. When stone meets clip, you'll feel a subtle vibration and hear a soft click.
Rotate stone panels occasionally to find their "happy place" where seams almost disappear. Nature isn't perfect - your wall shouldn't look machine-made.
For outside corners, alternate stone layers like a well-woven basket. Inside corners require precision cutting - mark cuts on the backside to avoid visible pencil lines.
Now that you've mastered the basics, let's explore what makes this system truly special:
Mix stone sizes and textures to create focal points. Try grouping three vertical panels of contrasting colors as a visual anchor in larger installations.
Cut stone to create "picture frame" effects. Extend the sill outward slightly to cast intriguing shadows during golden hour.
Blend vertical installation with horizontal surfaces by mitering the base row at 45°. Creates a seamless flow that feels organic.
See how alternating matte and polished stones at random intervals created water-like reflections? That wasn't accidental - it was planned using our spacing guide to achieve that shimmer effect.
Your stone wall is like a favorite leather jacket - it gets better with age when cared for properly:
Every spring and fall, walk the perimeter. Listen for hollow sounds indicating loose stones. Check weep holes aren't blocked with autumn leaves or insect nests.
Soft-bristle brush with mild detergent - nothing abrasive. Test cleaners on hidden areas first. Remember how that beautiful patina developed over years? Don't scrub it away!
For stubborn algae in damp climates, use diluted vinegar solution. Rinse thoroughly immediately after application to prevent etching.
PRO TIP: After rainstorms is actually the perfect time to inspect - water patterns reveal drainage issues!
Even perfect installations can develop quirks over time. Here's how to spot and fix issues:
Hearing occasional ticking or tapping sounds on windy days?
Solution: Likely thermal expansion. Check isolation pads aren't compressed. If noise persists, apply silicone lubricant to clip contact points.
Dark patches that stay wet longer than surrounding stones?
Solution: First check drainage channels are clear. Still wet? Might be condensation behind stones. Improve air circulation with strategically placed vent holes.
One panel stubbornly sits differently than its neighbors?
Solution: Loosen adjacent stones slightly to relieve pressure. Often the problem isn't the wonky stone, but tension from surrounding pieces.
What separates good installations from truly great ones? Attention to these subtle touches:
Sunlight transforms stone textures. Orient prominent features to catch morning or evening light based on wall orientation.
Humans naturally follow visual lines. Run horizontal courses along sightlines while using vertical patterns to draw eyes upward.
Frame your masterpiece by switching to a contrasting stone along the periphery. Creates a "finished art piece" effect.
At the end of a long installation day, step back with your team. Watch how sunset transforms your stone into a warm, textured canvas. That moment - when functional engineering becomes artistic expression - is why we created this wall cladding system .
Recommend Products












