

In the world of interior and exterior design, PU stone wall panels have emerged as a game-changer. These lightweight, durable, and visually striking panels offer the timeless beauty of natural stone without the heavy weight, high cost, or installation hassle. Whether you're revamping a residential living room, upgrading a commercial lobby, or adding character to a hospitality space, PU stone wall panels deliver that perfect blend of aesthetics and functionality. But here's the thing: even the highest-quality panels won't shine if they're poorly cut. Uneven edges, misaligned cuts, or rough finishes can turn a promising project into a disappointing one. That's why mastering the art of precise cutting is essential—and that's exactly what we're here to help you with today.
As a leading PU stone wall panel supplier , we've worked with countless homeowners, contractors, and designers to bring their visions to life. Time and again, we've seen that the difference between a "good" installation and a "stunning" one lies in the details—especially when it comes to cutting. In this guide, we'll walk you through everything you need to know to cut PU stone wall panels like a pro, from understanding the material to choosing the right tools, avoiding common mistakes, and ensuring a seamless fit in even the trickiest spaces. Let's dive in.
Before you pick up a saw, it's important to understand what PU stone wall panels are made of—and how their properties affect the cutting process. Unlike traditional stone (which is heavy, brittle, and hard to maneuver), PU panels are crafted from polyurethane, a synthetic material known for its lightweight, flexibility, and durability. This unique composition gives them several advantages: they're easy to transport, simple to install (even on your own), resistant to moisture and UV rays, and surprisingly strong for their weight. But these same properties also mean they require a different approach to cutting than, say, granite or marble.
Most PU stone wall panels are designed to mimic the look of natural stone, with textures ranging from rough-hewn granite to smooth limestone. Some even feature intricate patterns or color variations that need to align seamlessly when installed. This means that not only do your cuts need to be straight, but they also need to preserve the panel's visual integrity. Additionally, PU panels are often slightly flexible, which can make them shift during cutting if not properly secured. Understanding these quirks will help you avoid frustration and achieve cleaner results.
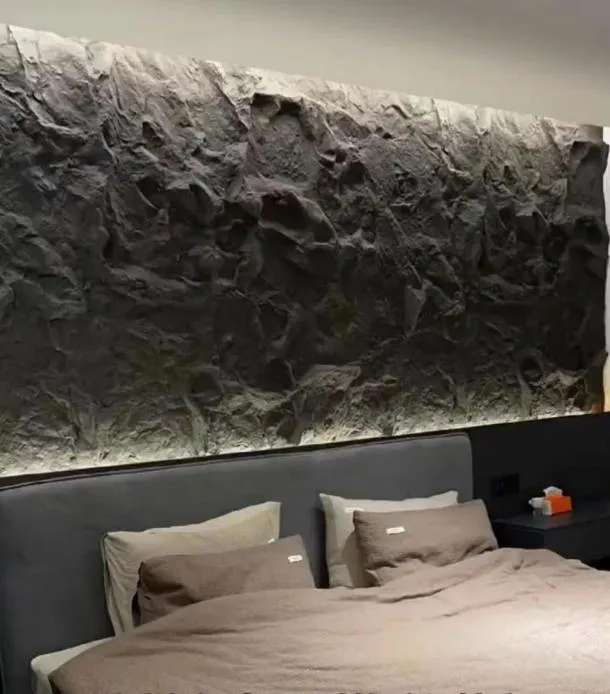
The right tools can make or break your cutting process. While PU stone wall panels are easier to cut than natural stone, using the wrong equipment can lead to splintering, uneven edges, or even damage to the panel. Here's a breakdown of the tools you'll need, along with when and how to use them:
| Tool Type | Ideal For | Blade Recommendation | Key Advantages | Potential Drawbacks |
|---|---|---|---|---|
| Circular Saw | Straight, long cuts (e.g., panel edges, large sections) | Fine-toothed blade (10-12 teeth per inch) with a carbide tip | Fast, efficient, and produces straight cuts; great for high-volume projects | Can cause vibration; requires a stable work surface; may leave rough edges if blade is dull |
| Jigsaw | Curved cuts, notches, or cuts around obstacles (e.g., outlets, pipes) | Fine-toothed jigsaw blade (14-18 teeth per inch), preferably bi-metal | Highly maneuverable; perfect for detailed work; easy to control for beginners | Slower than a circular saw; may wander if not guided carefully |
| Handsaw | Small, precise cuts or when power tools aren't available | Fine-toothed handsaw (12-16 teeth per inch) | Quiet, portable, and low-risk for damaging panels; ideal for small projects | Time-consuming; requires physical effort; harder to keep straight on long cuts |
| Utility Knife | Thin panels (less than 1/2 inch thick) or scoring before snapping | Sharp, retractable utility knife blade (new blade for each project) | Extremely precise for thin cuts; no dust or noise; great for quick trims | Not suitable for thick panels; requires steady pressure to avoid uneven scoring |
In addition to cutting tools, you'll also need: a measuring tape (16-foot minimum), a carpenter's square, a pencil or marker (preferably a grease pencil for dark panels), clamps (to secure the panel), a workbench or sturdy table, sandpaper (medium and fine grit), and safety gear (safety glasses, work gloves, a dust mask, and ear protection if using power tools). Trust us—skipping the clamps or using a dull blade is a mistake you'll regret.
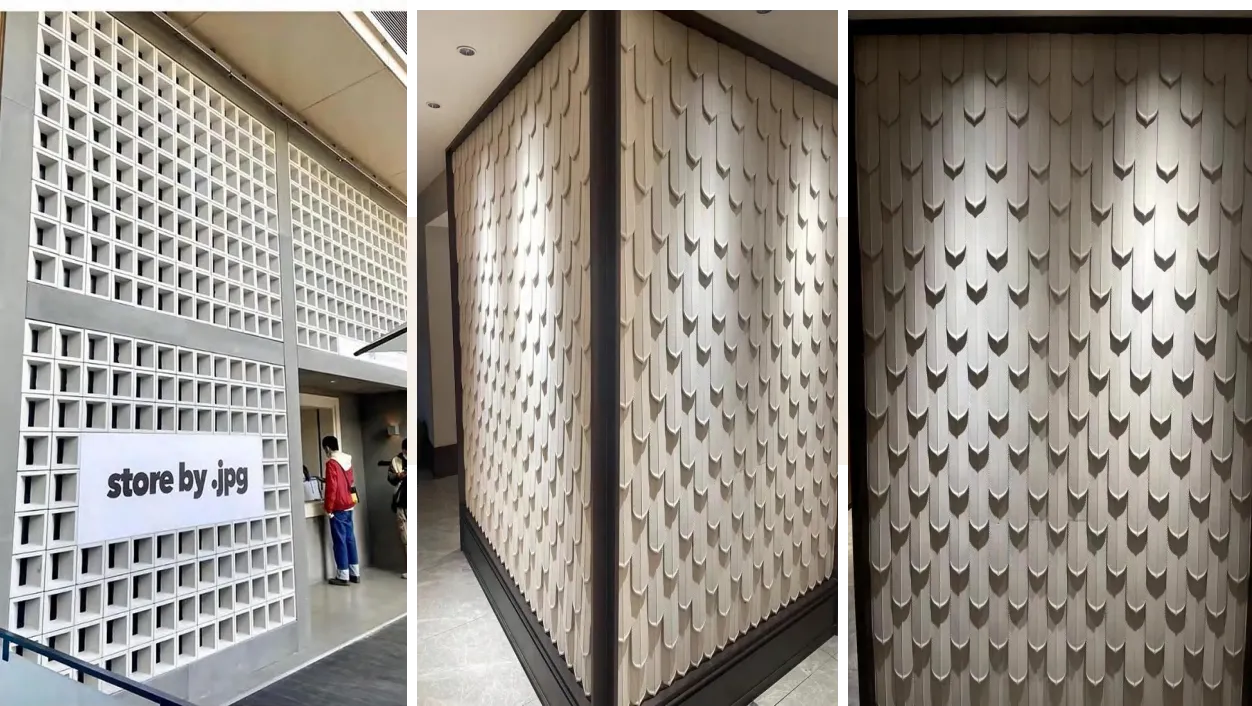
You've heard the old carpenter's adage: "Measure twice, cut once." Nowhere is this more true than when working with PU stone wall panels. Rushing through measurements is the #1 cause of wasted panels and frustrating do-overs. Here's how to prep like a pro:
Before you even touch a panel, measure the area where you'll be installing the panels. Note the height, width, and any obstacles (like windows, doors, light switches, or vents) that the panels will need to work around. Use a carpenter's square to check for square corners—many walls are slightly out of square, which can throw off your cuts if not accounted for. For example, if a wall is 1/4 inch narrower at the top than at the bottom, your panels will need to be tapered slightly to fit.
Once you have your space measurements, transfer them to the panel using a pencil and straightedge. Always measure from the edge of the panel (not the middle) to ensure accuracy. Mark your cut line clearly, and then—this is crucial—measure again. Compare the panel's marked dimensions to the space's measurements to make sure there are no discrepancies. It's also a good idea to mark the "waste" side of the cut (the part you'll be discarding) with an "X" to avoid cutting the wrong side.
PU panels are lightweight, but they can still shift during cutting if not secured. Clamp the panel firmly to a workbench, making sure the cut line extends over the edge of the bench (this prevents the panel from binding the saw). Use soft-grip clamps to avoid denting or damaging the panel's surface. If you don't have a workbench, a sturdy table covered with a piece of plywood (to protect the surface) will work.

Now that you're prepped, it's time to start cutting. The technique you use will depend on the tool you're using and the type of cut you need to make. Let's break down the most common methods:
Circular saws are ideal for long, straight cuts—think cutting a panel to length or width. Here's how to use one safely and effectively:
Jigsaws are your best friend for curved cuts, notches, or cuts around obstacles like electrical outlets. Here's how to master them:
Handsaws are perfect for small projects or when you need extra control. They're also great for cutting panels that are too thin or delicate for power tools. To use a handsaw:
If you're working with thin PU panels (less than 1/2 inch thick), a utility knife might be all you need. Here's how:
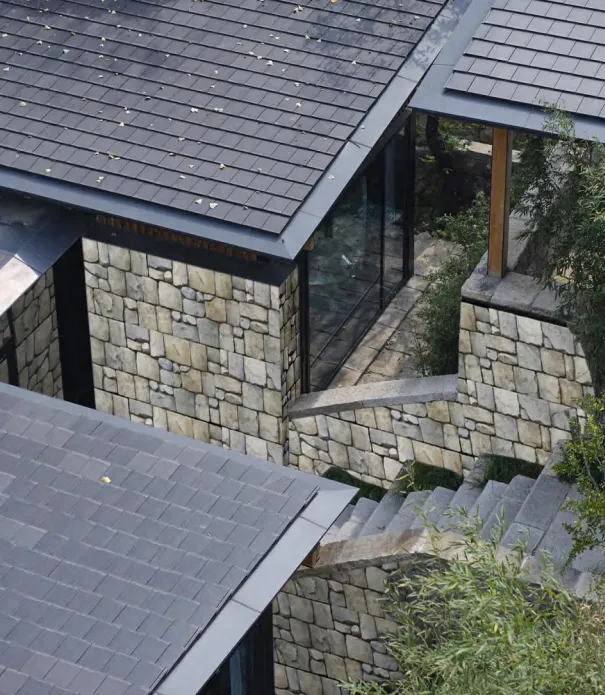
Even the cleanest cuts can leave minor rough edges or burrs. Finishing these edges is key to achieving a professional look—and it's easier than you might think. Here's how:
Use medium-grit sandpaper (120-150 grit) to smooth out rough edges. Sand in the direction of the panel's texture (if it has one) to avoid creating new scratches. For detailed areas or curved edges, use a sanding block or a piece of sandpaper wrapped around a pencil. Once the edges are smooth, switch to fine-grit sandpaper (220 grit) for a polished finish.
While PU panels are moisture-resistant, sealing the cut edges can add an extra layer of protection—especially in high-moisture areas like bathrooms or kitchens. Most PU stone wall panel solutions include a matching edge sealer or caulk that blends seamlessly with the panel's color. Apply a thin bead along the edge, then smooth it with a damp finger or a caulk tool to remove excess.
If your panels have a repeating pattern (like a stone mosaic or wood grain), take extra care to align the pattern when cutting. For example, if you're cutting two panels that will be installed next to each other, make sure the pattern continues smoothly across the joint. This may mean adjusting your cut line slightly to match the pattern—trust us, the extra effort is worth it for a cohesive look.

Not every wall is a perfect rectangle, and not every installation space is free of obstacles. From sloped ceilings to uneven corners to protruding pipes, tight spaces can test your cutting skills. Here are some strategies to handle them:
To cut a panel to fit around an outlet or switch, start by removing the outlet cover. Place the panel over the outlet, and use a pencil to trace around the edges of the outlet box. Remove the panel, then use a jigsaw to cut along the traced lines. For extra precision, make the cut slightly smaller than the traced line, then sand or trim as needed to fit.
Sloped ceilings or angled walls require beveled cuts (cuts made at an angle). To measure the angle, use a bevel gauge: place the gauge's arms against the wall and ceiling, then lock it in place. Transfer the angle to the panel using a protractor, mark the cut line, and adjust your saw's bevel setting to match the angle. Cut slowly, and test the fit before securing the panel.
Inside corners (where two walls meet at a 90-degree angle) often require miter cuts (each panel cut at 45 degrees to form a joint). Outside corners may need overlapping cuts or corner trim (many walls solutions include corner pieces that eliminate the need for complex cutting). For inside corners, measure the angle with a protractor—walls are rarely perfectly 90 degrees, so adjust your miter angle accordingly. Test the fit with scrap pieces before cutting your actual panels.
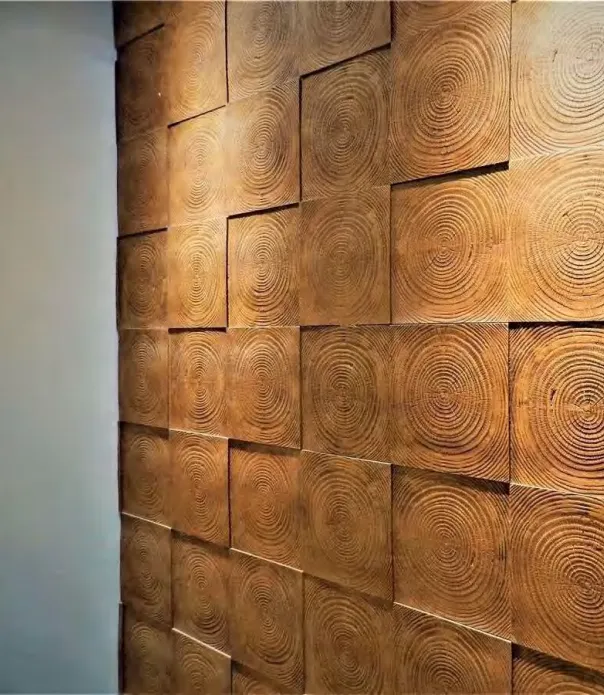
Even pros make mistakes—but with a little awareness, you can avoid the most common ones. Here are the errors we see most often, and how to fix or prevent them:
Mistake:
Rushing through cuts to save time, which leads to jagged edges or off-kilter lines.
Fix:
Slow down! Let the tool do the work, and focus on keeping the saw steady. If you notice the blade wandering, stop, reposition, and start again.
Prevention:
Practice on scrap panels first to get a feel for the tool's speed and handling.
Mistake:
Cutting panels to fit snugly against walls or other panels, without leaving room for expansion.
Fix:
If panels are already installed too tightly, carefully sand or trim 1/8 inch off the edges to create a small gap.
Prevention:
Leave a 1/8-inch gap between panels and walls to allow for minor expansion due to temperature or humidity changes.
Mistake:
Using old or dull blades, which tear the panel instead of cutting it cleanly.
Fix:
replace the blade with a new, sharp one. Sand the rough edges left by the dull blade.
Prevention:
Inspect blades before use—if they're chipped, worn, or dull, swap them out. For PU panels, fine-toothed blades stay sharp longer than coarse ones.
Last but never least: safety. Cutting any material—even lightweight PU panels—carries risks, so it's important to take precautions. Here's what you need to do:
Cutting PU stone wall panels may seem intimidating at first, but with the right tools, techniques, and a little patience, anyone can do it. Remember: the key is to take your time, measure carefully, and prioritize precision over speed. Whether you're a DIY enthusiast tackling your first project or a contractor looking to refine your skills, the tips in this guide will help you achieve clean, professional cuts that make your panels shine.
And don't forget: the quality of your panels matters, too. As a trusted PU stone wall panel supplier , we're committed to providing high-quality panels that are designed for easy cutting and installation. Our PU stone wall panel solutions include everything from panels and trims to adhesives and sealers, so you have everything you need to bring your vision to life. So go ahead—grab your tools, measure twice, and cut with confidence. Your space (and your future self) will thank you.
Recommend Products











