
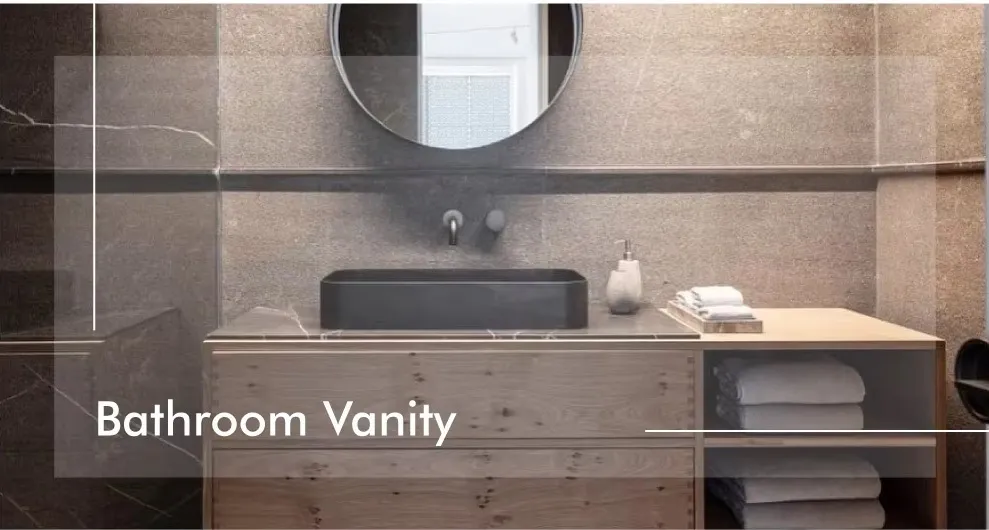
Let's be honest—installing a bathroom vanity should feel like a satisfying accomplishment, not a DIY nightmare that makes you regret not hiring a professional. Whether you're renovating your guest bath or tackling the master suite, that vanity is more than just storage; it's the anchor of your space and a daily workhorse. Yet I've seen countless homeowners make the same preventable blunders that lead to wobbly cabinets, leaky plumbing, and frustrating usability issues. After helping hundreds navigate these waters, I'm sharing battle-tested wisdom to transform your installation journey from stressful to satisfying.
Ever heard the saying "measure twice, cut once"? Well, with vanities, it's more like "measure five times, buy once." The most heartbreaking moments I see? Gorgeous vanities sitting in garages because they don't fit the space or plumbing. This isn't just about wall width—we're talking about a complex web of measurements that trips up even seasoned DIYers:
Pro Tip: Create a cardboard template of your vanity footprint. Place it in position—check door swings, drawer clearance, and plumbing alignment before committing to installation. This saves countless headaches!
Here's where nearly every DIY project derails: assuming your pipes will magically align with vanity cutouts. Historic homes? Expect surprises. Recent renovations? Plumbing might've been "close enough" but not precise. The nightmare moment comes when you've secured your cabinet only to discover the drain pipe pokes into a drawer cavity or water valves require Houdini-like contortions to reach.
Vertical Misalignment: Add a drain extension kit ($12-25) to lower drain pipes rather than reconfiguring plumbing.
Horizontal Shifting: Use offset drain kits to accommodate 4-6" horizontal shifts without tearing walls.
The appeal is obvious—clean lines, modern vibes, and that magical "floating" illusion. But here's the bitter truth many learn too late: that wall-mounted unit isn't just supporting cabinet weight. We're talking about a cocktail of destructive forces:
Wobbly vanities are the domino effect you never want—misaligned drawers, sagging doors, and worst of all, perpetual countertop puddles because water flows toward the cabinet instead of the drain. Most DIYers make two fatal assumptions:
Emotional Impact: Nothing feels more defeating than watching water pool daily at your beautiful backsplash because of a barely perceptible tilt. Take the extra 30 minutes here—it saves years of annoyance.
Caulk isn't glamorous, but neglecting it invites mold, rot, and structural damage. The horror stories? Water seeping into walls for months before staining appears. Common sealing sins include:
Step 1: Deep clean surfaces with rubbing alcohol—dust/grease prevent adhesion
Step 2: Apply thin, continuous silicone bead using caulk gun ($5 trick: cut tip smaller than you think!)
Step 3: Run damp finger along bead IMMEDIATELY for professional finish
Step 4: Use painter's tape around edges for perfect lines
Step 5: Let cure 24 hours before using water
Vanity ergonomics impact everyone—from toddlers needing step stools to grandparents with limited mobility. Yet most installations prioritize looks over livability. Your vanity shouldn't become an obstacle course.
Consideration: For households with wheelchair users, floating vanities become essential accessibility features allowing under-counter clearance. The key is ensuring the wall-mounted vanity has proper structural reinforcement as discussed earlier.
Don't panic if your vanity whispers "I've made a huge mistake." Most errors are fixable without starting over:
Crooked Installation: Loosen mounting screws, adjust shims, gradually tighten while rechecking level
Drawer Jamming: Check wall/corner clearance—shave 1/8" off drawer sides if needed
Leaky Connections: Turn off water, disassemble P-trap, replace washers, apply pipe thread tape
Gaps at Wall: Fill with backer rod first, then apply color-matched silicone (don't just caulk deep voids!)
Call a pro if you encounter:
The journey to a flawless vanity installation isn't about perfection—it's about avoiding the dozen little mistakes that compound into big regrets. With these insights, you're not just installing cabinetry; you're crafting a space that stands the test of time and daily life. Now go make that bathroom shine (without the puddles)!
Parting Wisdom: Always validate your bathroom solutions match your architectural layout. For homes with spatial constraints or unique plumbing configurations, opting for a wall-mounted vanity could maximize footprint efficiency while creating a visually spacious environment.
Recommend Products












