

If you've ever walked past a modern building with a sleek, stone-like exterior that seems to wrap around corners effortlessly, or stepped into a commercial space where the walls feel both luxurious and durable, there's a good chance you were looking at MCM flexible cladding stone wall panels. These panels have taken the construction world by storm, and for good reason: they're lightweight, weather-resistant, and offer the timeless beauty of natural stone without the hassle of heavy installation. But here's the catch—while MCM panels are designed to be user-friendly, their installation is far from "set it and forget it." As a trusted building material supplier with years of experience in mcm flexible cladding stone wall panel solutions, we've seen firsthand how even small missteps during installation can lead to big problems down the line: panels peeling, water damage, uneven surfaces, and even safety risks. Today, we're pulling back the curtain to share the most common mistakes we've encountered, why they happen, and exactly how you can avoid them. Whether you're a contractor, a DIY enthusiast, or a project manager, this guide is your ticket to a smooth, long-lasting MCM panel installation.
Before we dive into the mistakes, let's take a quick second to appreciate why MCM panels are worth getting right. MCM, or Metal Composite Material, panels consist of two thin metal sheets (usually aluminum) bonded to a rigid core, often made of polyethylene or mineral-filled material. What makes them "flexible cladding" is their ability to bend slightly, making them perfect for curved walls, irregular surfaces, or buildings with unique architectural details. They're also fire-resistant, moisture-resistant, and require minimal maintenance—qualities that make them a top choice for both residential and commercial projects. But here's the thing: their flexibility and lightweight nature mean they rely heavily on proper installation to perform at their best. Cut corners, skip steps, or ignore best practices, and you'll turn a durable, beautiful investment into a headache. As a walls supplier that prides itself on delivering reliable walls solutions, we've made it our mission to ensure our clients don't just get great products—they get the knowledge to install them right.
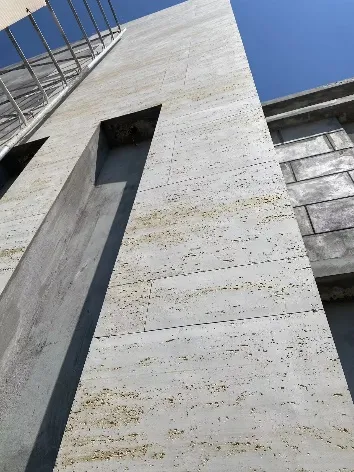
Let's get to the heart of the matter. Below are the five most common mistakes we see when installing MCM flexible cladding stone wall panels, along with actionable steps to avoid each one. Think of this as your troubleshooting playbook—keep it handy, and you'll save yourself time, money, and a lot of frustration.
Imagine this: You're on a tight deadline, the MCM panels have just arrived, and you're eager to start nailing them up. The wall looks "good enough"—a little dust, a few bumps, but nothing major. So you skip sanding, skip cleaning, and go straight for the adhesive. Sound familiar? This is hands down the most common mistake we encounter, and it's also the easiest to fix. The truth is, MCM panels rely on a perfectly clean, smooth, and dry surface to bond properly. Even tiny particles of dust or moisture can create a barrier between the panel and the wall, leading to weak adhesion. Over time, that weak spot turns into a bubble, then a peel, and eventually, you're looking at a costly repair.
We once worked with a contractor who installed MCM panels on a commercial building without properly prepping the concrete wall. The surface had minor cracks and was covered in construction residue, but he thought a quick wipe with a damp cloth would suffice. Three months later, after a heavy rainstorm, the panels along the lower section started to lift. When we inspected, we found mold growing between the panel and the wall—moisture had seeped through the cracks, got trapped, and compromised the adhesive. The fix? Removing the affected panels, repairing the wall, prepping it correctly, and reinstalling. A job that should have taken a week ended up taking three, all because of a skipped step.
How to Avoid It: Treat surface preparation like the foundation of your project—because it is. Start by inspecting the wall for cracks, holes, or uneven areas. Fill any gaps with a high-quality filler, then sand the surface until it's smooth to the touch. Next, clean the wall thoroughly with a mild detergent and water to remove dust, grease, or debris. For extra measure, use a lint-free cloth dampened with isopropyl alcohol to ensure no residue remains. Finally, check the moisture level of the wall using a moisture meter—MCM panels need a surface with less than 5% moisture content to bond. If the wall is newly constructed, let it cure for at least 28 days before installing. Trust us, an extra day of prep work is nothing compared to the cost of redoing the entire project.
Adhesive is the glue that holds your MCM installation together—literally. But here's where many people go wrong: they grab whatever adhesive is leftover from the last project, or they pick the cheapest option at the hardware store. Newsflash: MCM panels have specific adhesive requirements, and using the wrong one is like trying to stick a post-it note to a wet window—it might hold for a minute, but it won't last. Different MCM panels have different backings (some are smooth, some are textured), and different substrates (wood, concrete, metal) require different adhesives. Using a heavy-duty construction adhesive meant for brick on a lightweight MCM panel, for example, can cause the panel to warp as the adhesive cures. On the flip side, using a weak adhesive on a high-moisture area (like a bathroom or outdoor wall) will lead to delamination faster than you can say "water damage."
A residential client once reached out to us after installing MCM panels in their home's outdoor patio. They'd used a generic "all-purpose" adhesive, assuming it would work for both the panels and the wooden substrate. Six months later, the panels had started to pull away from the wall, especially in areas exposed to direct sunlight. When we tested the adhesive, we found it had softened in the heat, losing its grip. The culprit? The adhesive wasn't rated for outdoor use or temperature fluctuations. Our mcm flexible cladding stone wall panel solutions include recommendations for adhesives based on the substrate and environment, but they'd ignored that guidance in favor of convenience.
How to Avoid It: Start by checking the manufacturer's guidelines—most reputable mcm flexible cladding stone wall panel suppliers (like us!) provide detailed specs on compatible adhesives. Look for adhesives labeled "MCM-compatible" or "flexible cladding adhesive," and pay attention to the substrate: concrete, wood, metal, and drywall each have their own formulas. For outdoor installations or high-moisture areas, choose a waterproof, UV-resistant adhesive. If you're unsure, reach out to your supplier—we're always happy to help you pick the right product. And whatever you do, avoid "all-purpose" adhesives unless the manufacturer explicitly approves them. Your panels (and your future self) will thank you.
Materials expand and contract with temperature changes—it's a basic law of physics. MCM panels are no exception. When the sun beats down on them, they heat up and expand; when the temperature drops at night, they contract. If you install the panels too tightly together, with no room for this movement, you'll end up with a wall full of buckled, cracked, or warped panels. It's a mistake that's easy to make, especially if you're aiming for a seamless look, but it's also one of the most damaging. We've seen projects where panels were installed with zero gaps, only to crack within a year as seasonal temperature swings forced the material to push against itself.
One commercial project stands out: a restaurant with a curved MCM-clad wall. The installer wanted the panels to look "perfectly continuous," so he butted them up against each other with no space. During the summer, the wall faced direct afternoon sun, causing the panels to expand. With nowhere to go, the middle panels began to bow outward, creating an unsightly bulge. The fix required removing and reinstalling the affected panels with proper gaps—a process that shut down the restaurant for two days and cost thousands of dollars.
How to Avoid It: Always, always leave expansion gaps between MCM panels. The exact size of the gap depends on the panel size and the climate—most manufacturers recommend 3-5mm for standard panels in moderate climates, and up to 8mm for larger panels or areas with extreme temperature swings. Use spacer tools (available at most building supply stores) to ensure consistent gaps during installation. After installing, fill the gaps with a flexible, weather-resistant sealant that can expand and contract with the panels. Avoid rigid sealants like silicone caulk, which can crack when the panels move. Instead, opt for a polyurethane-based sealant designed for cladding—they're flexible, durable, and won't harden over time. Remember: A tiny gap now means no bulges, cracks, or costly repairs later.
MCM panels are flexible, but they're not indestructible—especially when it comes to cutting. We've seen it all: contractors using dull blades, cutting freehand instead of with a guide, or rushing through cuts to save time. The result? Jagged edges, uneven lengths, and panels that don't fit together properly. Not only does this look unprofessional, but it also creates weak points where water, dirt, or pests can sneak in. A poorly cut panel might seem like a minor issue, but over time, that small gap or rough edge can lead to moisture damage, mold, or even structural issues.
A contractor once shared a horror story with us: He was installing MCM panels on a hospital wing (a project that required precision, given the strict hygiene standards) and decided to cut the panels with a circular saw that had a blade meant for wood. The result? The panels frayed at the edges, leaving tiny splinters and gaps. When the hospital's inspection team came through, they flagged the uneven edges as a potential bacteria trap, forcing the contractor to redo the entire section. The lesson? Using the right tools for the job isn't just about efficiency—it's about quality and safety.
How to Avoid It: Invest in the right tools. MCM panels require a fine-toothed blade designed for metal cutting—look for blades labeled "aluminum cutting" or "composite material cutting." A jigsaw with a variable speed setting works well for straight cuts, while a circular saw with a guide ensures precision. For curved cuts or intricate shapes, use a nibbler tool or a router with a metal-cutting bit. Always measure twice and cut once—mark the panel with a straightedge and a pencil before cutting, and secure it to a workbench to prevent slipping. After cutting, use a file or sandpaper to smooth the edges, removing any burrs or rough spots. It might take an extra minute, but the clean, professional finish is worth it.
You've prepped the surface, used the right adhesive, left expansion gaps, and cut the panels perfectly. Now the last panel is up, and you're ready to call it a day. But wait—have you inspected your work? So many installers skip this final step, assuming that if the panels look good from a distance, they're installed correctly. But the truth is, small issues like loose edges, uneven seams, or missed sealant spots can hide in plain sight, only to rear their heads months later. Post-installation inspection isn't just about checking for obvious flaws—it's about ensuring the panels are secure, the adhesive has bonded properly, and the entire installation is ready to stand up to the elements.
We recently followed up with a client who installed MCM panels on their retail storefront six months prior. They'd skipped the post-installation inspection, and during our check-in, we noticed several panels along the top edge had started to lift slightly. Upon closer inspection, we found the adhesive hadn't been applied evenly in those areas—likely because the installer was rushing to finish. The good news? We caught it early, and the fix was simple: reapply adhesive and secure the panels with temporary clamps until it cured. The bad news? If they'd inspected immediately after installation, they could have fixed it in minutes instead of waiting six months.
How to Avoid It: Schedule a thorough post-installation inspection within 24-48 hours of installing the panels (after the adhesive has had time to set, but before any sealant fully cures). Walk the entire installation, checking for: loose panels (gently tug on the edges—they should feel solid), uneven seams, gaps in the sealant, and any signs of adhesive squeeze-out (which can attract dirt). Use a level to ensure the panels are straight and aligned. For outdoor installations, wait for a dry day, then spray the wall with a hose (gently!) to check for water penetration—if you see water pooling behind the panels, you've missed a sealant spot. Take notes, mark any problem areas, and fix them immediately. Think of it as a final quality check—your reputation (and your client's satisfaction) depend on it.
| Common Mistake | Why It's a Problem | Expert Solution |
|---|---|---|
| Skipping surface preparation | Weak adhesion, bubbles, peeling, moisture damage | Clean, sand, and dry the surface; use a moisture meter to check for dampness |
| Delamination, warping, water damage, failure in extreme temperatures | Use manufacturer-recommended adhesive; choose waterproof/UV-resistant options for outdoor use | |
| Ignoring expansion gaps | Bulging, cracking, warping due to temperature changes | Leave 3-8mm gaps; use flexible polyurethane sealant to fill gaps |
| Rushing the cutting process | Jagged edges, gaps, water/dirt intrusion | Use sharp, metal-cutting blades; secure panels and cut with a guide |
| Neglecting post-installation inspection | Hidden issues (loose panels, missed sealant) leading to long-term damage | Inspect within 24-48 hours; check for loose panels, uneven seams, and water penetration |
Now that you know the mistakes to avoid, here are a few extra tips to take your installation to the next level:
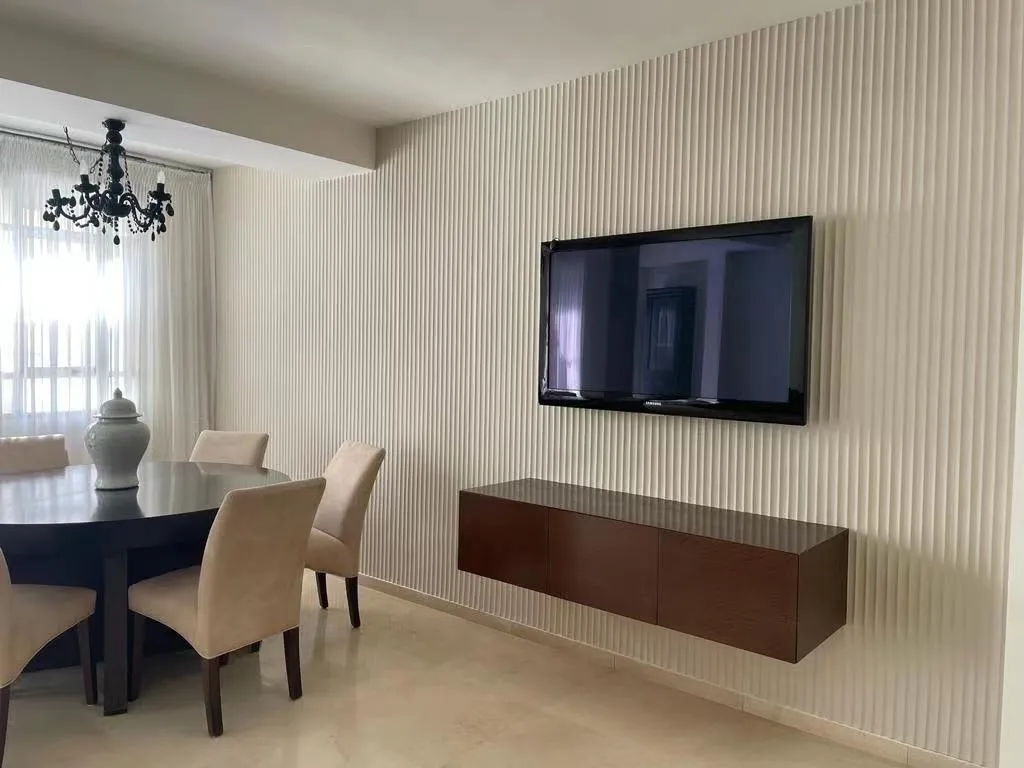
At the end of the day, installing MCM flexible cladding stone wall panels is about more than just putting up a wall—it's about creating something that lasts. A well-installed MCM panel wall will stand strong for decades, resisting the elements, maintaining its beauty, and adding value to any project. A poorly installed one? It will cost you time, money, and your reputation. As a building material supplier committed to delivering top-tier mcm flexible cladding stone wall panel solutions, we believe that knowledge is just as important as the product itself. That's why we're sharing these mistakes and solutions—because we want you to succeed.
So, the next time you're getting ready to install MCM panels, take a deep breath, reference this guide, and remember: Surface prep matters, adhesive choice matters, gaps matter, cutting matters, and inspection matters. Do it right the first time, and you'll have a wall that not only looks amazing but performs even better. And if you ever need help—whether it's choosing the right panels, picking an adhesive, or troubleshooting a tricky installation—you know where to find us. After all, we're not just a supplier—we're your partner in building something great.
Recommend Products











