
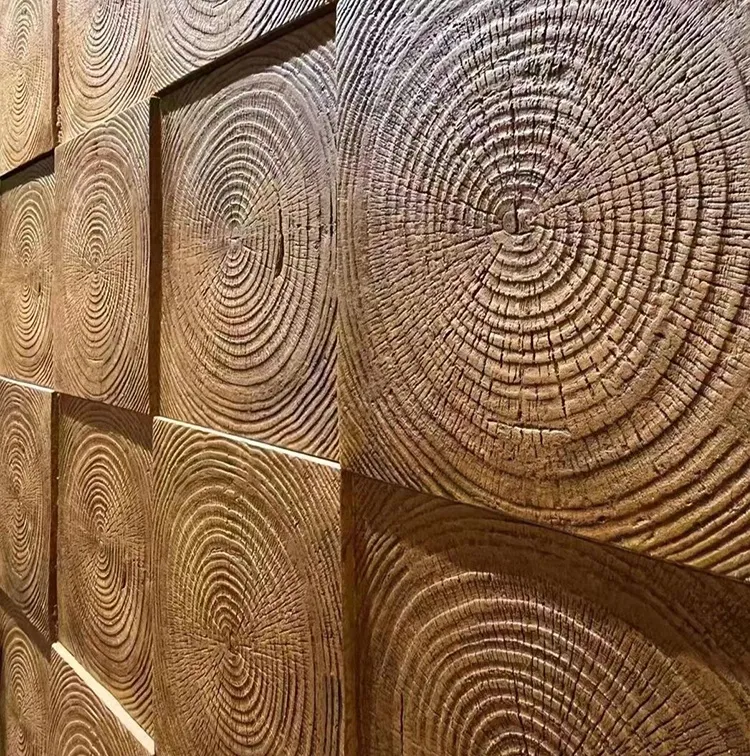
Hey there, woodworker! So you've got your hands on the gorgeous Annual Ring Wood Series Snap-On components? Great choice! Whether you're building custom furniture, cabinetry, or other woodworking projects, these Snap-On connectors are about to become your new best friend. I'm here to walk you through the entire process, from unboxing those beautiful components to solving any little hiccups you might encounter along the way.
What makes these connectors special? Well, the snap-on technology gives you that perfect balance of strength and convenience - sort of like the difference between hand-sewing and using a sewing machine. You'll get professional results without needing a PhD in engineering. By the time we're done here, you'll be installing these like a seasoned pro. Grab your tools and let's dive in!
Before you touch any tools, take five minutes to clear your workspace. You'd be amazed how many mistakes happen just because someone was navigating around clutter. A clean workspace equals a clear mind!
Your wood isn't quite ready to meet those Snap-On connectors yet. First, inspect each piece. Look for imperfections that might affect your joinery. If you spot a small crack, don't panic - just mark that side to face inward. Give each piece a light sanding, especially where the connectors will attach. Think of this like prepping your skin before applying makeup - the better the prep, the better the final result.
Now let's talk moisture content. If your wood has been stored somewhere humid, let it acclimate to your workshop for at least 48 hours. You don't want expansion or contraction surprises after installation. Remember that waterproof flooring can affect the surrounding wood components in humid environments? Keep that in mind for your project location too.
Accuracy is your best friend here. Use that carpenter's pencil to mark the connector points - make clear, bold X's right where the center will go. A neat trick I've learned over the years: always mark from the same reference edge for all pieces. It's like using the same starting point when you measure ingredients for a recipe - consistency prevents mishaps. Double-check each mark before drilling. This is woodworking, not Whack-a-Mole!
You might be tempted to speed through the drilling. Resist that urge! When you rush drilling, you end up with slightly oversized holes that cause connectors to seat improperly. This is the number one cause of early connection failure.
When joining large pieces, work systematically - start from the center and work outwards. It's like buttoning a shirt; starting from the bottom leads to misalignment.
Let's talk glue strategy. For most woods in this series, PVA wood glue works great. Apply a thin layer to both the connector and the wood surface - think of it like buttering toast. If you're working with exotic, oily woods, you might need epoxy. And if you're installing near a waterproof flooring area, consider moisture-resistant glue.
Clamping time isn't a suggestion - it's mandatory. Wait the full recommended time (check your glue bottle!) before stressing the joint. And while you wait, resist the temptation to touch. I know it's hard - it's like waiting for cookies to cool!
Your goal is perfection, but wood is a natural material. Minor imperfections might occur. Ask yourself: is this structural or cosmetic? Structural issues need fixing; cosmetic ones can often be addressed with filler and sanding.
| Problem | Cause | Solution |
|---|---|---|
| Connectors won't snap together | Misaligned holes, wood swelling, debris in connection points | Double-check hole alignment with dowel centers. Lightly sand connector posts if tight. Clean connector holes with compressed air |
| Creaking sounds after installation | Wood movement, insufficient glue, debris between joints | Disassemble if possible. Clean surfaces thoroughly. Apply fresh glue and reassemble with proper clamping pressure |
| Visible gaps at joints | Inconsistent drilling depth, uneven clamping pressure, warped wood | Use custom shims during clamping. Verify drilling depth consistency. Ensure wood is properly acclimated |
| Connectors disengage | Worn connector springs, insufficient installation depth | replace suspect connectors. Verify female connector is fully seated during installation |
| Glue failure | Surface contamination, incorrect glue type, insufficient clamping pressure | Clean mating surfaces with denatured alcohol. Ensure proper glue type for your wood species. Check clamp placement and pressure |
| Wood splitting around connectors | Drilling too close to edges, incorrect bit size, hard/dry wood | Ensure minimum 1/2" from edges. Use recommended bit size. Pre-drill pilot holes for hard woods |
So you've got a visible gap? Don't sweat it. First, check why it happened. Were your surfaces perfectly flat when joining? Sometimes we get excited and miss minor warping. If it's a small gap, wood filler matched to your finish will solve it. For larger gaps, disassemble and use a rabbeting plane to even the surfaces. Remember, any connection near waterproof flooring requires extra attention to moisture protection.
That satisfying click is more than just auditory pleasure - it's confirmation the locking mechanism engaged. If it doesn't happen, something's wrong. Most often, it's one of three things:
First, check hole alignment. Second, let your wood acclimate longer. Third, gently sand connector posts. If all else fails, contact Snap-On customer support - they're surprisingly helpful!
Wood and connectors need love too! Every three months:
Think of this like changing your car's oil - small regular maintenance prevents big problems later.
Don't be surprised if joints tighten in high humidity or loosen during dry months. This is totally normal for wood. You might notice slight gaps or feel connectors 'settle' differently. Resist immediately reaching for solutions - wait 2-3 weeks to see if it stabilizes. Most minor fluctuations resolve themselves. If not, a small adjustment might be needed - check our troubleshooting table above.
While we've covered most scenarios, sometimes professional intervention is best:
Think seriously about the risks before tackling major fixes yourself. There's no shame in protecting your investment by calling in the big guns!
After installing hundreds of these connections, here's what I wish I knew when starting:
The Annual Ring Wood Series is designed for durability and beauty. By following these installation steps and understanding how to troubleshoot common issues, you'll create stunning pieces that will last for decades. Every professional was once a beginner making mistakes - the key is learning from them. Your next project will be even better! Now go create something amazing.
Recommend Products












