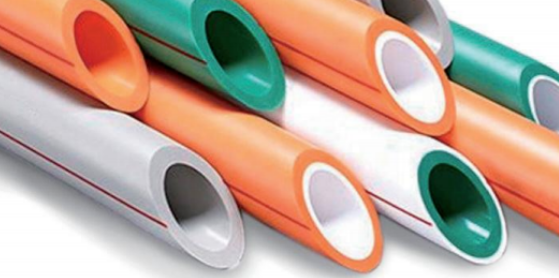
PPR pipe and fittings

PPR Fittings
1. Elbows and Bends
- PPR elbows and bends are used to change the direction of the pipe. They are available in different angles, such as 90 - degree and 45 - degree bends. These fittings are carefully designed to ensure a smooth flow of water or other fluids through the piping system. The interior of the elbow or bend is often contoured to minimize turbulence and pressure losses.
2. Tees and Crosses
- Tees and crosses are used to create branch connections in a piping system. A tee allows for a single branch connection, while a cross enables connections in four different directions. These fittings are crucial for distributing water to different fixtures or areas within a building, such as faucets, showers, and toilets.
3. Couplings and Unions
- Couplings are used to join two straight sections of PPR pipe. They provide a secure and leak - proof connection. Unions, on the other hand, are a type of coupling that allows for easy disassembly of the pipe connection, which can be useful for maintenance or repair purposes.
Installation of PPR Pipe and Fittings
1. Tools Required
- Installing PPR pipe and fittings typically requires specific tools. A PPR pipe cutter is used to make clean and straight cuts on the pipe. A fusion welding machine is also essential for joining PPR pipes and fittings. This machine heats the pipe and fitting surfaces to a specific temperature, allowing them to be fused together to form a strong and seamless connection.
2. Installation Process
- First, the pipes are cut to the required lengths using the pipe cutter. Then, the ends of the pipes and fittings are cleaned to ensure a proper fusion. The fusion welding machine is used to heat the mating surfaces of the pipe and fitting simultaneously. Once the correct temperature is reached, the pipe and fitting are quickly joined together and held in place until the joint cools and solidifies. This fusion process creates a monolithic connection that is highly resistant to leaks.

